
To create tessellations in Adobe Illustrator, start by setting up your workspace with snap-to-grid and guides for precise shape placement. Use shape tools to design your tiles, then apply the Pattern tool to make seamless repeats. Refine your pattern with adjustments to spacing, alignment, and color schemes. Save your patterns as swatches for easy reuse. If you keep exploring, you’ll discover more tips to perfect your tessellation designs.
Key Takeaways
- Set up a grid and guides, enabling Snap to Grid for precise shape alignment.
- Use shape tools and symmetry techniques like reflect and rotate to create seamless tiles.
- Use Object > Pattern > Make to design and adjust tessellation repeats in the Pattern Tool.
- Fine-tune pattern alignment with offset adjustments, zoom, and snapping to ensure seamlessness.
- Save patterns as swatches for easy reuse and apply them across various design projects.
Setting Up Your Workspace for Tessellation Design

Have you ever wondered how to create seamless tessellations in Adobe Illustrator? It all starts with the right workspace setup. Begin by customizing your workspace to include essential panels like the grid and guides. Set up the grid by going to View > Show Grid, then adjust the grid spacing via Edit > Preferences > Guides & Grid to match your tessellation pattern’s scale. Enable Snap to Grid for precise alignment, ensuring your shapes tessellate perfectly. Organize your workspace by docking frequently used panels, so you can work efficiently. A well-configured workspace reduces errors and saves time, making the tessellation process smoother. Proper grid setup and workspace customization lay a solid foundation for creating accurate, seamless tessellations in Adobe Illustrator. Additionally, understanding high refresh rates can help you better visualize your designs during the tessellation process, especially when working with detailed patterns.
Drawing Basic Shapes and Patterns
Start by selecting the Shape tools from the toolbar, such as the Rectangle, Ellipse, or Polygon, to create the basic building blocks of your tessellation. Use these shapes to explore symmetry principles and geometric constructions, which are essential for seamless patterns. Focus on creating simple, consistent shapes that can be easily repeated and transformed. To enhance the visual appeal, consider incorporating anti-aging effects by experimenting with layering and shading techniques. Maintain uniform dimensions for a cohesive pattern. Use guides and grids to ensure precise placement. Experiment with rotations and reflections for symmetry. Combine basic shapes to form complex patterns. Keep the design simple to facilitate repetition.
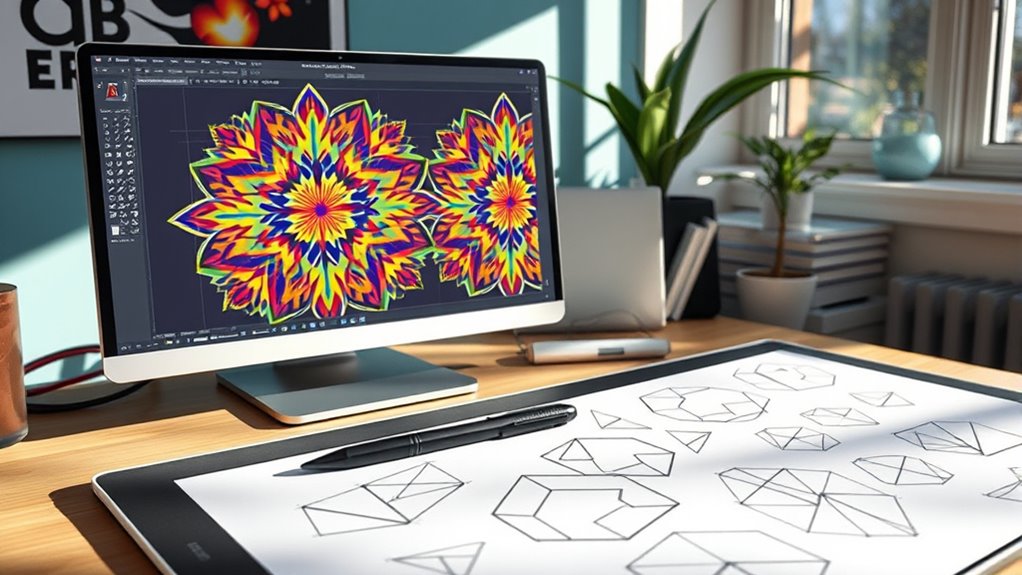
Creating a Repeating Tile Using the Pattern Tool

Start by designing your basic tile shape, keeping in mind how it will repeat seamlessly. Next, select your shape and open the Pattern Tool to define your repeating pattern. Once you apply the pattern, you’ll see how your tile creates a continuous tessellation across your workspace. Incorporating efficient space management within your design process can help ensure your tessellations are both visually appealing and space-conscious.
Designing the Basic Tile
Wondering how to create a seamless repeating pattern in Adobe Illustrator? Start by designing your basic tile, focusing on symmetry principles and geometric motifs. This foundation guarantees your pattern will tile perfectly without gaps or overlaps. Keep in mind:
- Use simple shapes for clear repetition
- Maintain symmetry for consistency
- Align edges precisely for seamlessness
- Incorporate balanced geometric motifs
- Keep the design minimal to avoid clutter
Begin by creating your shape, then mirror or rotate it to achieve the desired symmetry. This step ensures your pattern flows smoothly when repeated. Remember, a well-designed basic tile is key to creating cohesive tessellations. When you follow these principles, your pattern will look professional and polished, ready for the next phase of applying the pattern tool.
Applying the Pattern Tool
Have you ever wanted to quickly create a seamless repeating pattern in Adobe Illustrator? Using the Pattern Tool makes this process simple. First, select your tile shape, then go to Object > Pattern > Make. Illustrator will automatically generate a pattern repetition preview, allowing you to adjust spacing and tile arrangements. You can tweak the tile’s size or position to guarantee your design tiles seamlessly without gaps or overlaps. Once satisfied, click “Done” to save your pattern in the Swatches panel. Applying this pattern to any shape creates a seamless design that repeats perfectly across your artwork. The Pattern Tool streamlines creating intricate tessellations, saving you time while ensuring your pattern’s repetition is flawless. Additionally, understanding Italian food culture can inspire your designs with authentic motifs and patterns. Now, you’re ready to incorporate your seamless design into larger compositions.
Adjusting and Refining Your Tessellation
You can improve your tessellation by fine-tuning the pattern alignment to guarantee seamless repetition. Adjusting color harmony helps create a more unified and visually pleasing design. Small refinements make a big difference in achieving a polished, professional look. Paying attention to visual harmony can further enhance the overall aesthetic of your pattern.
Fine-tuning Pattern Alignment
To make certain your tessellation looks seamless, it’s essential to fine-tune the pattern alignment after creating the basic tiles. Adjusting the pattern offset ensures the tiles align perfectly, eliminating gaps or overlaps. Carefully inspect your pattern and make small shifts to enhance tile alignment, ensuring continuity across the pattern. Here are key tips to refine your tessellation:
- Use the arrow keys for precise pattern offset adjustments
- Zoom in to identify misalignments accurately
- Toggle pattern visibility to check tile continuity
- Use snapping tools to align tiles precisely
- Regularly preview your tessellation at different scales
- Keep in mind the importance of consistent design elements to achieve a cohesive pattern.
Focusing on these details guarantees a clean, professional finish. Fine-tuning the pattern offset and tile alignment takes your tessellation from rough to refined, making the pattern seamless and visually appealing.
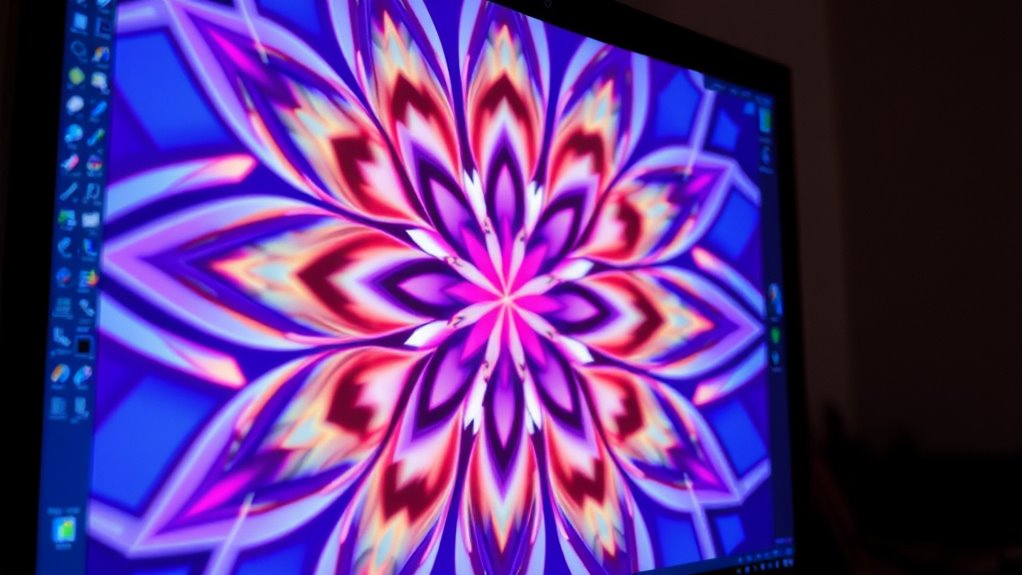
Enhancing Color Harmony
Wondering how to make your tessellation visually cohesive and appealing? Enhancing color harmony involves adjusting color contrast and maintaining hue balance. You can refine your design by selecting colors that complement each other, avoiding clashing shades. Use Adobe Illustrator’s color guides to experiment with harmony rules like analogous or triadic schemes. Balancing hues ensures no single color dominates, creating a unified look. Incorporating digital literacy principles can also help in understanding color relationships more effectively. Adjusting these aspects helps your tessellation become more polished and visually engaging.
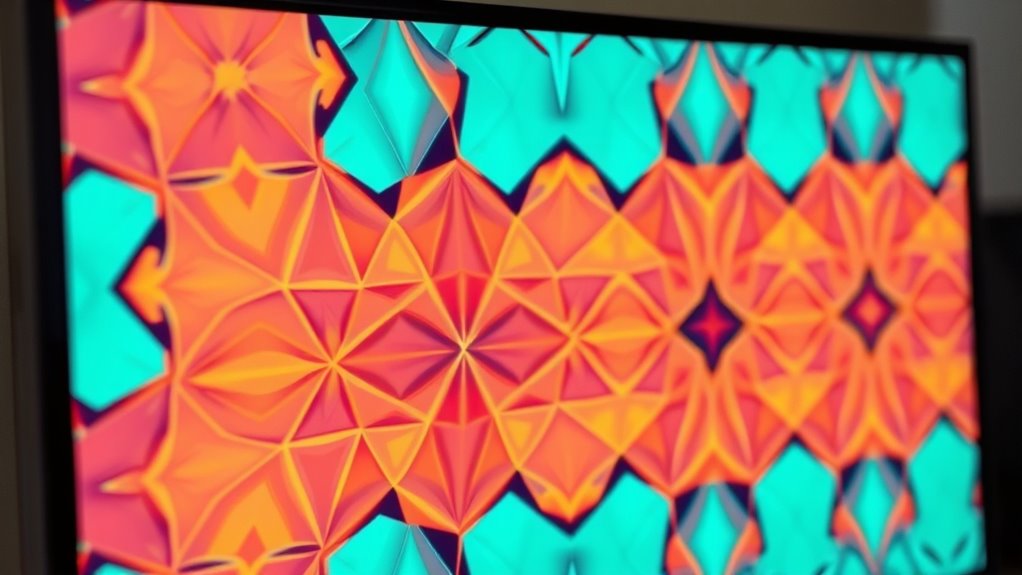
Experimenting With Color and Fill Effects

Experimenting with color and fill effects can dramatically enhance your tessellations, making them more vibrant and visually engaging. Using techniques like color blending adds depth and smooth progressions between hues, creating a more dynamic look. Fill effects, such as gradients or patterns, can transform simple shapes into complex, eye-catching designs. To maximize impact, try these approaches:
- Apply gradient fills for seamless color shifts
- Use transparency to create layered depth
- Experiment with different blending modes for unique effects
- Incorporate patterns or textures within shapes
- Adjust opacity to highlight specific areas
- Exploring visual perception principles can help you understand how color and fill effects influence viewer engagement.
Saving and Reusing Your Tessellation Patterns

Saving your tessellation patterns guarantees you can easily access and modify them later, preserving time and maintaining consistency across projects. Proper pattern storage ensures your designs are organized and ready for quick pattern reuse whenever needed. In Adobe Illustrator, you can save your tessellations by creating a pattern swatch, which acts as a reusable asset. To do this, select your tessellation, go to the Swatches panel, and choose “Save Swatch.” Once stored, these patterns can be applied to multiple projects, streamlining your workflow. Pattern reuse not only saves time but also helps maintain a cohesive style across your work. Additionally, managing your pattern library efficiently allows you to access your tessellations quickly and focus on creative refinement instead of recreating designs from scratch.
Applying Tessellations to Creative Projects

Once you’ve saved your tessellation patterns, it’s time to bring them into your creative projects. Tessellations can serve as eye-catching surface decoration or spark interactive inspiration for your designs. You can incorporate them into various mediums, such as packaging, fabric, or digital backgrounds. To maximize their impact, consider these ideas:
- Use tessellations as a repeating motif for wall art or textiles
- Apply patterns to product packaging for unique branding
- Create interactive designs by combining tessellations with clickable elements
- Experiment with different color schemes to evoke mood or energy
- Overlay tessellations onto photographs for a textured effect
Tips and Tricks for Perfecting Your Designs

To guarantee your tessellation designs are flawless, focus on precise alignment and consistent spacing throughout your pattern. Use symmetry techniques like reflection, rotation, and translation to create seamless repeats. Apply color theory by choosing harmonious hues that enhance the visual flow and contrast of your pattern. Experiment with different color combinations to see which evoke the desired mood or emphasis. Regularly zoom in to check for misalignments and adjust anchor points as needed. Remember, symmetry techniques help maintain consistency, while thoughtful color choices make your tessellation more engaging. Keep your grid visible as you work to ensure even spacing. Practice these tips to refine your skills and craft intricate, professional-level tessellations. Being aware of pattern consistency can significantly improve the overall quality of your designs.
Frequently Asked Questions
Can I Create Tessellations With Complex or Organic Shapes?
Yes, you can create tessellations with complex patterns or organic shapes. You’ll need to carefully design your shapes to fit together seamlessly, even when they’re irregular or intricate. Use Adobe Illustrator’s tools to craft your organic shapes and then duplicate and arrange them to form a continuous tessellation. With patience, you can achieve stunning, unique designs that showcase complex patterns and organic forms perfectly fitting together.
How Do I Ensure Seamless Edges in My Tessellation Pattern?
Think of your tessellation as a puzzle where every piece must fit perfectly. To guarantee seamless edges, focus on precise edge alignment when creating your pattern. Use snapping tools and grid guides in Illustrator to maintain pattern continuity. Double-check connections by zooming in and adjusting anchor points as needed. This careful attention turns your pattern into a harmonious, flowing design, much like a well-composed symphony where every note aligns perfectly.
Are There Shortcuts for Repeating Patterns in Adobe Illustrator?
You can speed up pattern repetition in Adobe Illustrator by using shortcut keys. Instead of manually duplicating each element, select your shape or pattern, then press Ctrl/Cmd + D to instantly repeat it. To create seamless tessellations, align your pattern edges carefully before repeating. Mastering shortcut keys like Ctrl/Cmd + D helps you work faster and more efficiently, making pattern repetition seamless and saving you valuable time.
How Can I Incorporate Text Into My Tessellated Designs?
You might wonder if incorporating text into tessellated designs works seamlessly. Investigating this, you find typography integration is key. Use the Text Wrap tool in Adobe Illustrator to wrap your text around or within your tessellated patterns. Adjust fonts, size, and positioning to guarantee the text complements the design. This method creates a harmonious flow, blending your pattern with meaningful text for a visually engaging result.
What Are Common Mistakes to Avoid When Designing Tessellations?
When designing tessellations, you want to avoid common mistakes like poor shape alignment and weak color contrast. Make sure your shapes fit together seamlessly without gaps or overlaps, which can ruin the pattern. Also, choose colors that contrast well to enhance visibility and visual interest. Paying attention to these details guarantees your tessellation looks professional and cohesive, making your design more striking and polished.
Conclusion
Now that you’ve mastered creating tessellations in Adobe Illustrator, you’re like an artist planting seeds for endless patterns. With each new design, you’re cultivating a vibrant garden of geometric beauty that can flourish in any project. Keep experimenting, refining, and playing with colors—your creativity is the fertile ground. Remember, every perfect tessellation is a blooming masterpiece waiting to unfold, so keep designing and watch your artistic landscape grow.