If your plotter prints look wrong, it’s often due to incorrect DPI settings, line weights, or file formats. Low DPI can make lines blurry, while high DPI ensures sharp details. Inconsistent line weights or incompatible vector files may cause missing or uneven lines. Proper calibration, choosing the right resolution, and using compatible vector formats help improve quality. Keep exploring these tips to troubleshoot and get professional-looking plots every time.
Key Takeaways
- Incorrect DPI settings can cause blurry or pixelated prints; match DPI to the print size for clarity.
- Poor calibration and maintenance lead to misaligned lines and streaks on plots.
- Using incompatible media or low-quality ink results in faded or streaked output.
- Raster files are resolution-dependent and can lose quality when scaled; vector files are scalable and ideal for line drawings.
- Adjust line weights and styles in design software for clear, professional, and accurate plotting results.

Advanced Pilot Products Rotating Aviation Plotter – Precise Navigation Tool for Student Pilots – Ideal for FAA Exam & Flight Training – Durable, Lightweight – Fast Course Plotting & Wind Correction
Enhance Course Accuracy: The rotating aviation plotter from Advanced Pilot Products elevates your navigation experience by allowing precise…
As an affiliate, we earn on qualifying purchases.
As an affiliate, we earn on qualifying purchases.
What Causes Poor Plotter Print Quality and How to Fix It
Poor plotter print quality often results from issues with the printer settings, media compatibility, or hardware condition. To fix this, start with proper plotter calibration, ensuring the device aligns correctly and produces accurate lines. Incorrect calibration can cause blurry or uneven prints, undermining detail and precision. Additionally, ink quality plays a significant role; low-quality or dried-out ink can lead to inconsistent color, streaks, or faded lines. Check that your ink cartridges are fresh and suitable for your printer model. Make sure you’re using compatible media as well—some papers or vinyls can absorb ink differently, affecting output. Regular maintenance, including cleaning print heads and updating firmware, also helps maintain ideal print quality, preventing issues caused by hardware deterioration. Proper calibration procedures are essential for maintaining consistent and high-quality plotter outputs. Also, ensuring that the filtration and pump protection components are functioning properly can prevent debris from affecting print quality. Regularly inspecting hardware components can help identify potential problems before they impact print results. Proper media handling techniques are also crucial to avoid print defects and ensure smooth operation. Moreover, understanding the importance of DPI and line weight settings can significantly enhance the clarity and detail of your prints.

VOISEN Wide Format Paper,4 Rolls Plotter Paper 24 In x 150 Ft, CAD Bond Rolls,20lb,Bond Paper on 2" Core for CAD Printing on Wide Format Ink Jet Printers
【Perfect Size】Plotter paper comes in a case of 4 rolls, each measuring 24in*150ft to meet your everyday work,…
As an affiliate, we earn on qualifying purchases.
As an affiliate, we earn on qualifying purchases.
Understanding DPI and How It Impacts Your Plot Accuracy
DPI, or dots per inch, directly influences how detailed and accurate your plot appears. Higher DPI settings increase image resolution, improving resolution clarity and making lines sharper. Low DPI results in blurry or pixelated prints, reducing plot accuracy. To understand how DPI impacts your work, consider the table below:
| DPI Setting | Effect on Resolution Clarity | Suitable Use Cases |
|---|---|---|
| 300 DPI | High resolution, detailed | Fine drawings, detailed prints |
| 150 DPI | Moderate resolution, clear | Drafts, rough sketches |
| 72 DPI | Low resolution, blurry | Quick previews |
Choosing the right DPI helps guarantee your plots are precise, especially when scaling or printing complex designs. Adjusting DPI based on your project needs enhances image resolution and overall plot quality.
vector file viewer software
As an affiliate, we earn on qualifying purchases.
As an affiliate, we earn on qualifying purchases.
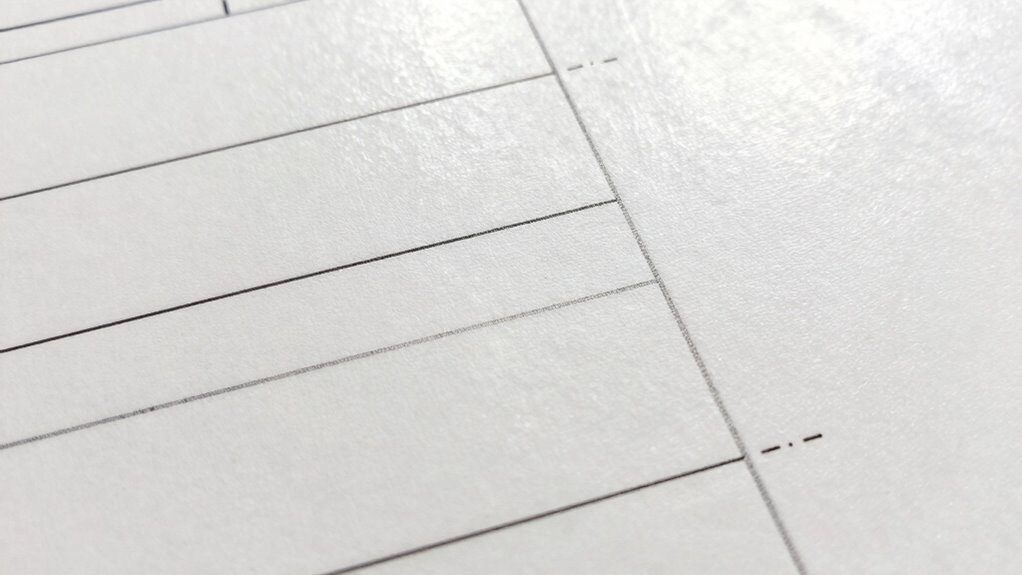
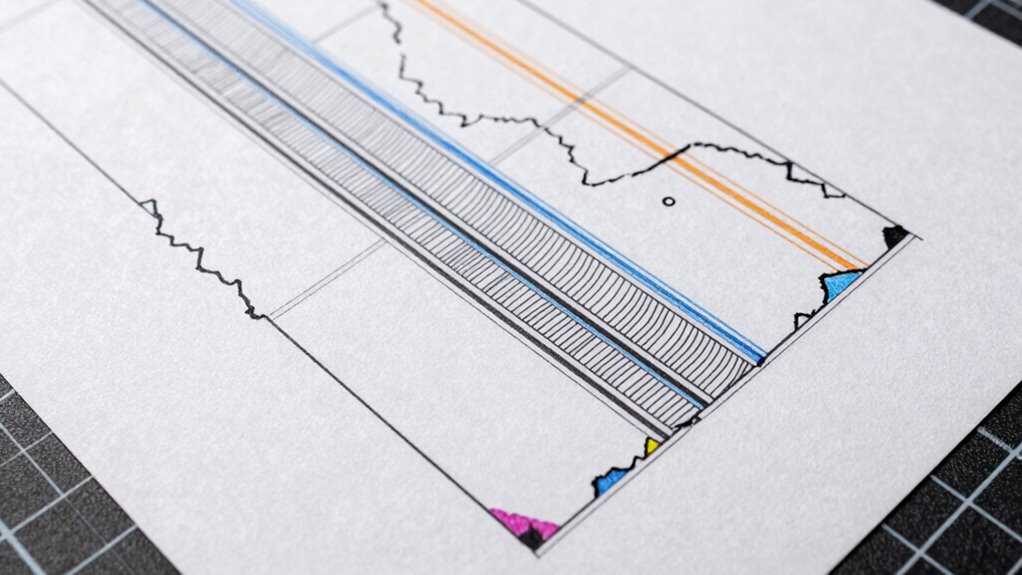
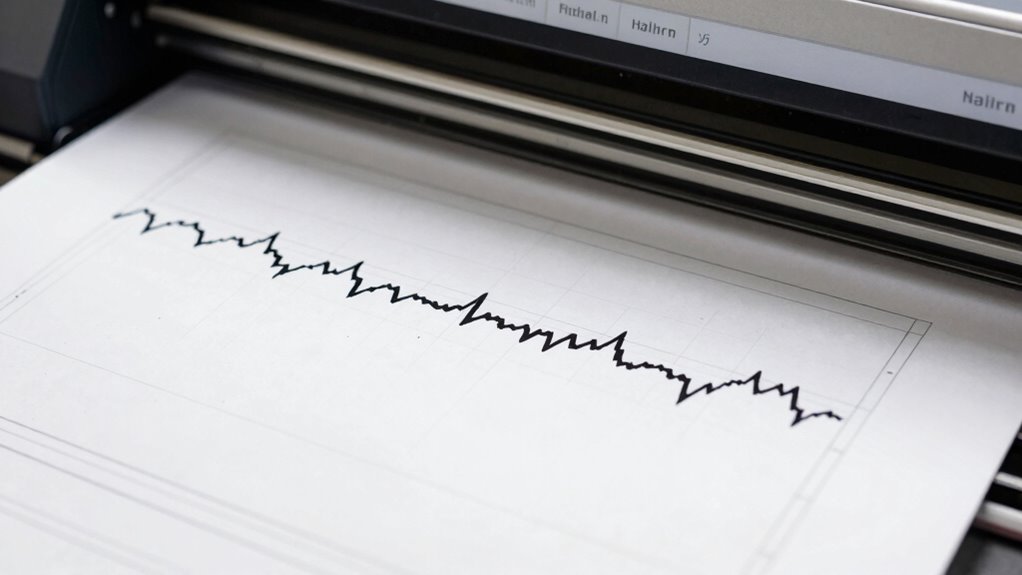
Setting Line Weights for Sharp, Clear Drawings
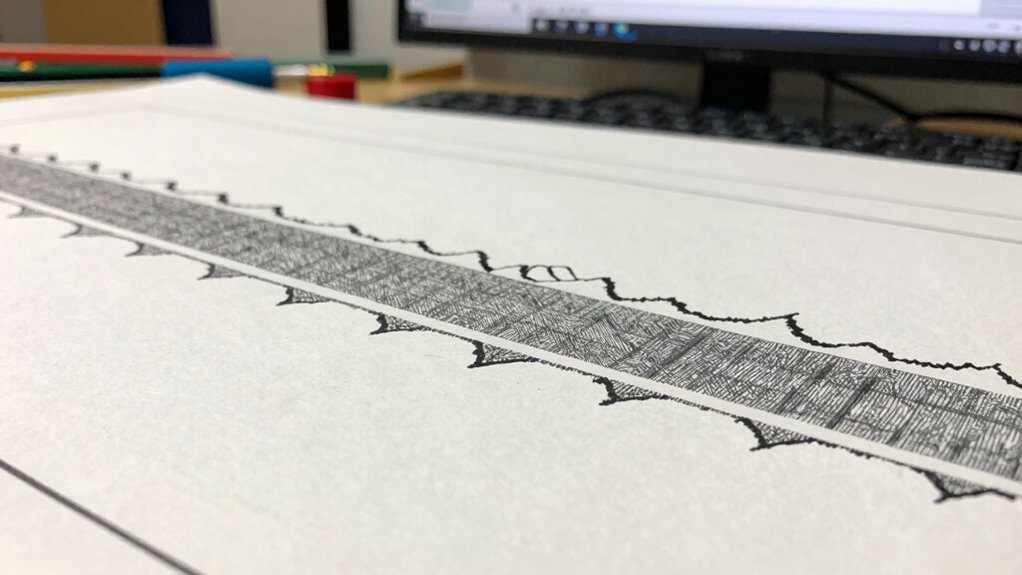
To achieve sharp, clear drawings, you need to adjust line weight settings properly. Using the right line types also makes a big difference in clarity and detail. By selecting appropriate line weights and types, your plotter prints will look professional and precise. Incorporating Free Floating concepts like varying line weights can help in emphasizing different elements of your drawing for better visual hierarchy. Understanding pinball machine weights can also be useful if you plan to incorporate physical models or prototypes into your design process. Additionally, familiarizing yourself with technical drawing standards ensures consistency and accuracy across your work. Paying attention to quality assessment guidelines helps in choosing the best materials and settings for optimal print results. Properly managing vintage design elements can enhance the overall aesthetic and authenticity of your work.
Adjust Line Weight Settings
Adjusting line weight settings is essential for creating sharp, clear plotter drawings. Your line weight impacts the clarity and professionalism of your output. To do this, access your plot settings and locate the line weight options. Confirm your line weights are appropriate for your drawing scale—too light can cause lines to disappear, while too heavy may obscure details. Use consistent line weights to maintain visual balance across your design. Adjust the settings incrementally and preview your plot to verify the results. Remember, fine-tuning line weights helps achieve precise, readable drawings, especially for intricate details. Proper plot settings allow you to control line thickness effectively, ensuring your final print matches your intentions and looks polished. Line weight adjustment is a crucial step in producing professional-quality drawings that are easy to interpret. Additionally, understanding vector files can help you better manage line quality and scalability in your designs. Being familiar with drawing scale concepts can further improve your control over line weight choices and overall plot quality.
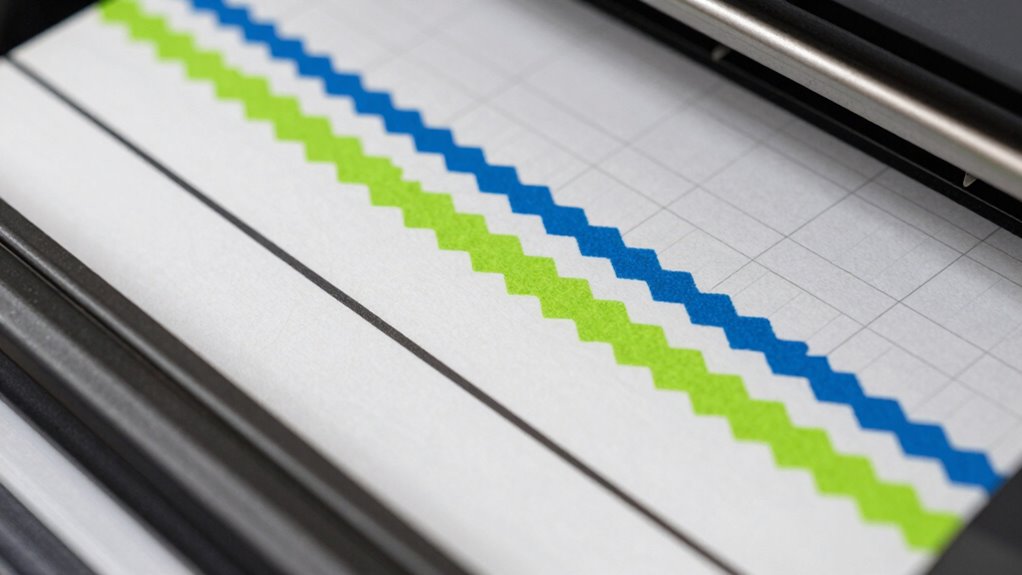
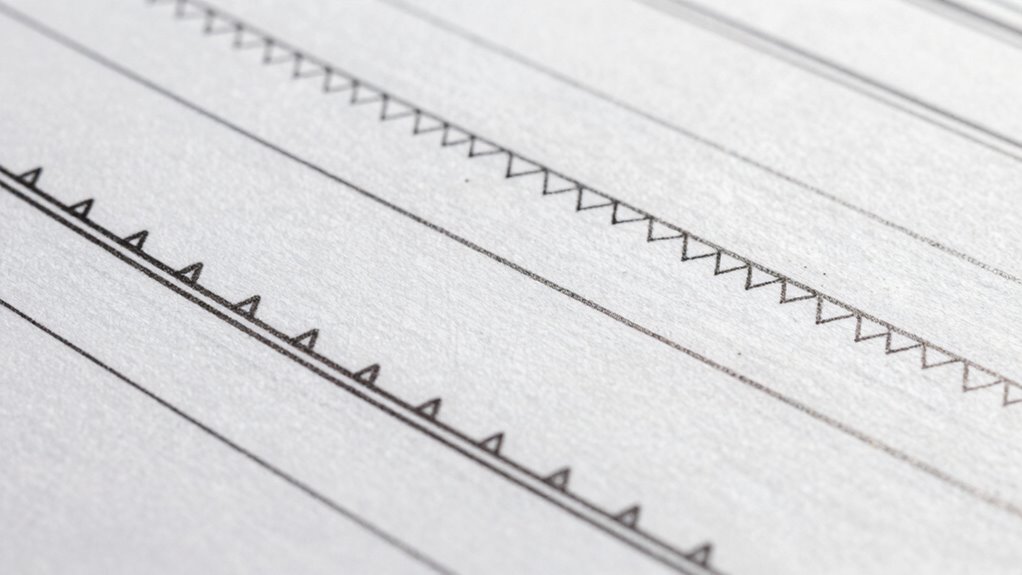
Use Proper Line Types
Using proper line types is vital for creating sharp, readable plotter drawings. Selecting the right line style helps differentiate various elements, making your design clearer. For example, solid lines work well for main outlines, while dashed or dotted lines can indicate secondary features or hidden details. Consistent line color also plays an important role; it can highlight specific layers or emphasize certain parts of your drawing. Avoid using overly complex or inconsistent line styles that clutter the image. Instead, choose simple, standard styles that communicate your intent effectively. By carefully setting your line style and line color, you’ll produce cleaner, more professional plots that are easy to interpret and visually appealing. Proper line types and standardized styles ensure your drawings are precise and clear, especially when understanding vector files and their importance in plotting. Additionally, understanding how line weight affects visibility can significantly improve the clarity of your final print. Incorporating visual cues through line variations can further enhance the interpretability of your design. Using consistent line weights across similar elements helps maintain clarity and avoid confusion in complex diagrams.
plotter line weight adjustment
As an affiliate, we earn on qualifying purchases.
As an affiliate, we earn on qualifying purchases.
Raster or Vector Files: Which Format Works Best for Plotting?
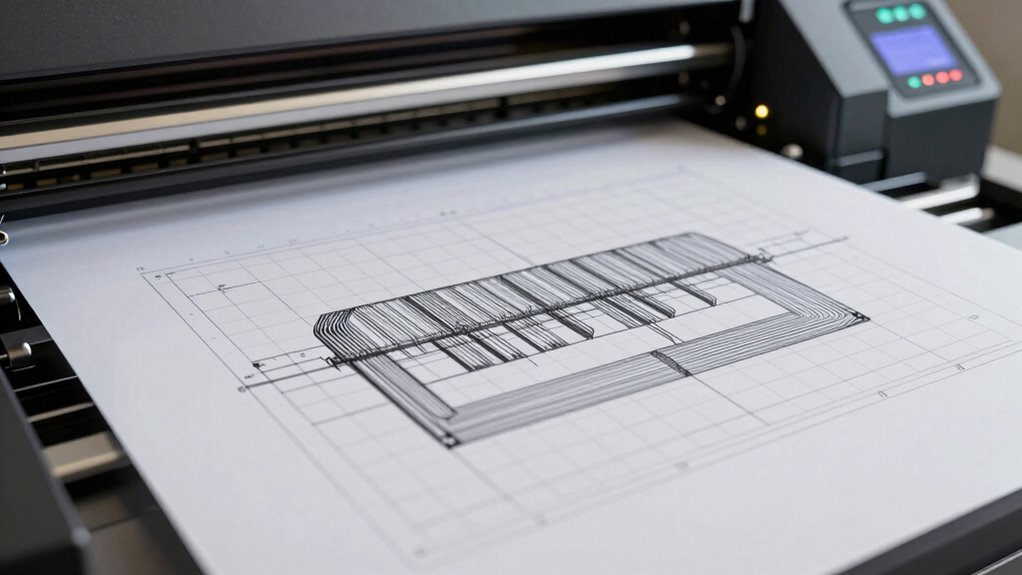
Choosing between raster and vector files is essential for achieving high-quality plotter prints. Raster files, like JPEG or PNG, are pixel-based and rely on resolution settings, which can limit scalability. Vector files, such as SVG or AI, use mathematical paths, making them ideal for plots that require resizing without loss of quality. To help visualize, consider this table:
| File Format | Best Use Cases | Key Feature |
|---|---|---|
| Raster | Photographs, backgrounds | Fixed resolution, pixel-based |
| Vector | Line drawings, logos | Scalable without quality loss |
| Both | Combined graphics | Use as needed |
| Resolution Settings | Adjust for clarity | Critical in raster files |
| Compatibility | Software support | Varies by format |
Choose your file format based on your plot’s needs, keeping resolution settings in mind for crisp, accurate results.
Troubleshooting Common Plotting Problems and Their Causes
When your plotter isn’t producing the expected results, the issue often comes down to incorrect DPI settings, inconsistent line weights, or faulty vector file formats. These problems can cause blurry images, uneven lines, or missing details. Identifying and rectifying these points helps ensure your prints come out sharp and accurate. Additionally, understanding how to create calmer, more functional homes can help prevent clutter-related issues that might complicate the plotting process.
Incorrect DPI Settings
One common cause of plotting issues is incorrect DPI settings, which can lead to blurry, pixelated, or improperly scaled output. If your image resolution isn’t properly calibrated, your plotter might interpret the file’s DPI incorrectly, resulting in poor print quality. To fix this, check your dpi calibration in your design software or plotting settings. Make certain your image resolution matches the intended print size; a low-resolution image scaled up will appear pixelated. Conversely, an excessively high DPI setting can cause unnecessary processing delays without improving quality. Adjust the DPI to match your plotter’s recommended settings, typically around 300 DPI for detailed line work. Proper calibration ensures your plots are sharp and accurately scaled, avoiding common resolution-related issues.
Inconsistent Line Weights
Inconsistent line weights often stem from settings or file issues that cause your plot to display or print unevenly. When your lines have varying thicknesses unexpectedly, it’s usually due to incorrect line weight settings within your design software or plotter driver. Check that your line weight is consistently set across all elements in your file. Sometimes, the software may interpret line weights differently, resulting in inconsistent lines on your print. Also, ensure that your plotter is correctly configured to recognize the intended line weight. Variations can occur if the plotter’s pen or tool settings aren’t uniform or if the file contains conflicting line weight data. Addressing these issues helps produce clean, uniform lines and improves the overall quality of your plots.
Faulty Vector File Formats
Faulty vector file formats often cause plotting issues, even if your design looks correct on screen. Poor vector compatibility or improper file conversion can lead to missing lines, distorted shapes, or incomplete prints. To troubleshoot, consider these key points:
- Ensure your vectors are compatible with your plotter’s software and hardware.
- Use the correct file format—such as SVG, DXF, or AI—matching your plotter’s specifications.
- Avoid unnecessary conversions that can corrupt or alter vector data.
- Always verify your file’s integrity before printing to prevent unexpected issues.
Tips to Optimize Your Plotter Settings for Better Results
To achieve sharper and more accurate plots, you need to fine-tune your plotter settings carefully. Begin with proper plotter calibration; regularly check and adjust the device to guarantee it’s printing correctly. Accurate calibration minimizes line misalignments and smudges. Next, focus on paper selection—use high-quality, compatible media suited to your project. The right paper type enhances ink adhesion and helps prevent print issues like bleeding or dull colors. Adjust your plotter’s line weight and DPI settings based on your design’s detail level, ensuring lines are crisp without overloading the media. Keep your software and firmware updated for supreme performance. Combining precise calibration with suitable paper choices guarantees cleaner, more professional results every time you plot. Additionally, understanding DPI and line weight adjustments can significantly impact the clarity and precision of your plots. Properly configuring your plotter’s settings can also help streamline your workflow and reduce troubleshooting time. Regularly reviewing your plotting parameters ensures consistent output quality and minimizes the need for reprints. To further enhance your plotting accuracy, consider utilizing calibration tools that are often provided by plotter manufacturers.
How to Test and Confirm Your Settings Before Final Plot
Before sending your final plot, verifying and confirming your settings to prevent errors and save time is vital. Start with a test print to assess whether your plotter calibration is accurate and whether line weights and DPI settings are correctly applied. To ensure everything’s aligned:
- Check the test print for clarity and accuracy, noting any discrepancies.
- Adjust your plotter calibration if lines appear misaligned or uneven.
- Confirm that line weights match your design specifications.
- Reprint a test pattern after adjustments to validate changes.
- Remember that consistent device calibration is essential for achieving precise plotting results.
This process helps catch issues early, saving you from costly reprints. A thorough test print ensures your final plot meets quality standards, giving you confidence that your DPI and vector settings are correctly configured before the final output.
Frequently Asked Questions
How Does Paper Type Affect Print Quality and Line Sharpness?
Your paper type directly impacts print quality and line sharpness because ink absorption varies with paper texture. Smooth, coated papers allow ink to sit evenly, resulting in crisp lines and vibrant colors. In contrast, rough or porous papers soak up ink unevenly, causing blurry or dull prints. Choosing the right paper with an appropriate texture guarantees sharp lines and better color accuracy, making your prints look professional and clear.
Can Software Settings Influence Plotter Color Accuracy?
You might think software settings don’t impact color accuracy, but they really do. Proper color calibration ensures your plotter reproduces colors faithfully, while software calibration adjusts the color profile and monitor settings for consistency. By fine-tuning these, you can prevent color shifts and achieve precise, vibrant prints. Don’t overlook calibration—it’s essential for consistent, professional results, and software adjustments can make a significant difference in your plotter’s color accuracy.
What Are the Best Practices for Maintaining Plotter Hardware?
To maintain your plotter hardware, you should regularly perform calibration routines to guarantee accurate output. Follow a strict maintenance schedule that includes cleaning print heads, checking ink levels, and inspecting rollers for wear. Keep firmware updated to prevent software conflicts. Proper calibration and consistent maintenance help extend your plotter’s lifespan and keep print quality high. Don’t neglect routine checks; they’re essential for reliable, professional results.
How Do I Convert Raster Images to Vector for Plotting?
To convert raster images to vector for plotting, start with vector tracing software like Adobe Illustrator or Inkscape. Import your raster image and use the trace tool to create a vector version. Adjust the settings to optimize detail and smoothness. Remember, raster conversion simplifies your image into scalable lines and shapes, ensuring accurate plotting. Always review and clean up the vector file before sending it to your plotter for best results.
Are There Industry Standards for Line Weight Consistency?
Yes, there are industry standards for line weight consistency, ensuring your prints look professional. Typically, line weight standards vary depending on project requirements, but common practices include using thicker lines for outlines and thinner lines for details. To maintain industry consistency, always follow the specific guidelines provided for your sector, and double-check your settings in CAD or vector software to keep line weights uniform across your designs.
Conclusion
By understanding DPI, line weights, and file formats, you can troubleshoot and enhance your plotter prints effectively. Always test your settings before the grand reveal—think of it as your own version of Da Vinci’s meticulous sketches. Remember, a little patience and precision go a long way in achieving crisp, professional results. With these tips, you’ll guarantee your plots not only meet but exceed expectations, transforming your workflow into an art form.