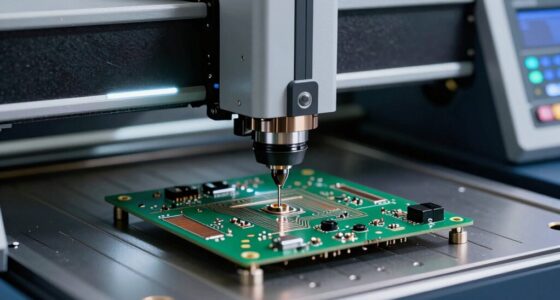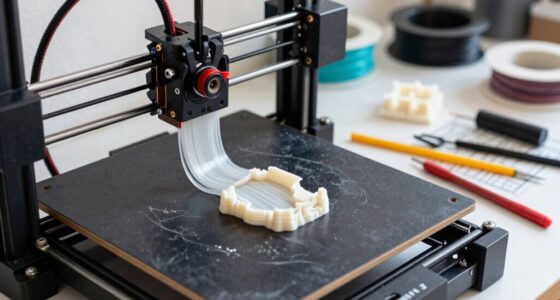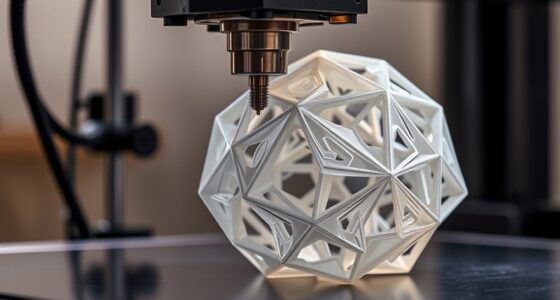
To successfully 3D print a simple geometric object, start by choosing the right material like PLA for ease or ABS for durability. Design your model with minimal overhangs and supports, optimizing its orientation for better quality. Adjust printer settings such as layer height and temperature for precise results. Proper planning guarantees your object is smooth, accurate, and lightweight. Keep exploring to discover strategies that refine your process and elevate your final prints.
Play games included with Prime
Start a Prime free trial and play with Amazon Luna on your devices.
As an affiliate, we earn on qualifying purchases.
Key Takeaways
- Choose an appropriate material like PLA for ease and eco-friendliness, considering the desired finish and strength.
- Design a simplified geometry with minimal overhangs and supports, optimizing orientation for better print quality.
- Use slicing software to set correct layer height, temperature, and print speed for a smooth, accurate result.
- Incorporate support structures only where necessary and plan support placement to reduce post-processing.
- Finalize the print with proper cleaning and finishing techniques to enhance surface quality and overall appearance.

3D printing has made creating geometric objects accessible and straightforward for enthusiasts and beginners alike. When you’re starting your project, one of the first steps is choosing the right materials. Materials selection is vital because it influences the strength, flexibility, surface finish, and overall quality of your final product. For simple geometric shapes, common options include PLA, ABS, PETG, and resin. PLA is user-friendly, environmentally friendly, and ideal for beginners, while ABS offers durability and heat resistance, making it suitable for more functional objects. Resin, on the other hand, provides high detail and smooth surfaces but requires more careful handling. Your choice depends on the purpose of your object, the level of detail you want, and the printer you have access to.
Once you’ve selected your materials, the next step is design optimization. This involves refining your digital model to guarantee it prints successfully and meets your expectations. You should focus on minimizing overhangs and complex features that might need support structures, which can increase post-processing work. Simplifying the geometry where possible helps reduce print time and material use, making your process more efficient. Think about wall thickness; a thicker wall can improve strength but might use more material and extend print time. Also, consider the orientation of your object on the print bed — adjusting it can profoundly impact the surface quality, print speed, and strength of your geometric shape. Proper design optimization prevents issues like warping, layer separation, or poor adhesion, guaranteeing your object turns out just as you envisioned. Incorporating attention to detail during the design phase can significantly enhance your final results.
Throughout your project, keep in mind the importance of balancing material choice with design considerations. For example, if you want a lightweight object, you might incorporate internal lattices or hollow sections, which require careful planning during design optimization. This step also involves slicing your model correctly, setting appropriate layer heights, print speeds, and temperatures based on your selected material. Doing so guarantees the best possible quality and strength in your print.
As an affiliate, we earn on qualifying purchases.
Frequently Asked Questions
What Are Common Issues Faced During 3D Printing?
You might face print failure or filament jams during 3D printing. These issues often occur due to incorrect settings, poor filament quality, or clogged extruders. To avoid them, make certain your printer is well-calibrated, use compatible filament, and keep the extruder clean. Regularly checking your printer can prevent common problems, making your printing process smoother and more successful.
How Can I Improve Print Quality for Complex Geometries?
Your print quality can skyrocket by fine-tuning layer adhesion and adjusting print speed. Slowing down your print speed allows for better layer bonding, reducing stringing and warping. Ensuring proper bed leveling and ideal temperature settings also help complex geometries come out crisp and precise. Experiment with these settings, and you’ll see your prints improve dramatically—making your 3D masterpieces look like they were crafted by a pro!
What Materials Are Best for Beginner 3D Printing Projects?
For beginner-friendly materials, filament selection is key. You should start with PLA, as it’s easy to print, widely available, and handles a variety of geometries well. PETG is also a good choice if you want more durability without much complexity. Both materials help you learn 3D printing basics, reduce print failures, and produce high-quality results, making your initial projects more successful and enjoyable.
How Long Does It Typically Take to Print a Simple Object?
Printing a simple object usually takes between 30 minutes to a few hours, depending on your printing speed and layer resolution. If you choose a higher layer resolution, it’ll take longer but give you more detail. Faster printing speeds reduce time but can affect quality. You can balance these factors to find a good mix of detail and time, making your project efficient and satisfying.
What Maintenance Is Required for 3D Printers?
You need to perform regular calibration procedures to guarantee your 3D printer produces accurate prints. Keep the print bed level and check the nozzle height periodically. Additionally, properly storing your filament in a dry, airtight container prevents moisture buildup, which can affect print quality. Regularly clean the print bed and nozzle, and inspect moving parts for wear. These maintenance steps help keep your printer running smoothly and extend its lifespan.
As an affiliate, we earn on qualifying purchases.
Conclusion
Now that you’ve seen how easy it is to turn a simple geometric design into a real object, you might wonder—what’s stopping you from creating your own? With 3D printing, your ideas can go from digital to tangible in no time. Imagine holding your own design in your hands, seeing your creativity come to life. So, why not give it a shot and start turning your concepts into reality today?
slicing software for 3D printing
As an affiliate, we earn on qualifying purchases.
As an affiliate, we earn on qualifying purchases.
As an affiliate, we earn on qualifying purchases.
NFL season / tailgating Picks
team gear
As an affiliate, we earn on qualifying purchases.