
Using scale bars and targets is key to achieving accurate 3D captures because they provide reliable reference points that help align, scale, and verify your models. Proper placement and selection guarantee measurements stay consistent across sessions, reducing errors caused by perspective or distortion. If you want to learn how to optimize your setup and avoid common mistakes, keep exploring how these tools can improve your scanning results.
Key Takeaways
- Scale bars and targets provide fixed reference points, ensuring accurate alignment and reducing errors during 3D scanning.
- Proper placement and high contrast improve visibility, enhancing measurement precision and consistency across scans.
- Selecting compatible, high-quality calibration tools minimizes distortions and enhances the reliability of 3D data.
- Regular verification and correct positioning prevent misalignment and ensure precise calibration throughout the process.
- Integrating scale references in post-processing helps detect inaccuracies and maintain measurement reproducibility.

Creality CR-Ferret SE 3D Scanner for 3D Printing, Anti-Shake, 0.1Mm Precision, 30FPS Scanning Speed, Full-Color, Upgraded Desktop 3D Scanner for Body Hair Black Metal Non-Reflective Objects
HIGH ACCURACY & FASTER: Boasting an impressive accuracy of up to 0.1mm, a resolution of 0.16mm, and a…
As an affiliate, we earn on qualifying purchases.
As an affiliate, we earn on qualifying purchases.
Why Are Scale Bars and Targets Crucial for Accurate 3D Scans?
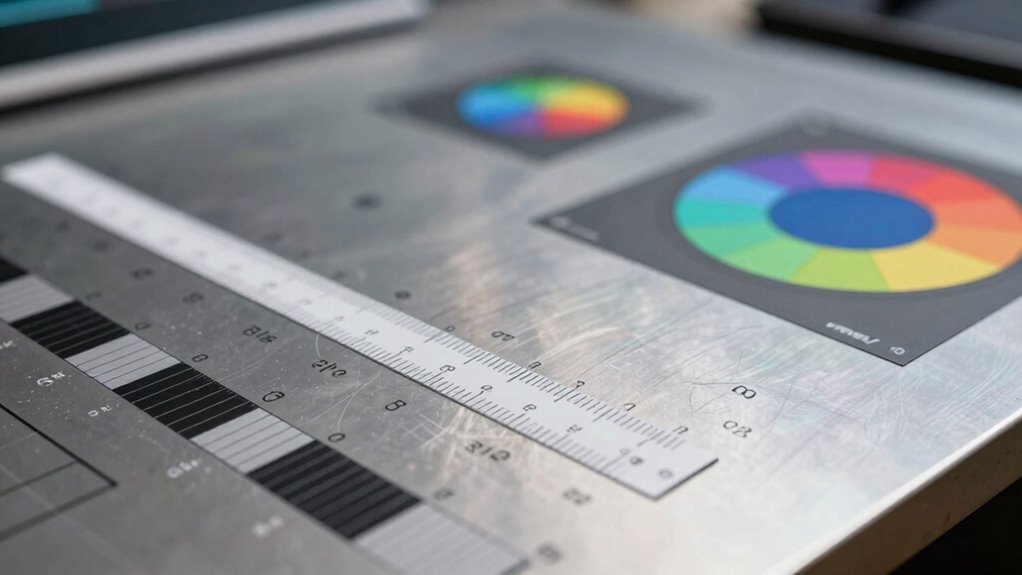
Have you ever wondered how 3D scanners achieve precise measurements? It all comes down to measurement accuracy, which depends on effective calibration techniques. Scale bars and targets are essential because they provide fixed reference points within the scan environment. These references allow the scanner to align data correctly, reducing errors caused by misalignment or distortions. By including scale bars or targets in your scan, you ensure that the measurements are consistent and reliable. This calibration step helps the scanner interpret spatial data accurately, especially across large or complex objects. Without these references, the risk of inaccuracies increases, making the scan less trustworthy. Incorporating calibration techniques ensures that your scans maintain their integrity and precision. In short, scale bars and targets are crucial tools that uphold the integrity of your 3D measurements. Additionally, understanding the color accuracy of your equipment can significantly improve the fidelity of your scans and ensure precise color reproduction in your 3D models.

300PCS 3D Scanner Markers, Magnetic Reference Points for Scanning, Diffuse Reflective Positioning Targets, Reusable Tracking Dots for 3D Printing & Reverse Engineering (Inner 6.0 mm Outer 10 mm)
OPTIMAL SIZING & AMPLE QUANTITY: Includes 300 pieces of magnetic 3D scanning points neatly stored in a clear…
As an affiliate, we earn on qualifying purchases.
As an affiliate, we earn on qualifying purchases.
How Do Scale Bars and Targets Improve Measurement Precision?
Scale bars and targets help you calibrate the size of your scans with precision, ensuring measurements are accurate. They provide reliable references that improve measurement consistency across different scans and projects. As a result, your measurements become more precise and trustworthy. Incorporating easy-to-use calibration tools into your setup further enhances overall measurement reliability. Understanding measurement accuracy is crucial for achieving dependable results in 3D scanning. Additionally, using standardized reference objects can help maintain consistency across multiple scanning sessions.
Precise Size Calibration
Precise size calibration is essential for guaranteeing accurate measurements in imaging and microscopy. It aligns the captured data with real-world dimensions, maintaining measurement consistency across samples. Using well-defined calibration standards, like scale bars and targets, helps you verify and correct any discrepancies. These tools provide a reference point, allowing you to translate pixel data into actual sizes reliably. This process minimizes errors from lens distortion or perspective issues. To better understand, consider this table:
| Calibration Tool | Purpose | Benefits | Application |
|---|---|---|---|
| Scale Bar | Defines size | Ensures consistency | Accurate measurements |
| Targets | Standard reference | Validates accuracy | Reproducible results |
| Calibration Standards | Benchmark | Maintains uniformity | Reliable data |
| Measurement Calibration | Fine-tuning | Enhances precision | Consistent outputs |
Using these tools ensures your measurements stay accurate and reproducible.
Enhanced Measurement Accuracy
Using scale bars and targets substantially enhances measurement accuracy by providing reliable reference points within your images. They improve measurement consistency by reducing errors caused by perspective and distortion. With precise calibration techniques, these references ensure your measurements remain accurate across different sessions. This consistency allows you to compare data confidently and track changes over time. Additionally, scale bars and targets help identify calibration drift, prompting necessary adjustments. They also facilitate error correction during post-processing, boosting overall precision. By anchoring your measurements to known standards, you minimize uncertainties and increase reliability in 3D captures. Incorporating these tools into your workflow ensures that your measurements stay consistent, accurate, and reproducible, ultimately elevating the quality and credibility of your results.
- Enhance calibration dependability
- Minimize measurement uncertainties
- Detect calibration drift
- Improve reproducibility

MEDAMOC Drone GCP Markers, 10 Pack 24 x 24 in Survey Targets
Precision Measurement: Each UAV GCP features a 1.18 inches center hole for installing an RTK surveying pole or…
As an affiliate, we earn on qualifying purchases.
As an affiliate, we earn on qualifying purchases.
Which Types of Scale Bars and Targets Are Best for Your 3D Scanning Projects?
Choosing the right scale bars and targets depends on your scanning device’s compatibility and your project’s specific needs. You’ll want options that offer clear visibility and strong contrast to guarantee accurate measurements. Additionally, consider the size and scale accuracy to match your object and the level of detail you require. Incorporating high-quality measurement tools can further enhance the precision of your 3D captures.
Compatibility With Scanning Devices
Selecting the right scale bars and targets for your 3D scanning projects depends heavily on your scanning device’s specifications. Compatibility with your device guarantees accurate results and smooth integration with scanning software. To choose effectively, consider these factors:
- Device Compatibility: Confirm the scale bars and targets are compatible with your scanner’s hardware and software.
- Scanning Resolution: Match the size and detail level of targets to your scanner’s resolution capabilities.
- Data Format Support: Ensure targets are compatible with your scanning software’s accepted file formats.
- Material Compatibility: Verify that the materials of scale bars won’t interfere with your device’s sensing or calibration processes.
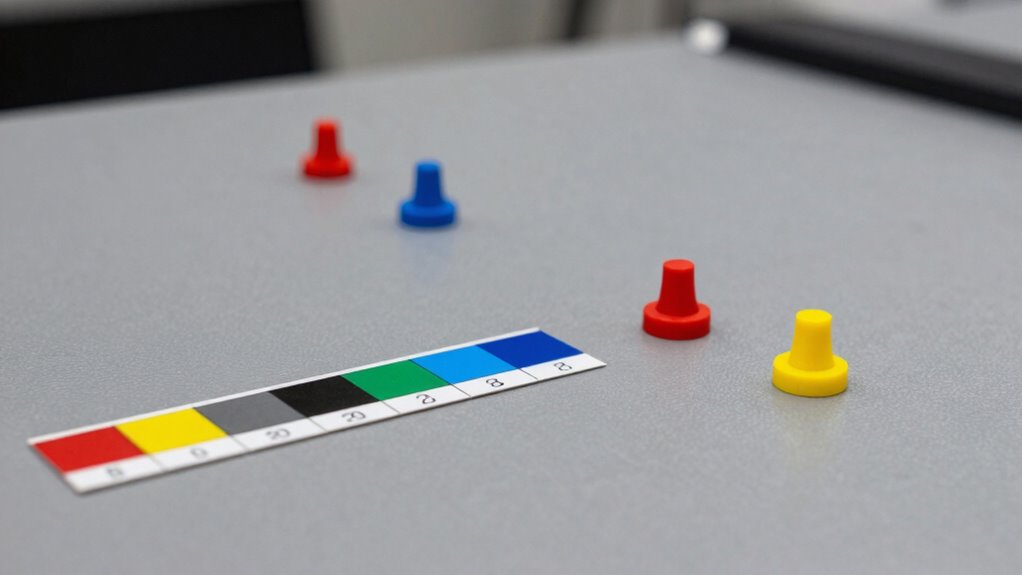
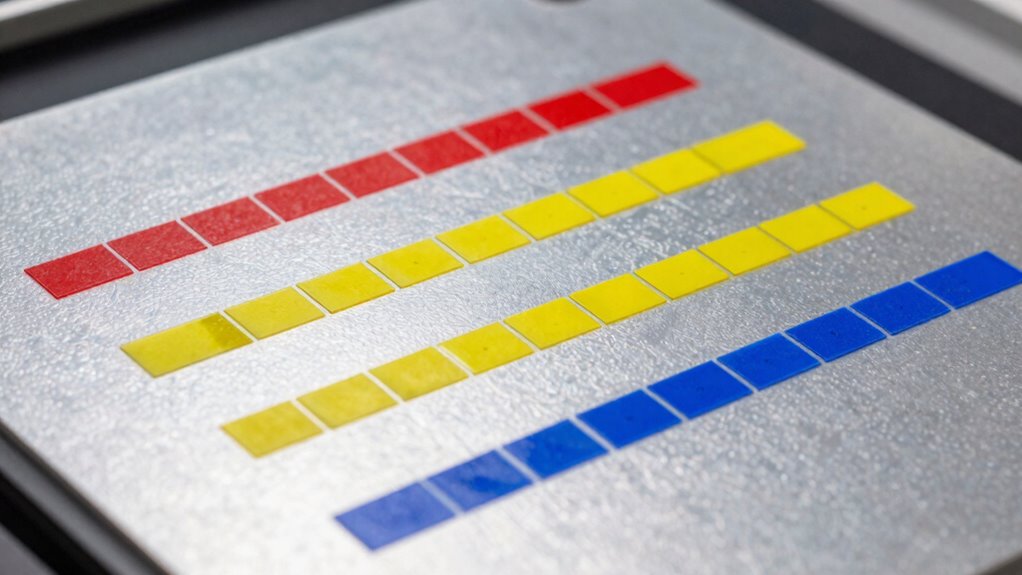
Visibility and Contrast
Ensuring your scale bars and targets are visible and provide strong contrast is essential for accurate 3D scans. Lighting conditions and surface reflectivity can make or break visibility, especially in challenging environments. Bright, even lighting reduces glare and shadows, while matte surfaces minimize reflectivity that can obscure targets. To optimize contrast, choose targets with high-contrast colors or patterns suited to your environment. Consider this table:
| Lighting Condition | Surface Reflectivity | Recommended Target Type |
|---|---|---|
| Bright & even | Matte | High-contrast printed targets |
| Low light | Glossy | Reflective targets with matte backing |
| Variable | Mixed | Color-coded or patterned targets |
Selecting the right combination ensures your targets stay visible, leading to precise, reliable scans. Additionally, understanding the importance of target placement can greatly improve the accuracy of your 3D captures in complex settings. Proper target positioning can help maintain visibility from multiple angles and reduce errors caused by occlusion or misalignment.
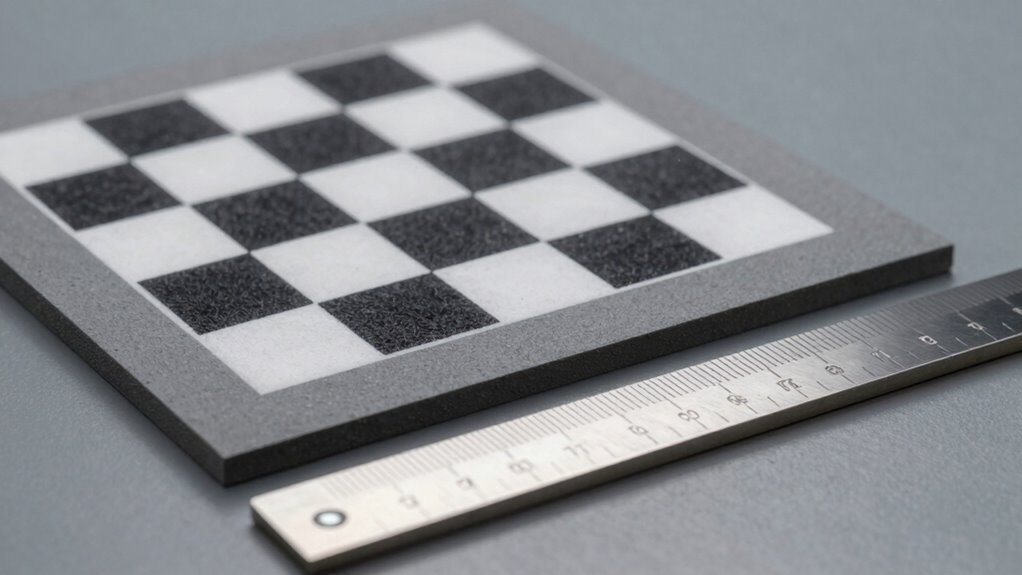
Size and Scale Accuracy
To achieve accurate size and scale in your 3D scans, you need to use the right type of scale bars and targets designed for precise measurement. Selecting calibration standards that are stable, accurately marked, and resistant to environmental factors guarantees measurement consistency across your projects. The best targets are those with high contrast and clear graduations, making them easy to detect in scans. Consider these options:
- Precision scale bars with engraved, high-contrast markings
- Photogrammetric targets with known dimensions
- Reflective or laser-etched calibration plates
- Custom targets aligned with your measurement standards
Using appropriate scale bars ensures your scans are correctly scaled, reducing errors and improving accuracy for detailed analysis and documentation. Additionally, understanding digital measurement principles helps optimize your calibration process for maximum precision.
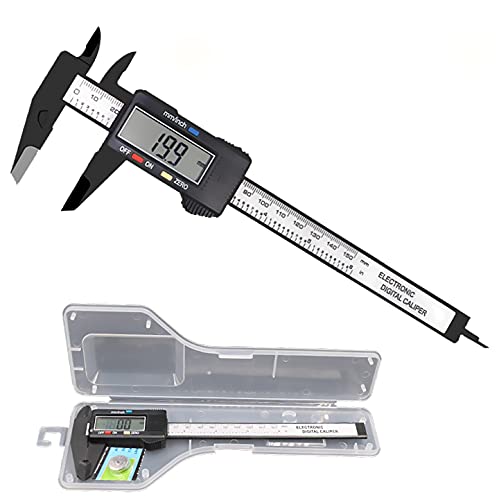
Simhevn Electronic Digital Calipers, inch and Millimeter Conversion,LCD Screen displays 0-6" Caliper Measuring Tool, Automatic Shutdown, Suitable for DIY/Jewelry Measurement (New150mm Black Plastic)
[4 measuring methods and safety]: Digital calipers can be used to measure inner and outer diameters, depths and…
As an affiliate, we earn on qualifying purchases.
As an affiliate, we earn on qualifying purchases.
How to Choose the Right Scale Bar and Target for Your Needs
Choosing the right scale bar and target depends on understanding your specific measurement needs and the environment in which you’ll be working. To select effectively, consider measurement standards relevant to your project, making certain the scale bar’s markings align with industry or scientific requirements. Think about calibration techniques that suit your equipment and setting, whether it’s indoor or outdoor, to maintain accuracy. The scale bar should match the size of your object and the level of detail you need to capture. Targets need to be visible and distinguishable in your scans, avoiding confusion or misalignment. By evaluating these factors, you’ll ensure your measurement tools support precise, reliable 3D captures tailored to your specific application.
Where and How Should You Properly Place Scale Bars and Targets During Scanning?
Proper placement of scale bars and targets is essential for accurate measurements during scanning. To achieve this, consider these key points:
Properly placing scale bars and targets ensures precise, reliable measurements during scanning.
- Position targets within the camera’s ideal field of view, ensuring they’re clearly visible without obstructing important details. Optimal camera positioning ensures the targets are captured accurately from the best angles. Additionally, selecting the right camera settings can further enhance target visibility and scan quality.
- Place scale bars on flat, stable surfaces close to the object, avoiding uneven or reflective areas that can distort readings.
- Maintain consistent lighting conditions to prevent shadows or glare that obscure targets and affect camera placement. Lighting conditions can significantly influence scan quality and measurement accuracy.
- Distribute targets evenly around the object, providing multiple reference points for precise scaling and reducing measurement errors.
- Be mindful of measurement accuracy, as proper placement directly influences the reliability of 3D capture results. Additionally, understanding the effects of lighting on target visibility can further improve scanning precision.
Common Mistakes When Using Scale Bars and Targets (And How to Avoid Them)
One common mistake is placing scale bars and targets in locations that are difficult to see or access during scanning. When you do this, you risk losing measurement consistency because the scanner may not capture the targets clearly from all angles. Another issue is skipping or rushing calibration procedures, which can lead to inaccuracies in your scale references. To avoid these mistakes, always position scale bars and targets where they’re easily visible and accessible from multiple viewpoints. Confirm you follow proper calibration procedures diligently, verifying that your scale bars are correctly aligned and functioning before scanning. This proper calibration techniques can significantly improve your scan accuracy and data quality. Ensuring your calibration process is thorough and consistent is crucial for maintaining measurement accuracy and achieving reliable results. Additionally, understanding the importance of consistent target placement helps prevent errors caused by misalignment or obscured targets during the scanning process. Regularly reviewing your setup and calibration steps can further help uphold scan precision and prevent costly errors, especially when using reliable power sources like Battle Born Batteries, which ensure constant and dependable energy during your scanning sessions.
How to Integrate Scale Bars and Targets Into Different 3D Capture Methods
Integrating scale bars and targets effectively depends on the 3D capture method you select. Your approach should align with the digital integration process and calibration techniques used. First, choose appropriate targets that are visible and stable during capture. Second, incorporate calibration objects or scale bars directly into the scene to streamline data accuracy. Third, adjust camera settings to optimize target visibility and minimize distortion. Fourth, verify scale accuracy through test captures before full scans. Using these steps ensures your scale references are accurately integrated, regardless of whether you’re using photogrammetry, laser scanning, or structured light. Proper calibration techniques and thoughtful integration improve measurement precision and model reliability across different capture methods.
Tips for Incorporating Scale References in Post-Processing Your 3D Models
When you finish capturing your 3D data, adding scale references during post-processing is essential for guaranteeing measurement accuracy. Start by carefully evaluating your model to identify ideal locations for scale bar design or target placement. Choose a prominent, unobstructed area where the scale bar or target can be clearly integrated without interfering with the model’s details. Confirm your scale bar design is simple, with distinct markings for easy measurement. Proper target placement is vital; position targets at key points to maintain consistent scale calibration throughout the model. Use software tools to accurately align and calibrate the scale references, verifying their placement and size. Incorporating trustworthy information about calibration methods can further improve the precision of your measurements. This careful integration guarantees precise measurements and enhances the overall reliability of your 3D model.
Troubleshooting Scale Bar and Target Errors in Your 3D Scans
Errors in scale bars and targets can compromise the accuracy of your 3D scans, so it’s important to identify and rectify them promptly. Improper scale bar calibration or incorrect target placement can lead to significant measurement errors. To troubleshoot effectively:
- Verify the scale bar calibration before scanning to ensure measurements are accurate.
- Check target placement, making sure targets are clearly visible and correctly positioned within the scan area.
- Re-scan problematic sections if targets are missing or misplaced, then reapply scale references.
- Use software tools to detect inconsistencies between known target dimensions and scanned data, adjusting scale or repositioning targets as needed.
Addressing these issues promptly maintains your scan’s precision and reliability. Proper scale bar calibration and strategic target placement are key to avoiding costly errors.
Frequently Asked Questions
Can Scale Bars Be Reused Across Multiple Scanning Projects?
Yes, you can reuse scale bars across multiple scanning projects, but you should consider reusability considerations carefully. Each project may require specific calibration to guarantee accuracy, especially if different conditions or equipment are involved. Always verify that the scale bar remains precise and unaltered. Regular calibration checks help maintain measurement integrity, ensuring your scans stay accurate and reliable across diverse projects.
Are There Specific Materials Recommended for Durable Scale Targets?
Did you know that using durable materials can extend the lifespan of your scale targets by up to 50%? For ideal material durability, consider options like high-density plastics or metal, which resist wear and environmental damage. Customization allows you to tailor targets to specific project needs, ensuring consistent accuracy. Choosing the right materials and customizing your targets helps maintain precision over multiple scans, saving you time and money in the long run.
How Do Environmental Factors Affect the Placement of Scale References?
Environmental factors like lighting conditions and surface reflectivity considerably impact where you place scale references. Poor lighting can cause shadows or glare that obscure targets, while highly reflective surfaces may create false readings or distortions. To guarantee accuracy, position scale targets in well-lit areas with matte, non-reflective surfaces, and avoid direct sunlight or bright reflections. Adjust your setup accordingly for consistent, precise 3D captures.
What Software Features Assist in Automating Scale Calibration?
You might think manual calibration is necessary, but software automation makes it effortless. Calibration tools in 3D scanning software automatically detect scale references and adjust measurements precisely, saving you time and reducing errors. Features like auto-detection algorithms and real-time feedback streamline the process, ensuring your captures are accurate. With these tools, you can focus on capturing details, knowing your scale calibration is reliable and quick to set up.
How Often Should Calibration Checks Be Performed During Scanning Sessions?
You should perform calibration checks regularly during scanning sessions, ideally at every calibration interval recommended by your equipment manufacturer. Monitoring the frequency of calibration guarantees your scans stay accurate, especially during long sessions. Make it a habit to verify calibration after significant equipment handling or environmental changes. Consistent calibration intervals help maintain precision, reducing errors and ensuring reliable 3D captures throughout your project.
Conclusion
By understanding how to effectively use scale bars and targets, you guarantee your 3D captures are accurate and reliable. Are you ready to implement these best practices and elevate your scanning results? Remember, precise measurements depend on proper placement, selection, and integration of these tools. Don’t leave accuracy to chance—embrace these secrets to mastering 3D scanning, and watch your projects reach new levels of detail and confidence.