
To make certain of successful heat transfers and avoid waste, you need to set the right time, temperature, and pressure for each material. Start by following manufacturer’s guidelines, testing on small samples, and adjusting as needed. Consistent pressure and proper pre-pressing help your design stick and last. Keep detailed records of your settings for future projects. If you want to master flawless transfers without guesswork, there’s more to discover below.
Key Takeaways
- Calibrate your heat press regularly to ensure consistent pressure, temperature, and timing for optimal transfer results.
- Use material-specific temperature and time guidelines to prevent damage and ensure durable, vibrant transfers.
- Conduct test prints on scrap materials to fine-tune settings, avoiding wastage and subpar results.
- Maintain uniform pressure during transfers to ensure even contact and prevent incomplete or uneven designs.
- Document and follow consistent procedures for each project to minimize errors and improve transfer quality over time.

Kitclub Heat Press Laser Alignment System, Laser Positioning Tool for T-Shirt & Hat Press. Magnetic Guide for Sewing Machine, DTF, Sublimation. Perfect Placement for Printing & Quilting
Precise Cross Laser Positioning: Projects a clear red cross-line for perfect alignment for Quilting, DTF, sublimation, and heat…
As an affiliate, we earn on qualifying purchases.
As an affiliate, we earn on qualifying purchases.
Why Proper Heat Press Settings Are Crucial for Success
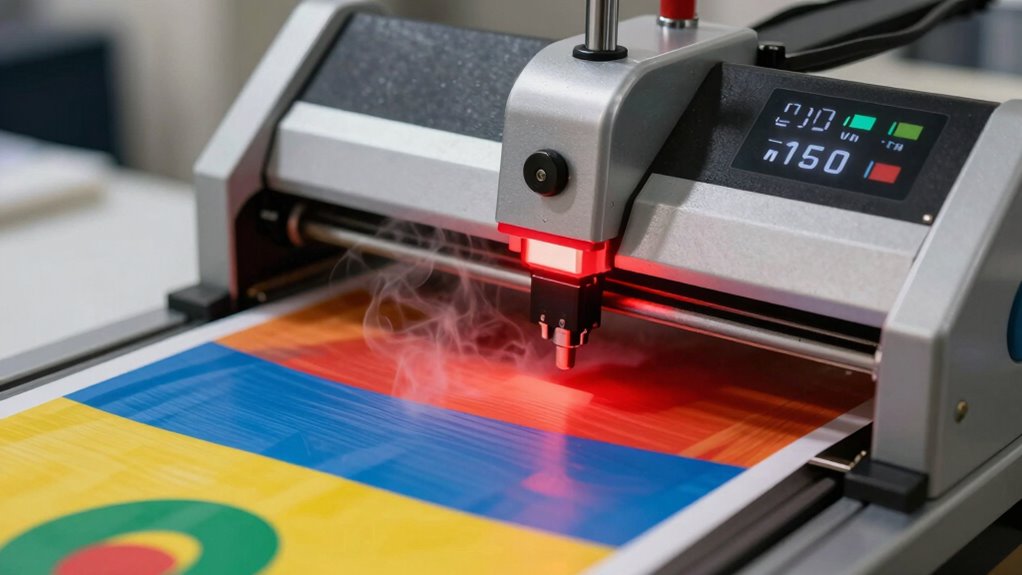
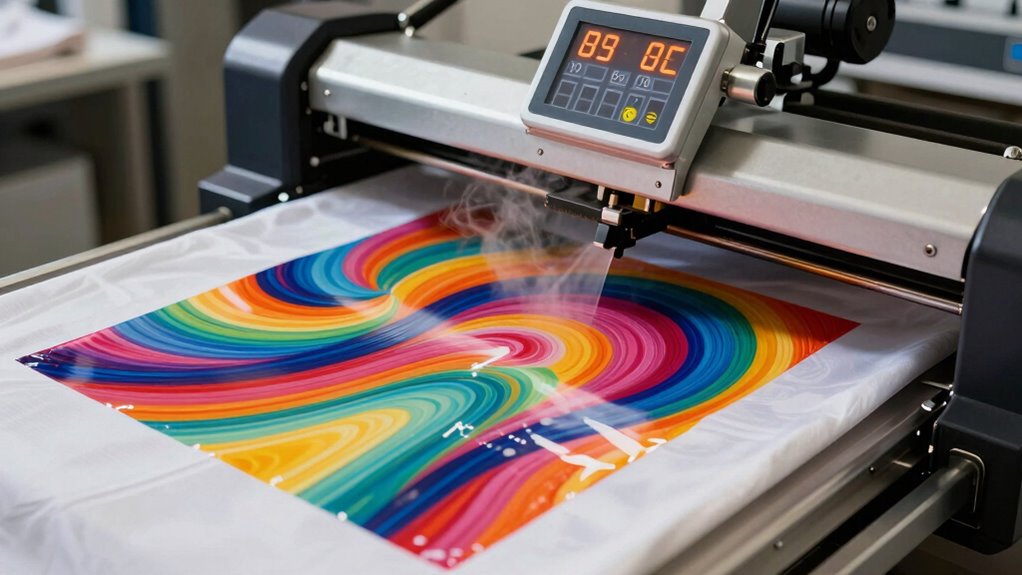
Proper heat press settings are vital because they directly impact the quality and durability of your finished product. Accurate pressure calibration ensures you apply the right amount of force, preventing issues like incomplete transfers or damaging your material. Before pressing, proper material preparation is essential—make sure your items are clean, flat, and free of wrinkles. When you set your pressure correctly, it guarantees even contact across the entire surface, leading to consistent results. Skipping calibration or rushing material prep can cause poor adhesion, fading, or peeling over time. Taking the time to calibrate your pressure and prepare your materials ensures each transfer is precise, durable, and professional-looking. Additionally, understanding how proper heat distribution affects the transfer can help you troubleshoot and optimize your process for better outcomes. Ensuring consistent temperature maintenance throughout the pressing process is also crucial for achieving high-quality results. Paying attention to heat transfer efficiency can significantly improve your success rate and reduce wasted transfers. This attention to detail is key to successful heat pressing every time, and optimizing pressing parameters can lead to more consistent and professional results. Incorporating regular equipment checks ensures your heat press functions correctly and maintains optimal settings over time.

Delclynee 16" x 24" Slide Out (12.25") Heat Press Machine for T Shirts, Clamshell Pull Out Lower Platen, Industrial-Quality Digital Sublimation Printer for Heat Transfer Vinyl
Large Format Heat Press: Features a 16×24 inch heat platen for oversized transfers. Voltage: 110V (US/Canada standard). Power:…
As an affiliate, we earn on qualifying purchases.
As an affiliate, we earn on qualifying purchases.
How to Adjust Temperature for Different Materials

Your choice of material directly impacts the ideal temperature setting. You should adjust the heat based on the specific fabric or item you’re working with. Always test on a small piece first to guarantee the correct temperature and avoid damage. Additionally, understanding the essential oils used in aromatherapy can help you select materials that are more compatible and less likely to be damaged during heat transfer. Being familiar with deep-sky imaging techniques can also inform the selection of heat‑resistant materials for specialized projects.
Material Type Matters
Since different materials have unique heat sensitivities, adjusting the temperature on your heat press is essential for achieving the best results. For delicate fabrics with lower durability, such as polyester or nylon, use lower temperatures to prevent damage to the material surface. Conversely, sturdier fabrics like cotton or canvas can withstand higher heat without compromising integrity. Understanding fabric durability helps you select the right temperature to ensure a clean, vibrant transfer without scorching or scorching. Proper adjustment protects the material surface and ensures your design adheres smoothly, resulting in a professional-quality transfer every time. Additionally, heat transfer techniques can vary depending on material type, so consulting manufacturer guidelines can help optimize your process. Recognizing the importance of material-specific heat settings helps prevent common issues like scorching or incomplete transfers, ultimately saving time and materials. Being aware of heat distribution within the press can also improve transfer quality and consistency.
Adjust Temperature Accordingly
Adjusting the temperature on your heat press is vital for achieving the best results with different materials. Variations in heat source and calibration can affect transfer quality, so it’s imperative to tailor the temperature. Use a reliable thermometer to check and calibrate your heat press regularly, accounting for heat source variation. Different fabrics require specific temperatures; for example, polyester needs lower temps than cotton. Keep this in mind:
| Material | Recommended Temp | Duration |
|---|---|---|
| Polyester | 300°F (149°C) | 15-20 seconds |
| Cotton | 350°F (177°C) | 15-20 seconds |
| Nylon | 280°F (138°C) | 10-15 seconds |
| Leather | 320°F (160°C) | 20-30 seconds |
| Synthetics | 290°F (143°C) | 10-15 seconds |
Adjust your settings based on these guidelines to guarantee perfect transfers every time.
Test Before Full Press
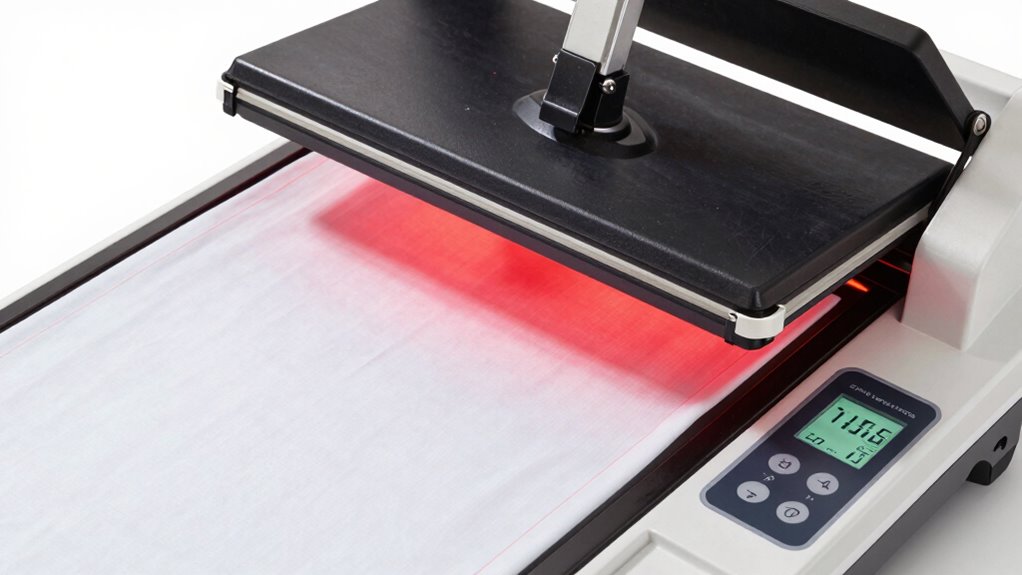
Before applying heat to your entire project, it’s essential to run a test press on a scrap piece of the same material. Fabric testing allows you to determine the correct temperature, pressure, and time for each fabric type. By doing a transfer preview, you can see how the transfer reacts without risking your main project. Adjust the temperature based on your fabric testing results to ensure proper adhesion and prevent scorching or incomplete transfers. Keep notes of your test results so you can replicate the perfect settings. This step helps you customize your heat press process for different materials, ensuring consistent, professional results. Skipping this step can lead to wasted transfers and compromised quality, so always test before the full press.
HTVRONT HTV Roll Heat Transfer Vinyl – 12" x 8ft White HTV Vinyl for Shirts, Iron on Vinyl for All Cutting Machine – Easy to Cut & Weed for Heat Transfer Design (White)
【EASY TO CUT WEED TRANSFER】Our premium quality heat transfer vinyl will save time which you may waste on…
As an affiliate, we earn on qualifying purchases.
As an affiliate, we earn on qualifying purchases.
What’s the Ideal Time for Various Transfers and Materials?
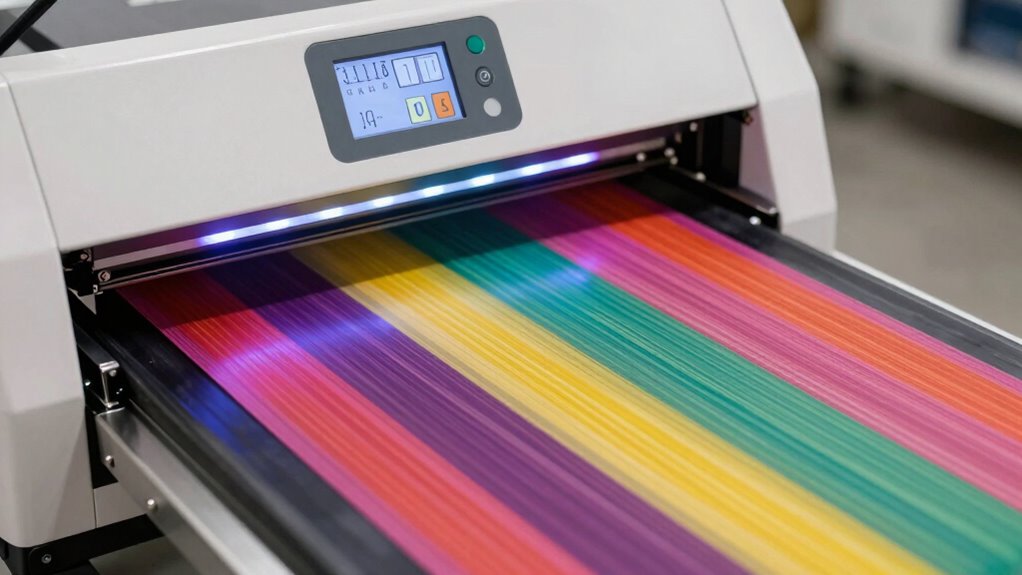
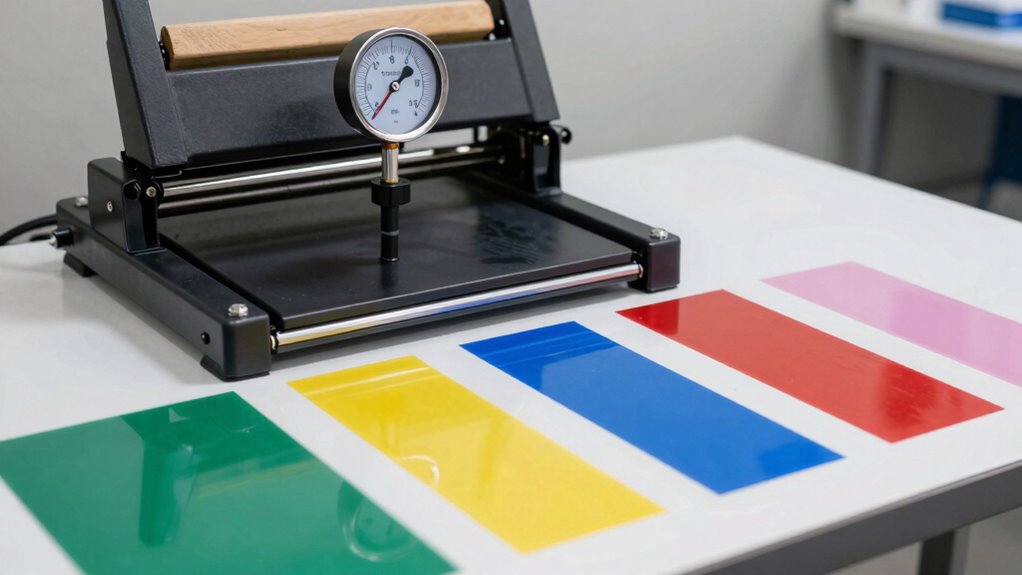
Finding the right press time for different transfers and materials is essential to achieving high-quality results. Transfer durations vary depending on the type of transfer and the fabric you’re working with. For example, standard heat transfer vinyl often requires 10-15 seconds, while sublimation on polyester might need 45-60 seconds. Material specific timing guarantees the transfer adheres properly without scorching or peeling. Thinner fabrics like cotton usually need shorter times, around 10-20 seconds, whereas thicker materials like canvas may need longer. Always refer to manufacturer guidelines, but don’t hesitate to perform test presses to fine-tune your timing. Properly adjusting transfer durations guarantees vibrant, durable results while avoiding wasted transfers or reworks. Mastering these timings is key to consistent, professional-looking finishes. Understanding industry trends helps in staying updated with optimal transfer techniques and the latest innovations in heat transfer technology. Additionally, knowing the appropriate pressure settings ensures even application and prevents damage to delicate fabrics.

MEASUREMAN Tridicator, Thermo-Manometer, 2-1/2", Silicone Oil Filled, 0-160psi/30-250 deg F, Stainless Steel Case, 1/4" NPT Lower Mount Pressure Gauge
For pressure and temperature measuring of gas, liquid which is not corrosive to brass, also where vibration and…
As an affiliate, we earn on qualifying purchases.
As an affiliate, we earn on qualifying purchases.
How to Apply the Correct Pressure for Vibrant, Durable Transfers

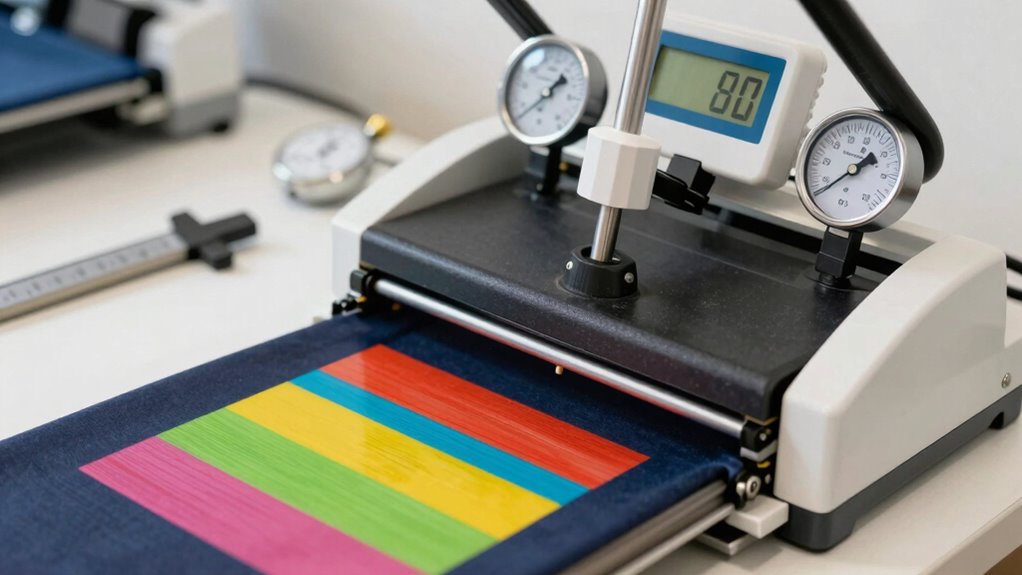
Applying the correct pressure during heat transfer is essential to guarantee the design bonds evenly and securely without damaging the material. Proper pressure calibration ensures that you apply just the right amount of force, promoting transfer durability and vibrant results. Too much pressure can cause the transfer to bleed or distort, while too little may result in poor adhesion. To find the right pressure, use a calibrated pressure setting on your heat press, often indicated by a gauge or pressure adjustment knob. Consistent pressure maintains quality across multiple transfers and prevents uneven application. Remember, different materials and transfer types may require adjustments, so always test and fine-tune your pressure to achieve ideal, long-lasting results. Proper pressure calibration is key to successful heat pressing and can help avoid common mistakes. Additionally, understanding paint viscosity and its impact on spray performance can influence the quality of your final product, ensuring a smooth, even finish. Maintaining consistent pressure also helps prevent piercing and irritation, which can occur when pressure is uneven or excessive during application. Regularly checking your pressure settings can also help you avoid material damage, ensuring your transfers remain vibrant and durable over time. Properly managing pressure distribution across the transfer area ensures uniform results and reduces the risk of uneven wear or failure.
Troubleshooting Common Heat Press Problems
Even with careful pressure calibration, heat press problems can still occur, affecting the quality and durability of your transfers. Common mistakes like uneven pressure, incorrect temperature, or insufficient pre-pressing can lead to disappointing results. Equipment calibration is key—if your machine isn’t properly calibrated, you risk inconsistent transfers or damage. To help diagnose issues, consider this emotional breakdown:
| Problem | Cause | Solution |
|---|---|---|
| Faded or cracked designs | Low temperature or pressure | Recheck calibration and settings |
| Uneven print coverage | Unequal pressure application | Adjust pressure calibration |
| Transfer peeling or cracking | Excessive heat or time | Fine-tune temperature and time |
| No transfer or faint image | Inadequate pre-pressing | Pre-press longer and check calibration |
Additionally, understanding heat transfer techniques can help improve your results and prevent common errors. It’s also helpful to familiarize yourself with equipment maintenance to ensure your heat press functions correctly over time.
How to Test and Fine-Tune Your Settings for Consistency
To guarantee consistent heat press results, it’s essential to systematically test and fine-tune your machine’s settings. Begin by using sample materials to evaluate color matching and ink adhesion. Press a test item at different temperature, time, and pressure combinations, noting how colors appear and how well the ink sticks. Adjust your settings incrementally, aiming for a balance that ensures vibrant, accurate colors and strong ink adhesion without oversaturation or fading. Keep detailed records of each test to identify patterns and ideal parameters. This process helps you develop a reliable reference, minimizing variability across projects. Additionally, tracking test results can improve clarity and professionalism in your documentation. Consistent testing and fine-tuning ensure your transfers remain uniform, professional, and true to your original design, saving time and reducing waste. Incorporating proper testing techniques into your routine is crucial for achieving predictable and high-quality results. Employing a systematic approach allows you to refine your process more efficiently and consistently, and understanding how to interpret test outcomes is a fundamental part of culinary calibration for heat presses.
Maintaining Consistency Across Multiple Projects
Maintaining consistency across multiple heat press projects requires a systematic approach to replicating your ideal settings. Start by documenting your precise time, temperature, and pressure for each project. Consistent color matching depends on using the same heat press settings and materials, so avoid variations that could alter hues. Before pressing each item, double-check design alignment to ensure each transfer lines up perfectly, preventing misprints and uneven results. Use alignment guides or registration marks to streamline this process. Keep your equipment calibrated regularly to maintain accurate temperature and pressure. By sticking to your documented settings and verifying design placement, you reduce mistakes and ensure each project looks as professional as the last. Consistency is key to building your reputation and saving time on rework.
Final Tips to Avoid Wasted Transfers and Boost Your Success

To avoid wasting transfers and improve your results, focus on handling your materials properly and applying a consistent technique. Making sure your substrates are clean and correctly prepared helps transfers stick and last longer. By maintaining steady pressure and timing, you’ll boost your success and reduce errors with each project. Additionally, understanding proper heat press settings ensures optimal transfer quality and durability.
Proper Material Handling
Proper material handling is essential for guaranteeing your heat press transfers turn out perfect and you avoid wasting time and resources. Choosing the right material and following storage best practices helps maintain quality and consistency. Always select materials suited for heat transfer, considering fabric type and color. Store materials in a cool, dry place away from direct sunlight to prevent warping or fading. Keep them flat or properly rolled to avoid creases and wrinkles. Label your supplies clearly so you can quickly find what you need and prevent mix-ups. This attention to detail ensures your transfers adhere well and look professional, saving you time and money in the long run. Proper handling and storage set a solid foundation for successful heat pressing.
Consistent Technique Application
Consistent application of your heat press technique is key to achieving professional-looking transfers and minimizing waste. When your techniques consistency is reliable, you reduce the chances of errors like uneven pressure or incorrect timing, which can ruin transfers. Develop a routine for every press, including setting precise temperature, pressure, and time. This steadiness improves your workflow efficiency, allowing you to work faster and with fewer mistakes. Avoid rushing or skipping steps, as inconsistency leads to wasted materials and rework. Keep your equipment calibrated and your workspace organized to maintain steady results. By sticking to a proven process, you ensure each transfer meets quality standards, saving you time, money, and frustration. Consistent technique application is the cornerstone of a successful, waste-free heat pressing operation.
Frequently Asked Questions
How Do Ambient Room Conditions Affect Heat Press Results?
Ambient room conditions directly impact your heat press results. High humidity levels can cause transfers to peel or bubble, while low humidity helps guarantee better adhesion. Similarly, ambient temperature affects how evenly heat transfers; cooler rooms might require adjustments in time or temperature, whereas warmer environments can speed up the process. To achieve consistent results, maintain a controlled environment with stable humidity levels and temperature, helping your transfers come out perfect every time.
Can Different Transfer Types Require Unique Settings?
Yes, different transfer materials and fabric compatibility often demand unique heat press settings. You need to adjust time, temperature, and pressure based on the transfer material you’re using and the fabric you’re pressing onto. For example, a vinyl transfer may require lower heat and shorter press time, while sublimation needs higher temperatures. Always check manufacturer instructions to guarantee ideal results and avoid damaging either the transfer or the fabric.
What Safety Precautions Should I Take During Heat Pressing?
Think of heat pressing as a fiery dance—you need to safeguard yourself first. Always wear protective gear like gloves and safety glasses to shield against burns. Guarantee proper ventilation safety to prevent inhaling fumes and keep your workspace breathable. Keep a fire extinguisher nearby, and never leave the heat press unattended. By taking these precautions, you turn a potentially hazardous task into a safe, successful craft.
How Often Should I Calibrate My Heat Press Machine?
You should calibrate your heat press machine at least once every three to six months to guarantee peak machine accuracy. Regular calibration maintains consistent heat and pressure, which are essential for quality transfers. If you notice uneven coloring, inconsistent adhesion, or temperature fluctuations, calibrate sooner. Staying on top of your calibration schedule helps prevent wasted transfers and guarantees your designs come out perfect every time.
Are There Specific Tips for Transferring Onto Textured Surfaces?
When transferring onto textured surfaces, you should start by thoroughly preparing the surface, cleaning it to remove dust or oils. Use a slightly longer pressing time and increase pressure to guarantee the transfer penetrates uneven areas. Test on a small section first to adjust settings as needed. Patience is key—proper surface preparation and attention to detail will give you the best results on textured surfaces.
Conclusion
Mastering your heat press settings is like tuning an instrument—you’ll create beautiful, vibrant transfers every time. By paying attention to temperature, time, and pressure, you avoid costly mistakes and turn your projects into perfection. Think of it as revealing a secret recipe; once you get the hang of it, success becomes second nature. Keep experimenting, stay consistent, and watch your designs pop with professional flair—your perfect press is just a few tweaks away!