
Using 3D-printed models in your geometry lessons makes complex shapes easier to grasp by providing tactile and visual learning tools. These models help students explore, manipulate, and understand concepts like angles, surfaces, and spatial relationships. To get started, choose the right tools, design accurate models, and select suitable printing technology. Explore ways to boost engagement and troubleshoot common issues to enhance your teaching approach — if you keep exploring, you’ll discover more effective strategies.
Key Takeaways
- Utilize 3D-printed models to enhance spatial understanding and tactile learning of complex geometric concepts.
- Incorporate design and customization to create targeted, scalable, and visually differentiated models for diverse learners.
- Select appropriate 3D printing tools and materials to ensure accuracy, durability, and surface quality of geometric models.
- Engage students through collaborative activities, model manipulation, and exploration to foster active learning and curiosity.
- Troubleshoot common printing issues and stay informed on technological advancements to optimize model quality and educational impact.

FLASHFORGE Adventurer 5M 3D Printer with Fully Auto Leveling, Max 600mm/s High Speed Printing, 280°C Direct Extruder with 3S Detachable Nozzle, CoreXY All Metal Structure, Print Size 220x220x220mm
One-Click Automatic Printing: Experience hassle-free 3D printing with the Adventurer 5M Series. Enjoy automatic bed leveling for flawless…
As an affiliate, we earn on qualifying purchases.
As an affiliate, we earn on qualifying purchases.
Benefits of Incorporating 3D Printing in Geometry Education
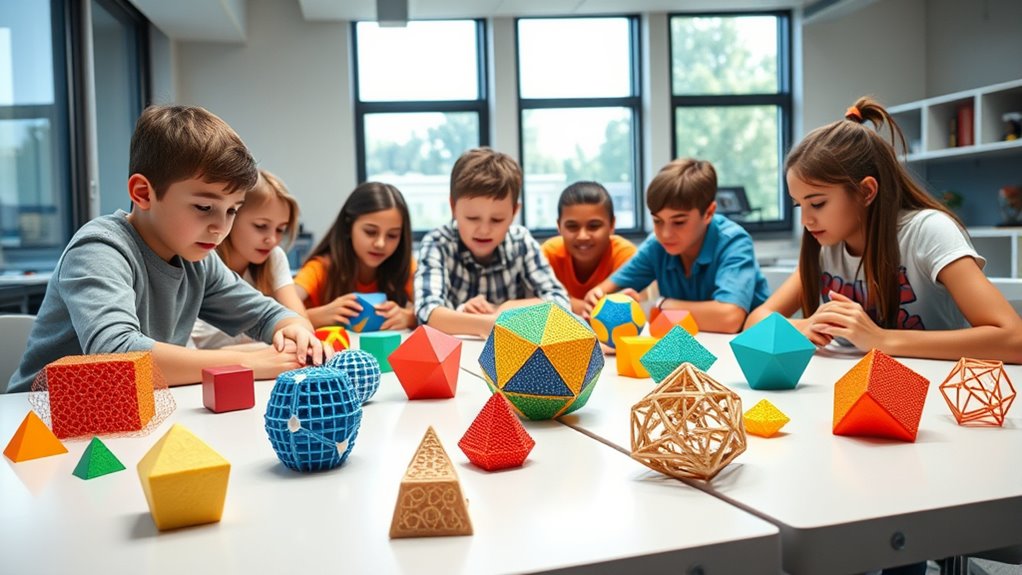
Incorporating 3D printing into geometry education offers several compelling benefits. One key advantage is that it enhances understanding through virtual reality experiences, allowing you to explore complex shapes interactively. When combined with tactile feedback, 3D-printed models provide a hands-on approach, enabling you to feel the dimensions and surfaces of geometric figures. This multisensory engagement helps solidify spatial reasoning and makes abstract concepts more concrete. The integration of virtual reality and tactile feedback creates an immersive learning environment that encourages exploration and curiosity. As a result, you gain a clearer, more intuitive grasp of geometric principles, making learning both effective and engaging. Personal development techniques such as visualization and self-reflection can further support students’ motivation and confidence in mastering complex concepts.

SUNLU PLA Filament 1.75mm Bundle, 3D Printer Filament Bundle 250g, 8 Rolls, 2kg Total, Black+White+Grey+Transparent+Red+Klein Blue+Sunny Orange+Green
①【SUNLU PLA 3D Printer Filament Bundle】2kg in Total, 8 Spools of 250g SUNLU 1.75mm PLA filament. Multiple Color…
As an affiliate, we earn on qualifying purchases.
As an affiliate, we earn on qualifying purchases.
Essential Tools and Materials for Creating 3D Geometric Models
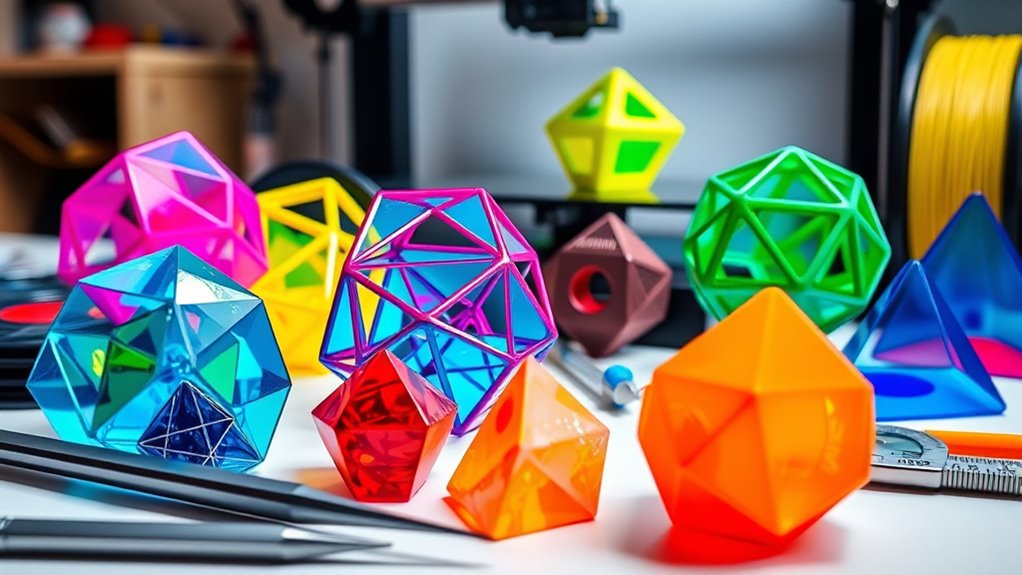
To create accurate and durable 3D geometric models, you’ll need a combination of essential tools and materials. A reliable 3D printer is fundamental, preferably one with high resolution for precise details. Choose filaments made from materials known for durability, such as PLA or PETG, which resist breaking and wear over time. These materials also support color customization, allowing you to produce vibrant, visually appealing models tailored to your educational needs. You’ll also need basic tools like scrapers, tweezers, and sanding paper to clean and refine your prints. Additionally, a variety of filament colors or multi-color filaments help differentiate geometric features. Incorporating jet boat technology into your models can demonstrate concepts of fluid dynamics and propulsion in a visual and tangible way. Having these tools and materials on hand guarantees your models are both long-lasting and visually engaging, enhancing your teaching experience.

hand2mind Foam Geometric Solid Blocks, Assorted Colors, 3D Shapes (Set of 12)
Common three-dimensional (3-d) shapes made of durable foam
As an affiliate, we earn on qualifying purchases.
As an affiliate, we earn on qualifying purchases.
Step-by-Step Guide to Designing 3D Geometric Shapes

Creating a 3D geometric shape begins with planning your design carefully. Start by sketching your shape and identifying key features. Use geometric algorithms to define dimensions, angles, and vertices precisely. Once you have a clear plan, move to modeling software, where you can refine your design for model optimization. Adjust parameters to guarantee structural integrity and printability. Consider how different angles and surfaces interact to avoid overhangs or unsupported features. Efficiently optimizing your model saves material and reduces print time. Use this table to guide your process:
| Step | Focus |
|---|---|
| Sketch initial concept | Geometric algorithms for accuracy |
| Define dimensions | Mathematical precision |
| Model in software | Model optimization techniques |
| Refine design | Minimize overhangs, enhance stability |
| Final check and export | Prepare for printing |
Following these steps ensures your design is both precise and print-ready. Additionally, understanding the importance of proper model refinement can significantly improve the quality of your printed shapes.

68Pcs 3D Printer Tools Kit with Storage Case, 3D Printer Accessories – Deburring Tool, 3D Printer Removing Scrapers, Metal Files, Brushes, Hand Drill, Tweezers, for Bambu Lab, Ender 3, Kobra, etc.
【Upgraded 68-in-1 3D Printer Tools Kit, 1-Year Warranty】Designed by a Team of 15-Year 3D Printing Enthusiasts, the kit…
As an affiliate, we earn on qualifying purchases.
As an affiliate, we earn on qualifying purchases.
Selecting the Right 3D Printing Technology for Educational Purposes

Choosing the right 3D printing technology is vital for effective educational use because different methods offer varying levels of detail, speed, and material options. When selecting a technology, consider material selection—some printers work best with plastics, resins, or flexible filaments, depending on your needs. Printing resolution is also essential; higher resolution yields more detailed models, which helps students better understand complex geometries. FDM (Fused Deposition Modeling) printers are affordable and versatile but may lack fine detail, while resin printers provide superior detail at a higher cost. Think about your classroom’s goals, budget, and the complexity of models you want. Making an informed choice ensures your 3D-printed models are both durable and educationally effective. Additionally, understanding key elements of farmhouses, such as natural materials and vintage accents, can inspire creative and practical design choices for educational models that reflect real-world aesthetics.
Tips for Preparing and Printing Accurate Geometric Models

Ensuring your geometric models are accurate begins with careful preparation before printing. First, double-check your 3D model files for errors or inconsistencies, as this impacts model accuracy. Adjust the print resolution to achieve finer detail; higher resolution results in smoother surfaces and sharper edges but may increase printing time. Set the layer height appropriately—smaller layer heights improve detail but require more time. Use proper supports and orientation to prevent deformation and ensure stability during printing. Select the right filament material for dimensional precision. Before printing the full model, run a small test print to verify accuracy and make necessary adjustments. Proper preparation helps you produce precise, reliable models that effectively support your geometry lessons. Additionally, understanding industry trends can help you choose the most effective techniques and materials for your projects.
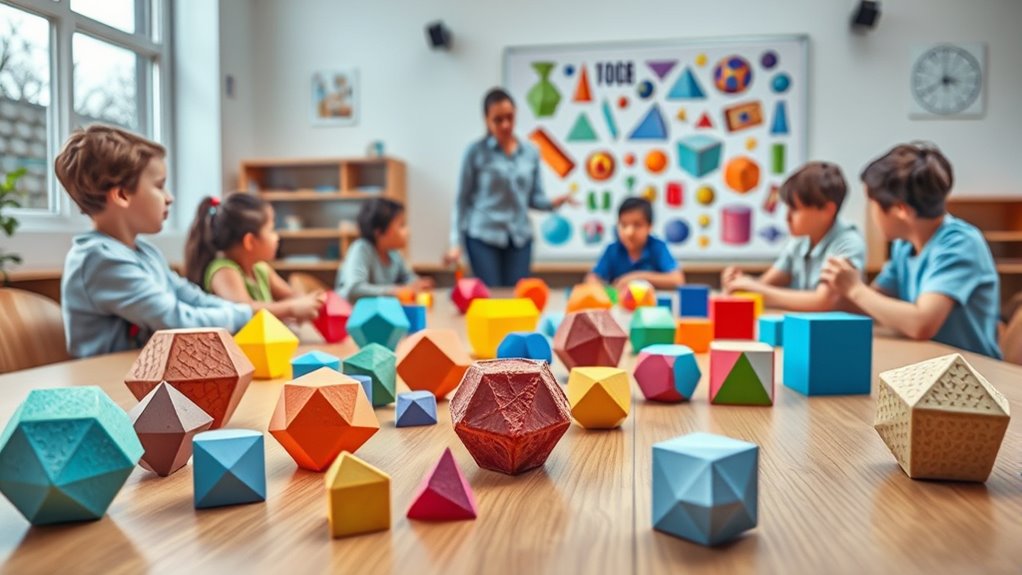
Creative Ways to Use 3D-Printed Models in the Classroom

You can make learning more interactive by letting students explore shapes from different angles with 3D-printed models. Customizing lesson materials allows you to tailor activities to your students’ needs and interests. Plus, group activities using these models encourage collaboration and hands-on engagement in geometry lessons. Incorporating remote work principles can also inspire students to develop self-directed learning habits outside the classroom.
Interactive Shape Exploration
Interactive shape exploration with 3D-printed models offers a dynamic way to engage students and deepen their understanding of geometric concepts. You can encourage students to manipulate models physically, fostering tactile learning. Incorporating digital simulations and virtual reality enhances this experience, allowing students to explore shapes from multiple perspectives. Use the following table to plan activities:
| Activity | Tool Needed | Learning Outcome |
|---|---|---|
| Rotate and Examine | 3D-printed models | Recognize faces, edges, vertices |
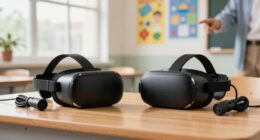
| Virtual Shape Tours | VR headsets, digital simulations | Visualize complex structures |
| Assembly Challenges | Modular models | Understand spatial relationships |
Additionally, integrating vertical storage solutions can help organize classroom materials efficiently, making it easier to access and manage the models and tools used in these activities.
Customizable Lesson Materials
Customizable lesson materials open new possibilities for teaching geometry with 3D-printed models. They allow you to tailor content to suit individual student needs, fostering personalized learning. You can modify models to highlight specific geometric properties, create variations for comparison, or adapt complexity levels. This flexibility ensures each student interacts with materials that match their understanding.
Consider these approaches:
- Designing models that emphasize particular angles or faces for targeted lessons
- Creating scaled versions to demonstrate real-world applications
- Customizing models with labels or color coding for enhanced clarity
- Incorporating symmetry principles into models to demonstrate geometric concepts visually
Using customizable lesson materials, you empower students to explore geometry in ways that resonate with their learning styles, making complex concepts more accessible and engaging.
Engaging Group Activities
Incorporating 3D-printed models into group activities can considerably boost student engagement and collaboration. You can assign small groups to explore different geometric shapes or structures, encouraging peer feedback and discussion. These activities foster group collaboration as students identify properties, compare models, and solve problems together. To make it interactive, try rotating models among groups, prompting students to analyze and critique each other’s work. This method not only deepens understanding but also builds communication skills. Use the table below to plan your activities:
| Activity Idea | Goal |
|---|---|
| Shape Sorting Challenge | Recognize and classify different shapes |
| Model Assembly Race | Enhance teamwork and spatial skills |
| Property Detective | Identify geometric properties |
These activities make learning dynamic and collaborative, helping students internalize concepts more effectively. Incorporating geometric properties into discussions can further deepen students’ understanding of shapes and structures.
Enhancing Student Engagement Through Hands-On Learning

Using 3D-printed models makes learning more interactive and engaging for your students. These hands-on tools spark curiosity and encourage exploration of complex geometric concepts. When students manipulate physical models, they become more actively involved in their own learning process. Additionally, incorporating personalized learning approaches through 3D models can further cater to individual student needs and learning styles.
Interactive Learning Experiences
Hands-on learning with 3D-printed models transforms abstract geometry concepts into tangible experiences, making it easier for you to help students grasp complex shapes and relationships. By integrating virtual field trips, students can explore geometric structures in real-world contexts beyond the classroom. Artistic model design encourages creativity, allowing learners to customize and visualize models that reflect their understanding. These interactive experiences foster deeper engagement through activities such as building, manipulating, and analyzing models collaboratively. You can also incorporate tasks that challenge students to identify geometric properties or simulate real-world applications. The hands-on approach not only boosts comprehension but also nurtures curiosity, making learning dynamic and meaningful. Overall, these methods create a richer, more immersive educational environment that promotes active participation.
Stimulating Curiosity and Exploration
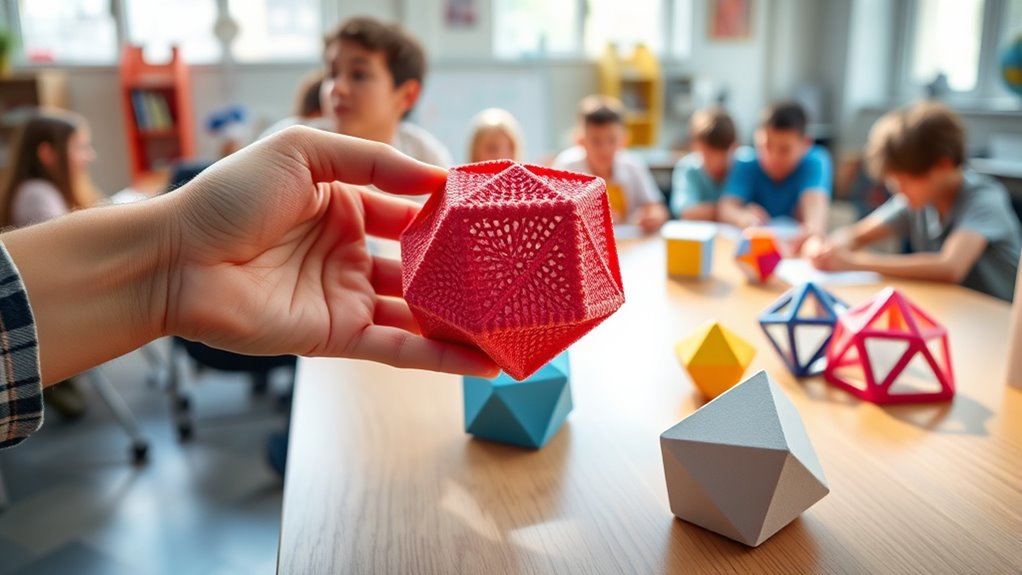
Have you ever wondered how to ignite students’ natural curiosity about geometry? Using 3D-printed models can spark their visual curiosity by allowing them to see complex shapes from different angles. Tactile exploration encourages hands-on interaction, making abstract concepts more concrete. When students touch and manipulate these models, they actively engage with geometric principles, fostering deeper understanding. This interactive approach promotes exploration, inspiring questions and discovery. By combining visual curiosity with tactile exploration, you create an environment where students are motivated to investigate and learn more. 3D-printed models transform passive observation into dynamic exploration, making geometry both accessible and exciting. Ultimately, this approach nurtures curiosity and encourages continuous inquiry, turning learning into an engaging adventure.
Addressing Common Challenges and Troubleshooting Tips

While 3D printing offers innovative ways to teach geometry, it can also present several challenges that may hinder your progress. Common issues include print failures, inaccurate models, and surface imperfections. To minimize these, focus on proper model calibration, ensuring your printer is correctly aligned and leveled. Selecting the right filament is equally important; choose materials suited for precise detail and durability. Troubleshooting tips include:
- Regularly calibrate your printer to avoid dimensional inaccuracies
- Experiment with filament types to match your model’s requirements
- Adjust print settings like temperature and speed for better quality
- Staying informed about automation in manufacturing can help you understand how technological advancements influence 3D printing processes.
Assessing Student Understanding With 3D Models
Using 3D-printed models in the classroom provides a tangible way to evaluate students’ grasp of geometric concepts. You can gather valuable student feedback by observing how they manipulate and explain the models. Assessment strategies include asking students to identify parts, explain relationships, or recreate models independently. These activities reveal their understanding of spatial reasoning and geometry principles. To organize your observations, consider this table:
| Activity | Focus Area | Student Feedback |
|---|---|---|
| Model identification | Recognition of shapes | Clarity of understanding |
| Explaining properties | Concept comprehension | Depth of explanation |
| Creating new models | Application of concepts | Creativity and mastery |
| Peer teaching | Communication skills | Confidence and clarity |
Additionally, incorporating Vetted resources allows for the integration of high-quality teaching materials and tools to enhance students’ learning experience.
Future Trends in 3D Printing and Geometry Education

As 3D printing technology continues to advance, its integration into geometry education is poised to transform classroom learning. Future trends include the increasing use of augmented reality to overlay digital models onto physical spaces, enhancing spatial understanding. Digital fabrication tools will become more accessible, allowing students to design and produce complex structures with ease. Additionally, hybrid approaches combining 3D printing and augmented reality will enable immersive, interactive lessons that deepen comprehension. You’ll see educators leveraging these innovations to foster creativity and hands-on engagement. These developments will make geometry concepts more tangible and intuitive. Staying ahead means embracing these trends, preparing students for a future where digital fabrication and augmented reality play essential roles in STEM education. Moreover, the accessibility of digital fabrication tools will empower more students to experiment and innovate in their geometric explorations.
Frequently Asked Questions
How Can 3d-Printed Models Be Customized for Different Learning Styles?
You can customize 3D-printed models to suit different learning styles by adjusting their complexity and features. For kinesthetic learners, create models they can manipulate and explore physically. For visual learners, add color coding or labels to highlight key features. You might also print different versions to emphasize various geometric concepts, ensuring each student engages with the material in a way that best supports their learning style.
What Safety Precautions Should Be Taken During 3D Printing in Classrooms?
Think of safety precautions as your backbone during 3D printing in classrooms. You should always prioritize material safety by choosing non-toxic filaments and ensuring proper ventilation. Regular equipment maintenance prevents mishaps and keeps printers running smoothly. Never leave printers unattended while printing, and use protective gear like gloves and goggles. These steps help you avoid accidents and create a safe, productive environment for everyone involved.
How Do 3D Models Assist Special Needs Students in Understanding Geometry?
You can help special needs students understand geometry through tactile learning and sensory engagement with 3D models. These models provide hands-on experiences, allowing students to explore shapes and spatial relationships physically. By feeling and manipulating the models, they gain a clearer understanding of geometric concepts that might be difficult to grasp through visuals alone. This active, multisensory approach supports diverse learning needs and enhances comprehension.
Are There Cost-Effective Options for Schools With Limited Budgets?
If your school has a limited budget, there are budget solutions and affordable materials you can explore. Consider using low-cost 3D printing filaments like PLA or ABS, which are widely available. You can also collaborate with local makerspaces or community colleges that might offer affordable access or printing services. Additionally, creating simple paper or cardboard models can serve as effective, budget-friendly alternatives for teaching geometry concepts.
How Can Teachers Integrate 3D Printing Into Existing Curriculum Standards?
You can integrate 3D printing by aligning projects with your curriculum standards, ensuring each model reinforces key concepts. Incorporate 3D-printed models into your lessons to enhance understanding and engagement. Use assessment strategies like quizzes or presentations that evaluate students’ grasp of geometry concepts through their 3D projects. This approach helps seamlessly blend new technology with existing standards, making learning more interactive and meaningful while meeting curriculum requirements.
Conclusion
By integrating 3D-printed models into your geometry lessons, you’ll make abstract concepts tangible and spark curiosity in your students. Embrace this modern approach, and watch their understanding and engagement flourish—it’s like having your own Renaissance in the classroom. With the right tools and a little patience, you’ll transform learning into an exciting adventure. So, don’t be left in the dust—dive into 3D printing and bring geometry to life today!