
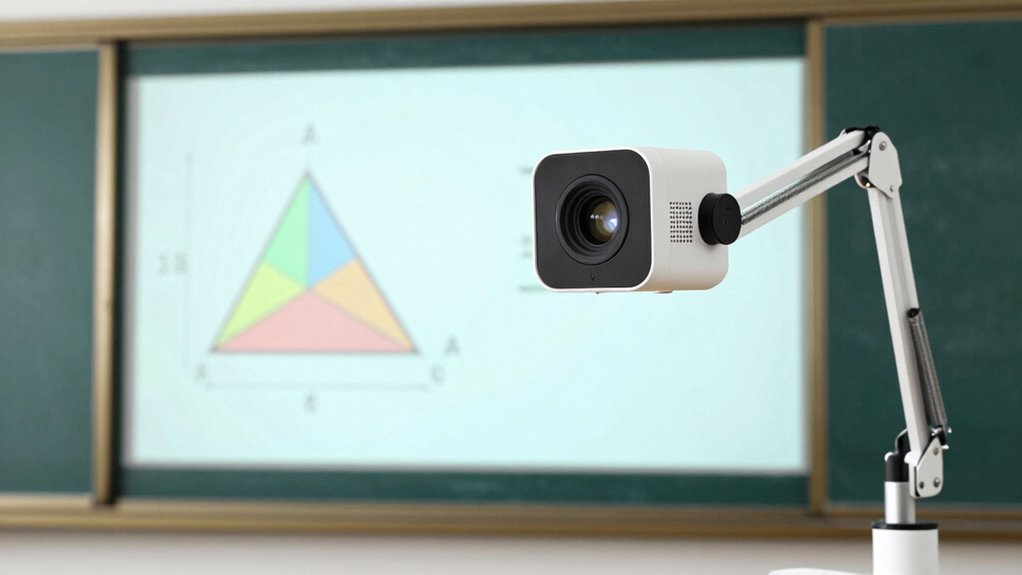
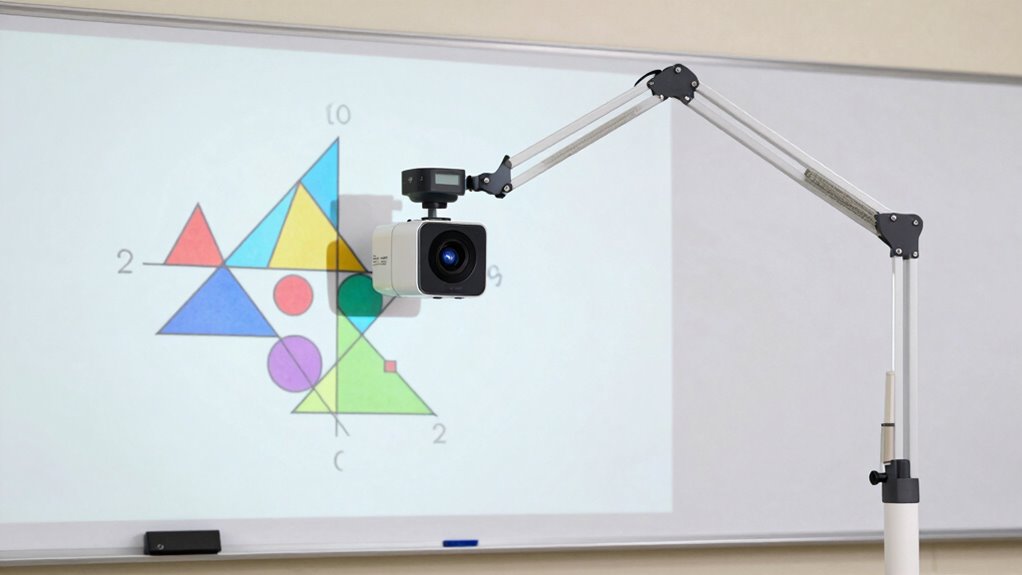
The key feature that makes document cameras excel for geometry diagrams is their high-resolution imaging combined with adjustable focus and zoom. This allows you to project crisp, detailed visuals of complex shapes, transformations, and proofs that are easy for students to see and understand. Proper lighting and stable positioning also enhance clarity, reducing shadows or glare. By mastering these features, you can boost your teaching effectiveness—stay tuned to learn how to make the most of your document camera.
Key Takeaways
- High-resolution cameras (1080p or higher) ensure sharp, detailed images of geometric diagrams.
- Adjustable focus and zoom settings allow precise emphasis on diagram details and measurements.
- Proper lighting and positioning eliminate glare, shadows, and distortion for clearer visuals.
- Stable mounting and tripod use prevent shaky images, maintaining image clarity during demonstrations.
- Advanced features like wireless connectivity and real-time sharing enhance collaboration and instant diagram clarity.

IPEVO V4K Ultra High Definition 8MP USB Document Camera — Mac OS, Windows, Chromebook Compatible for Live Demo, Web Conferencing, Distance Learning, Remote Teaching, Green
Features an 8 Megapixel camera for capturing Ultra High Definition live images up to 3264 x 2448 pixels
As an affiliate, we earn on qualifying purchases.
As an affiliate, we earn on qualifying purchases.
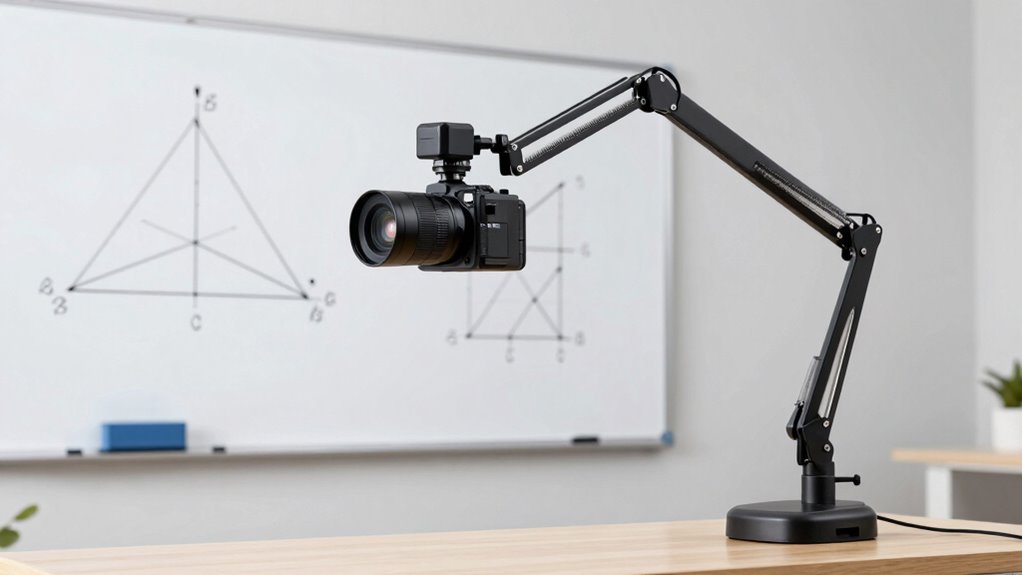
Why Clear Diagrams Are Essential for Teaching Geometry
Clear diagrams are essential when teaching geometry because they help students visualize complex concepts quickly and accurately. When your diagrams have strong visual clarity, students can easily distinguish between different geometric shapes and relationships. Accurate diagrams reduce confusion, ensuring that students grasp the precise measurements and angles involved. Misleading or blurry visuals can cause misunderstandings and hinder learning progress. With clear, precise diagrams, you enable students to see the true form and structure of geometric figures, making abstract ideas more concrete. This clarity supports effective instruction and helps students develop a solid foundation in geometry. Additionally, incorporating smart home technology, such as high-quality displays, can enhance the visualization experience, making diagrams even more accessible and engaging. Modern visualization tools further improve diagram clarity by providing dynamic, adjustable views, which can be especially helpful for complex geometric concepts. Incorporating interactive features into digital diagrams can also promote student engagement and facilitate active learning. Moreover, understanding how to interpret and utilize these diagrams is a vital modern life skill that extends beyond the classroom. For instance, the use of digital visualization can make complex structures easier to understand, which is beneficial in various real-world applications. Ultimately, diagram accuracy and visual clarity are key to engaging learners and facilitating a deeper understanding of geometric principles.
IPEVO V4K Ultra High Definition 8MP USB Document Camera — Mac OS, Windows, Chromebook Compatible for Live Demo, Web Conferencing, Distance Learning, Remote Teaching, Green
Features an 8 Megapixel camera for capturing Ultra High Definition live images up to 3264 x 2448 pixels
As an affiliate, we earn on qualifying purchases.
As an affiliate, we earn on qualifying purchases.
What Features Make a Document Camera Great for Geometry Lessons
A great document camera for geometry lessons combines high-resolution imaging with versatile features that enhance visual clarity and ease of use. You want a camera that captures sharp, detailed images so students can see precise diagrams and markings clearly. Durability is also key—your camera should withstand frequent use without issues. Look for features like:
- High-resolution camera for crisp, clear images
- Adjustable zoom and focus for detailed views
- Robust build quality ensuring camera durability
- Flexible mounting options for convenient positioning
- Compatible with high refresh rates to display smooth, real-time changes in diagrams
- Incorporating advanced imaging technology can further improve image clarity and color accuracy, enhancing student understanding
- Selecting energy-efficient components can help minimize power consumption during extended lessons, ensuring the equipment remains reliable throughout the day
Additionally, selecting a camera with energy-efficient technology can help reduce power consumption during long teaching sessions. These features ensure your diagrams are sharp and easy to follow, making your lessons more engaging and effective. Prioritizing visual clarity and durability helps you deliver precise explanations that keep students focused and confident in their understanding.
IPEVO V4K Ultra High Definition 8MP USB Document Camera — Mac OS, Windows, Chromebook Compatible for Live Demo, Web Conferencing, Distance Learning, Remote Teaching, Green
Features an 8 Megapixel camera for capturing Ultra High Definition live images up to 3264 x 2448 pixels
As an affiliate, we earn on qualifying purchases.
As an affiliate, we earn on qualifying purchases.
How to Choose the Best Document Camera for Your Geometry Class

Choosing the right document camera for your geometry class involves considering several key factors to guarantee it meets your teaching needs. Prioritize visual clarity to ensure diagrams and sketches are sharp and easily visible. Look for features that boost student engagement, such as adjustable zoom and smooth focusing. Durability and ease of use are also important, so you don’t waste time troubleshooting during lessons. To help you decide, consider this table:
| Feature | Why It Matters |
|---|---|
| High resolution | Ensures clear, detailed images |
| Adjustable zoom | Lets you emphasize specific diagram details |
| Ease of setup | Saves time and minimizes frustration |
| Compatibility | Works seamlessly with your existing tech |
Focusing on these factors helps you select a document camera that elevates your geometry lessons. Additionally, understanding image quality standards can guide you in choosing a device that consistently delivers sharp visuals.

FUNOMOCYA 3pcs Optical Crystal Prism Includes Pyramid and Triangular Prism for Science Teaching Photography and Home Decor for Creating Stunning
Design: suitable for photography, scientific research, and physics education, versatility for various ,glass paperweight,glass prisms for science
As an affiliate, we earn on qualifying purchases.
As an affiliate, we earn on qualifying purchases.
Setting Up Your Document Camera for Maximum Clarity and Ease
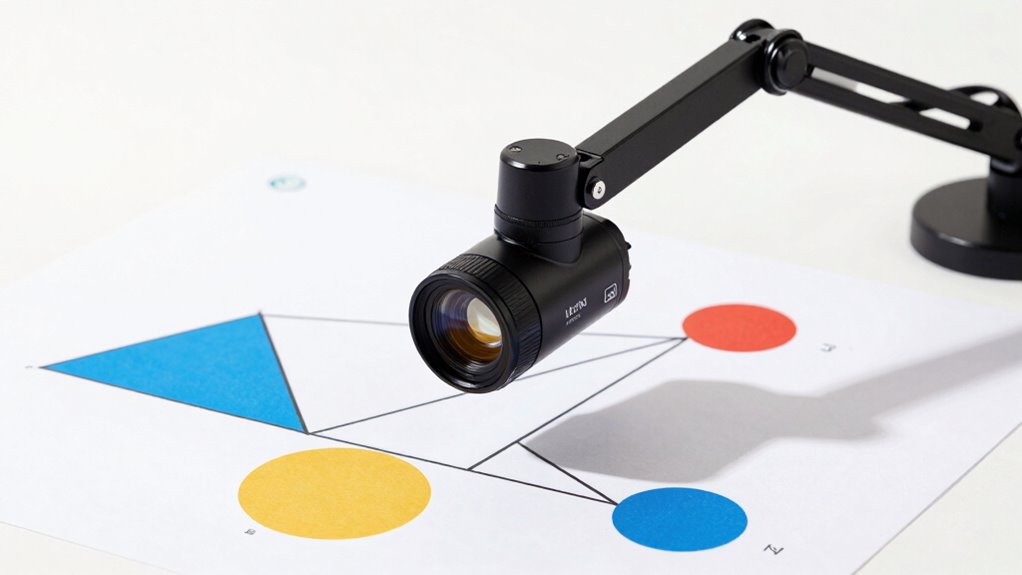
To get the best results, start by positioning your camera directly above your document to guarantee clear visibility. Then, adjust the focus and zoom settings so the image is sharp and easy to read. Finally, optimize your lighting to eliminate glare and shadows, making your work stand out clearly on the screen. Also, understanding camera settings can help you fine-tune your document camera for optimal clarity.
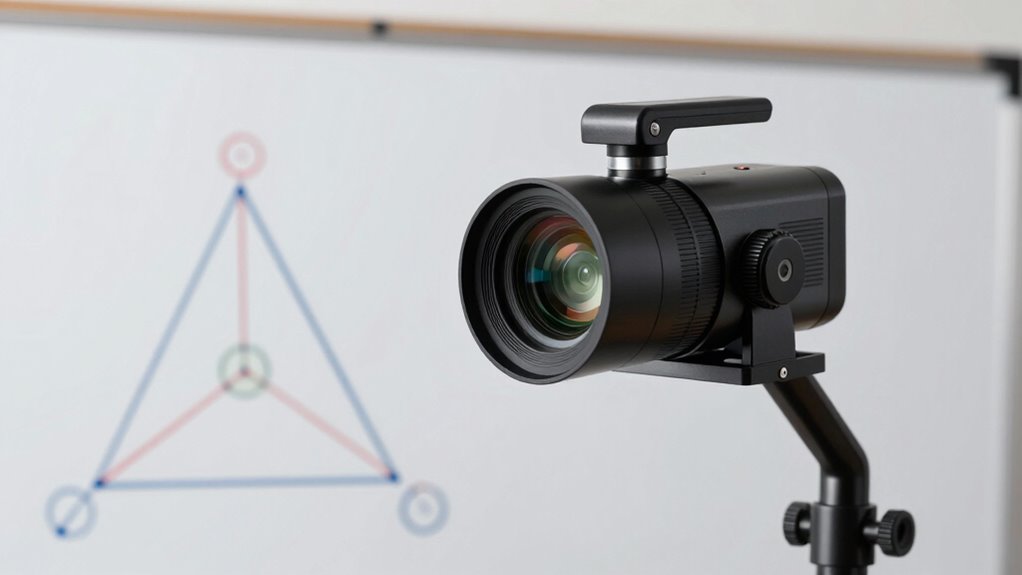
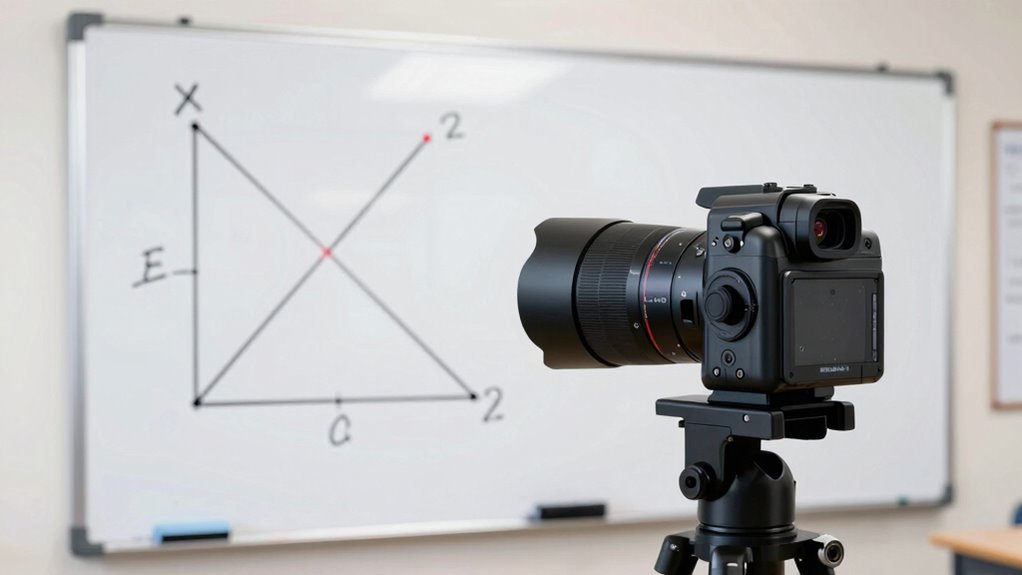
Proper Camera Positioning
Proper camera positioning is essential for capturing clear, detailed images of your documents. To achieve this, focus on choosing the right camera angles and using effective positioning techniques. Start by adjusting the camera height to ensure the entire diagram fits within the frame. Keep the camera perpendicular to the surface to avoid distortion. Use a stable surface or tripod to prevent shaky images. Consider the distance from the document; too close can blur details, too far can reduce clarity. Additionally, experiment with slight tilts to find the most suitable angle. Remember, small adjustments make a big difference. Maintaining consistent positioning is key to ensuring high-quality images every time. Incorporating vintage tech elements such as retro camera mounts or period-appropriate equipment can also add a touch of style while maintaining optimal image quality.
Adjusting Focus and Zoom
Once you’ve positioned your camera correctly, the next step is to fine-tune the focus and zoom settings to guarantee the document appears sharp and clear. Use the manual focus feature to adjust the lens until edges of your diagram are crisp and details are visible. Avoid relying solely on autofocus, as it may hunt or produce blurry images. Digital zoom allows you to enlarge the image without moving the camera closer, but be cautious—excessive digital zoom can reduce image quality. Adjust the zoom gradually to find the right balance between size and clarity. Take your time to check the focus after zooming in, ensuring your diagrams are clear and easy to read, which is essential for accurate geometry teaching. Remember that understanding practical fundamentals of your camera’s features will help you achieve consistent results.
Lighting Optimization Techniques
Are you getting the best possible image quality from your document camera? Proper lighting is key. To optimize, consider adjusting the color temperature so your diagrams display true colors without glare or unnatural hues. Use soft light diffusion to minimize harsh shadows and even out illumination, ensuring clarity. Position your light source to reduce reflections and glare on reflective surfaces. Keep the light at an angle that highlights details without washing out the image. Additionally, avoid direct overhead lighting that can cause uneven brightness. Using adjustable lamps or diffusers helps you fine-tune light conditions. Remember, consistent, balanced lighting enhances contrast and detail, making your geometry diagrams clearer and easier for students to interpret. Incorporating lighting optimization techniques and understanding how to manage visual clarity can significantly improve your visual quality. Paying attention to light placement is essential for achieving the best results, and understanding proper lighting setup can make a substantial difference in overall image quality. Ensuring your light sources are compatible with your camera’s settings also contributes to optimal image capture.
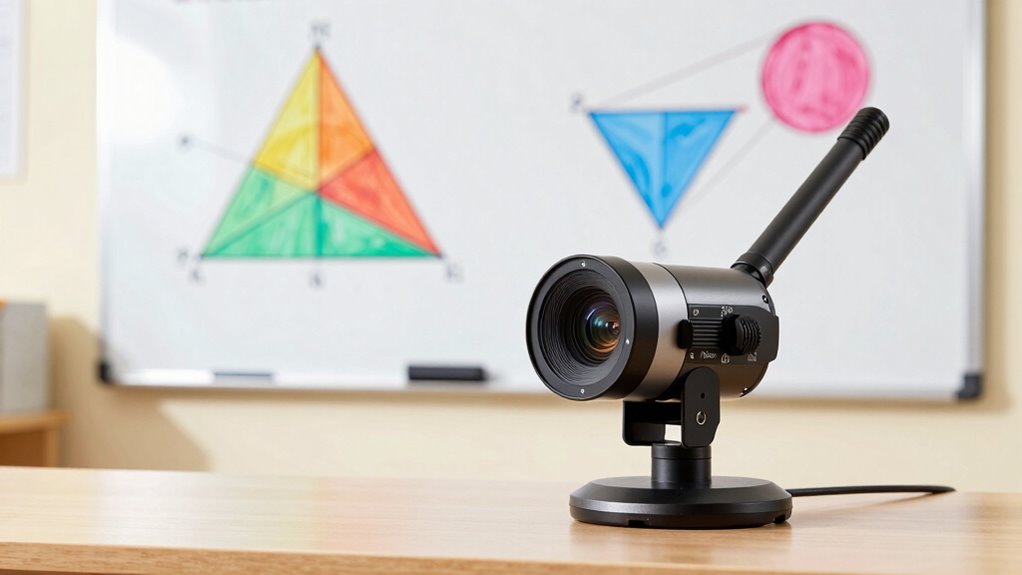
Tips for Highlighting and Animating Geometry Constructions Effectively
To effectively highlight and animate geometry constructions on a document camera, focus on clarity and visual flow. Use highlighting techniques that emphasize key points without cluttering the diagram. Choose contrasting colors to draw attention and differentiate elements clearly. When applying animation strategies, keep movements smooth and purposeful, guiding students through each step naturally. Avoid rapid or distracting motions; instead, slow down to guarantee understanding. Highlight essential constructions first, then animate additional steps gradually to maintain focus. Make sure your annotations are precise and consistent, helping students follow the progression effortlessly. This approach will make your geometry demonstrations more engaging and easier to grasp, ensuring that learners stay attentive and retain the concepts demonstrated through your document camera.
Comparing Top Document Cameras for Geometry Teaching
When comparing top document cameras for geometry teaching, you should consider image clarity and resolution to guarantee students see details clearly. Ease of use and setup also matter, so you can start lessons quickly without frustration. Additionally, evaluating privacy policies related to device data handling can help ensure student information remains secure. A thorough understanding of the reliable educational technology standards can guide you in selecting a camera that enhances learning outcomes. Familiarity with technique comparisons, such as different camera features and functionalities, can help you choose the most effective model. For example, understanding how different camera connectivity options impact ease of use can be crucial. Finally, weigh the price and value to find a camera that fits your budget while meeting your teaching needs. Incorporating safety considerations ensures that both teachers and students can use the equipment confidently and without risk.
Image Clarity and Resolution
How sharp and detailed an image appears can make all the difference when using a document camera for geometry lessons. High image resolution guarantees your diagrams are crisp, making intricate shapes and lines clear to students. Display quality impacts how well students can see details, shadows, and colors. To evaluate top cameras, consider these factors:
- The camera’s native image resolution, ideally 1080p or higher
- The clarity and sharpness of the display output
- The camera’s ability to focus quickly and accurately
- The maintenance of detail when zoomed in or enlarged
Choosing a camera with excellent image resolution guarantees your diagrams remain clear, even when magnified. Superior display quality ensures every line, angle, and label is visible, keeping students engaged and reducing misunderstandings. Additionally, image clarity is essential for accurately conveying complex geometric concepts, as it enhances the visibility of fine details necessary for precise understanding.
Ease of Use and Setup
Choosing a document camera that’s easy to set up and operate can save valuable class time and reduce frustration. Look for models with intuitive touchscreen interfaces; they make adjusting settings, focusing, and maneuvering menus simple and quick. Wireless connectivity options are also a major advantage, allowing you to stream images directly to your projector or computer without tangled cords. This flexibility means less hassle during setup and more time spent teaching. Many top cameras feature plug-and-play functionality, so you can get started immediately with minimal technical knowledge. Clear, straightforward controls help you quickly switch between modes, zoom, or annotate diagrams, ensuring seamless integration into your lesson plan. Overall, user-friendly features make your teaching more efficient and engaging.
Price and Value
Are you getting the best value for your investment in a document camera for geometry lessons? Comparing pricing options helps you find a device that fits your budget without sacrificing quality. When doing a value assessment, consider these factors:
- Cost differences among models and features
- Durability and build quality for long-term use
- Advanced features like zoom and image clarity
- Warranty and customer support offerings
A higher price doesn’t always mean better value, so weigh features against your teaching needs. Look for a camera that offers clear, crisp diagrams at a reasonable price. Balancing affordability with functionality ensures you get a device that enhances your geometry lessons without overspending. Ultimately, smart comparison saves you money and improves your teaching experience.
Troubleshooting Common Problems With Your Document Camera

Even the most reliable document cameras can run into issues from time to time. If your camera isn’t displaying images clearly, start by checking the camera mount to verify it’s secure and properly aligned. Loose or misaligned mounts can cause blurry or unstable images. Next, examine the power supply; a loose connection or insufficient power can prevent the camera from turning on or functioning correctly. Make sure the power cord is plugged in firmly and that the outlet is working. If the camera still isn’t working, try restarting it or replacing the power supply if possible. Regularly inspecting these components can prevent many common problems and keep your document camera functioning smoothly.
Integrating Document Cameras Into Your Geometry Curriculum
Integrating document cameras into your geometry curriculum can enhance student understanding by providing clear, real-time visualizations of geometric concepts. Digital integration allows you to project diagrams, proofs, and constructions directly onto the board, making abstract ideas tangible. To boost student engagement, consider these strategies:
- Use the camera to demonstrate step-by-step problem-solving techniques.
- Share student work instantly to foster peer learning.
- Incorporate live sketches and annotations for interactive lessons.
- Display physical models alongside digital diagrams for all-encompassing understanding.
Future Trends in Document Cameras and How They’re Changing Math Education
Advancements in technology are shaping the future of document cameras and transforming how math is taught. Expect more integration of augmented reality and interactive technology, making lessons more engaging. These innovations allow you to overlay digital diagrams onto real-world views, enhancing understanding of complex concepts. Interactive features enable students to manipulate diagrams directly, fostering active learning. Here’s a glimpse of future trends:
| Feature | Impact |
|---|---|
| Augmented Reality Integration | Visualizes 3D shapes and geometric transformations |
| Touch-Interactive Displays | Allows students to interact with diagrams in real-time |
| Wireless Connectivity | Facilitates seamless sharing and collaboration |
These trends will make math lessons more immersive, helping students grasp concepts more effectively.
Frequently Asked Questions
How Do Document Cameras Improve Student Engagement During Geometry Lessons?
You enhance student engagement during geometry lessons by using document cameras for interactive demonstrations and real-time visualization. As you project diagrams and problem-solving steps, students can follow along closely, ask questions, and participate actively. This dynamic approach transforms lessons into collaborative experiences, making complex concepts more accessible and interesting. By bringing geometry to life visually, you keep students focused, motivated, and enthusiastic to explore mathematical ideas.
Can Document Cameras Be Used for Other Math Subjects Besides Geometry?
Sure, document cameras aren’t just for geometry—they’re your secret weapon for algebra concepts and statistics visualizations too. With a quick flip, you can project complex equations or colorful charts, making math more engaging. Who needs boring textbooks when you’ve got a tool that brings algebra and stats to life, right? So yes, you can totally use document cameras for other math subjects and impress your students with visual magic.
What Maintenance Is Required to Keep a Document Camera Functioning Properly?
To keep your document camera functioning properly, you should follow regular cleaning routines, such as wiping the lens with a soft, lint-free cloth to prevent dust buildup. Additionally, perform calibration procedures periodically to guarantee clear image quality. Check the connections and power source regularly, and keep the device in a safe, dust-free environment. These simple steps help maintain peak performance and extend the lifespan of your document camera.
Are There Affordable Options Suitable for Small or Budget-Constrained Classrooms?
Yes, there are budget-friendly options perfect for small or budget-constrained classrooms. You can find affordable document cameras that deliver clear visuals without breaking the bank, making classroom affordability attainable. Look for basic models with essential features, or consider refurbished units to save even more. These options guarantee you can enhance your teaching with crisp, detailed diagrams without compromising your budget.
How Do Document Cameras Compare to Traditional Projectors for Illustrating Geometry?
Imagine a window into your students’ understanding—document cameras offer digital clarity and detailed visuals that traditional projectors can’t match. With sharp, vivid images, you bring geometry diagrams to life, highlighting every angle and line with precision. Unlike projectors, which often blur or wash out details, document cameras deliver crisp visuals that captivate and clarify. You’ll find it easier to teach complex concepts, making learning more engaging and meaningful.
Conclusion
Using a high-quality document camera can transform your geometry lessons, making diagrams clearer and student understanding sharper. Studies show that visual aids boost retention by up to 65%, proving their importance. With the right features and setup, you can highlight key concepts effortlessly and keep students engaged. Embrace this technology to enhance your teaching and foster a more interactive, effective math classroom where every student can see and learn with confidence.