
To improve your print quality, focus on tweaking seven key slicer settings: layer height for smoother surfaces, print speed to ensure accurate bonding, nozzle temperature for consistent extrusion, cooling fans to sharpen details, supports for overhangs, retraction to prevent stringing, and filament management for reliable feed. Balancing these knobs enhances surface finish, accuracy, and ease of post-processing. Keep exploring these options to master your printer’s potential and produce professional-looking results.
Key Takeaways
- Adjust layer height to balance surface smoothness and print speed, impacting detail and efficiency.
- Control print speed to ensure proper layer bonding and dimensional accuracy without causing warping.
- Set nozzle and bed temperatures according to filament type for consistent extrusion and surface quality.
- Use cooling fans strategically to improve detail, overhang support, and prevent warping.
- Fine-tune retraction settings and maintain filament as well as nozzle condition to reduce stringing and surface imperfections.

Orca Slicer for FDM 3D Printing 2026: The Complete Beginner's Guide to Setup, Calibration, Supports, and Advanced Settings for Bambu Lab, Creality, Prusa, and Any FDM Printer
As an affiliate, we earn on qualifying purchases.
As an affiliate, we earn on qualifying purchases.
How Layer Height Affects Your 3D Print’s Finish

Layer height considerably impacts the surface quality of your 3D prints. When you choose a smaller layer height, you’ll notice smoother surfaces because each layer stacks more precisely, reducing visible lines. Conversely, larger layers print faster but may leave ridges, requiring more post-processing. Proper filament storage is essential to prevent moisture absorption, which can cause inconsistent extrusion and rough surfaces. For resin printers, ideal resin curing depends on layer height; thinner layers cure more uniformly, resulting in finer detail and smoother finishes. Adjusting layer height influences not only surface quality but also printing time and material efficiency. By balancing these factors, you can achieve a high-quality finish suited to your project’s needs, ensuring your prints look professional and consistent. Additionally, understanding how innovative cloud solutions can optimize your workflow can help streamline adjustments and improve overall print success. Good print settings also play a crucial role in achieving the desired surface quality and finish. Moreover, selecting the appropriate layer resolution ensures optimal detail and efficiency for your specific application, and considering material properties can further enhance the final outcome. Implementing proper calibration techniques can further refine your print quality by reducing common issues like layer misalignment or surface imperfections.

Professional Thermocouple Simulator Calibrator Temperature Meter Tester for Precise Calibration
PRECISE CALIBRATION: Designed to simulate and calibrate thermocouple signals for accurate temperature measurement and testing.
As an affiliate, we earn on qualifying purchases.
As an affiliate, we earn on qualifying purchases.
How to Adjust Nozzle Temperature for Better Surface Quality

Finding the right nozzle temperature is key to achieving a smooth surface. You’ll want to take into account your material’s ideal temperature range and adjust accordingly. Keeping the temperature consistent during printing helps prevent surface imperfections and improves overall quality. Additionally, understanding the impact of temperature on surface quality can help you fine-tune your settings for optimal results. Proper temperature regulation is also part of the automation features that modern printers offer to maintain consistent print conditions. Monitoring your spool temperature can further enhance surface finish by ensuring filament flows smoothly. Being aware of how temperature fluctuations affect your print can lead to more precise control and better final outcomes. Regularly checking and maintaining your nozzle oil levels can also prevent clogs and ensure consistent extrusion.
Optimal Temperature Range
To achieve better surface quality, you need to set your nozzle temperature within an ideal range. This range depends on your filament compatibility, as different materials require specific temperatures for maximum flow and adhesion. Too low, and you risk poor layer bonding and rough surfaces; too high, and you may encounter stringing or blobs. Make sure your print bed is properly leveled, as uneven bed leveling can cause inconsistent extrusion, affecting surface finish regardless of temperature. Start with the manufacturer’s recommended temperature range and adjust gradually, observing how the filament responds. Monitoring your print quality during these adjustments helps dial in the perfect temperature for your filament and printer setup, ensuring smooth, clean surfaces on your final print. Additionally, understanding nozzle temperature range is crucial for optimizing print quality and avoiding common issues. Properly controlling temperature can also influence the print surface finish, making your final product look more professional and polished.
Material-Specific Settings
Since different filament materials have unique thermal properties, adjusting your nozzle temperature accordingly is essential for achieving *best* surface quality. For example, PLA typically prints well around 200°C, while ABS needs closer to 230°C. Ensuring proper filament compatibility helps prevent issues like stringing or poor layer bonding, which can affect surface smoothness. Additionally, your nozzle temperature impacts print bed adhesion; too low, and parts may warp or detach, too high, and details may become blobby. Always match your nozzle temperature to the filament’s recommended range for *ideal* results. Fine-tuning based on material-specific settings allows you to maximize surface quality, reduce post-processing, and improve overall print success. Remember, slight adjustments can make a significant difference in the finished look. Understanding thermal properties can help inform your temperature choices for different filaments, enabling more precise print quality control and material-specific settings. Recognizing how heat transfer influences extrusion can further optimize your printing process, especially when considering the layer adhesion necessary for a smooth surface.
Temperature Consistency Tips
Maintaining consistent nozzle temperature throughout your print can profoundly improve surface quality. Fluctuations cause uneven extrusion, leading to rough or stringy surfaces. To achieve stability, store filament properly in a dry environment to prevent moisture absorption, which can cause temperature-related issues. Regularly check your nozzle for wear, as a worn nozzle may not maintain temperature accurately, resulting in inconsistent layers. Adjust your temperature settings gradually rather than making sudden changes, and monitor your extruder’s temperature readings closely. Consistent filament storage and nozzle maintenance help prevent temperature swings, ensuring smoother finishes. Proper filter maintenance and timely replacement also contribute to a cleaner, more controlled printing environment, reducing the risk of temperature inconsistencies. Additionally, understanding print parameters can help fine-tune your settings for optimal results. Keeping your printer calibration up to date is essential for achieving precise temperature control, which ultimately leads to better surface quality. Regularly inspecting your extruder assembly can reveal potential issues that affect temperature stability, so addressing these promptly is crucial. Maintaining a stable power supply is also important, as voltage fluctuations can impact your heater’s performance and temperature consistency. By keeping these factors in check, you’ll produce cleaner, more professional-looking prints with better surface quality.

3D Printer Calibration & Filament Test Log: Track temperatures, retraction, flow rate, print profiles, and results
As an affiliate, we earn on qualifying purchases.
As an affiliate, we earn on qualifying purchases.
How Print Speed Impacts Accuracy and Layer Bonding
Your print speed directly affects your model’s dimensional accuracy and surface detail. Faster speeds can diminish print time but may compromise layer bonding and precision. Finding the right balance ensures strong layer adhesion and accurate, high-quality prints.
Speed and Dimensional Accuracy
Print speed plays an essential role in achieving both dimensional accuracy and strong layer bonding. When you set your print speed too high, it can cause parts to warp or become misshapen, especially if filament storage isn’t ideal—moisture can weaken filament and affect precision. Proper print bed leveling ensures consistent extrusion, which is indispensable when printing at higher speeds. If the bed isn’t level, even small deviations can lead to dimensional inaccuracies. Slowing down the print speed allows the filament more time to settle and bond properly between layers, improving accuracy. Conversely, increasing speed can sometimes compromise quality, but with good filament storage and precise bed leveling, you can find a balance that maintains accuracy without sacrificing efficiency. Additionally, adjusting print temperature can help improve layer adhesion at higher speeds, ensuring better print quality overall. Maintaining optimal filament storage conditions is crucial for consistent print results, especially at increased speeds.
Layer Adhesion Efficiency
How does print speed influence layer adhesion and the overall accuracy of your 3D prints? Higher speeds can reduce the time filament is in contact, weakening layer bonding and resulting in poor adhesion promoter effectiveness. This can cause layers to separate or warp. Conversely, slower speeds improve bonding because the filament has more time to fuse properly. Proper bed leveling ensures a consistent first layer, which is vital for strong adhesion and accurate dimensional results. If your bed isn’t level, even ideal print speed won’t prevent adhesion issues. Adjusting print speed and maintaining an even bed surface allows you to maximize layer bonding, enhancing both print strength and accuracy. Keep in mind, balancing speed with these factors is key to achieving reliable, high-quality prints.

WINSINN 50mm 5015 Blower Fan 24V, 3D Printer 24 Volt Fans Blower Turbine Turbo Hydraulic Bearing, Brushless Cooling 50mmx15mm 2PIN (Pack of 4Pcs)
✔️WINSINN 5015 blower fan 24V which micro size and lightweight design, suitable for 3D printer hotend / nozzle…
As an affiliate, we earn on qualifying purchases.
As an affiliate, we earn on qualifying purchases.
Tuning Infill Density and Pattern for Strength and Efficiency
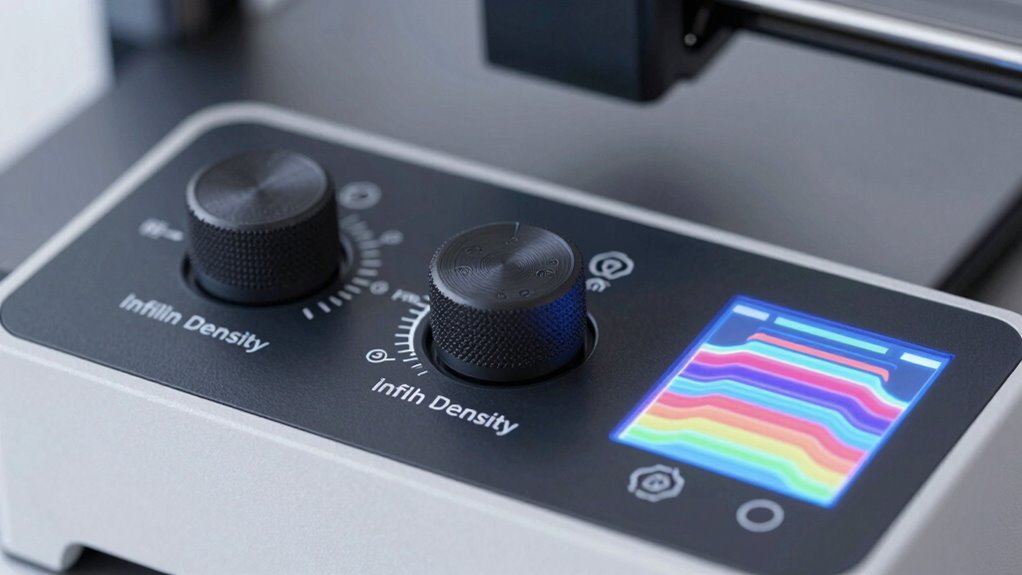
Adjusting infill density and pattern is essential for balancing the strength and efficiency of your 3D prints. Infill patterns determine how the internal structure supports the outer layers, affecting both durability and print time. Selecting the right infill pattern, like grid or triangle, can optimize strength without unnecessary material use. Infill density directly impacts the print’s sturdiness; higher density offers more support but increases print time and material cost. For functional parts requiring strength, increase the infill density and choose patterns that distribute stress evenly. For decorative or lightweight objects, reduce the infill density and select patterns that provide adequate support with less material. Proper tuning of these settings guarantees your print is both strong and efficient, saving you time and resources. Incorporating continuous learning about different infill techniques can further enhance your 3D printing outcomes and help you make informed decisions about material selection.
How to Set Retraction to Prevent Stringing and Oozing

Proper retraction settings can considerably reduce stringing and oozing, which often occur when the nozzle leaks filament during non-print moves. To achieve this, verify your filament storage is dry, as moisture can increase oozing. Adjust the retraction distance so the filament pulls back enough to prevent leaks but not so much that it causes nozzle wear or jams. Similarly, set the retraction speed high enough to minimize stringing without causing filament grinding. Keep an eye on your nozzle wear, as a worn nozzle may leak more filament, making retraction less effective. Regularly inspect and replace your nozzle when needed. Fine-tuning these settings helps you control filament flow during travel moves, resulting in cleaner prints with fewer strings and blobs.
How Cooling Fans Improve Detail and Support Overhangs

Have you noticed that adding cooling fans can considerably enhance the quality of your 3D prints? A well-placed cooling fan helps solidify filament quickly, which improves fine detail and surface finish. When printing overhangs, a cooling fan directs airflow to prevent sagging and stringing, providing better overhang support. By cooling each layer rapidly, the filament stays in shape, reducing warping and drooping on complex geometries. Adjusting your cooling fan speed allows you to find the right balance between layer adhesion and detail preservation. For intricate features, increasing airflow sharpens edges and reduces blobbing. Proper cooling is essential for achieving crisp overhangs and intricate details, making your prints look cleaner and more professional.
Choosing Support Settings for Easier Removal and Better Overhangs
Choosing the right support settings can make a significant difference in how easily your prints come off the build plate and how well overhangs turn out. Adjusting support material density and placement helps create a balance between stability and ease of support removal. Use supports that are easy to detach without damaging your print, especially around delicate overhangs. Thin support structures reduce material use and make support removal simpler, while thicker supports offer better stability for complex geometries. Consider support overhang angle and contact points to prevent excessive support material buildup. Fine-tuning these settings ensures your supports provide enough backing without complicating removal, resulting in cleaner overhangs and less post-processing effort. Proper support settings directly impact both print quality and your overall printing experience.
Frequently Asked Questions
How Do I Balance Print Speed With Print Quality?
To balance print speed with print quality, you need to find the right trade-off between speed vs. quality. Start by increasing layer height and print speed, but keep an eye on detail and surface finish. Adjust settings gradually, testing each change. Prioritize critical areas for higher quality, and use faster settings for less detailed parts. This balancing act guarantees efficient printing without sacrificing essential quality.
What Is the Best Way to Calibrate My Extruder Steps?
To calibrate your extruder steps, first measure your filament’s diameter accurately using calipers, ideally at multiple points. Then, set your printer to extrude a specific length, like 100mm, and measure the actual filament extruded. Adjust your extruder steps in your firmware based on the difference, guaranteeing your filament diameter matches your slicer settings. This process ensures consistent extrusion, improving print quality and reducing filament waste.
How Can I Troubleshoot Layer Adhesion Issues?
To troubleshoot layer adhesion issues, first check your bed leveling to ensure a smooth, even surface. Adjust the bed height if necessary. Also, consider your filament storage; moisture in filament can cause poor adhesion. Make sure your filament is dry and stored properly. You might also increase the bed temperature slightly or tweak your print speed. These steps help improve layer bonding and achieve better print quality.
What Are the Effects of Different Filament Types on Settings?
Think of filament types as different musical instruments, each with unique tones. When you pick a filament, you influence your print’s harmony. Compatibility and material properties matter—PLA is easy and smooth, while ABS offers strength but warps. Adjust settings to match these qualities, ensuring perfect adhesion and finish. By understanding these differences, you create a symphony of successful prints tailored to each filament’s character.
How Do I Optimize Print Settings for Large or Complex Models?
To optimize print settings for large or complex models, start by ensuring your print bed is level for accuracy. Use support material strategically to prevent sagging or warping in overhangs. Adjust layer height and infill density to balance detail and strength. Fine-tune print speed and temperature for filament consistency. These steps help improve adhesion, reduce warping, and achieve a high-quality finish on intricate or sizable prints.
Conclusion
Mastering these seven knobs puts you in control of your 3D prints, balancing precision with speed. While tweaking settings can seem overwhelming, it’s like finding harmony between chaos and order—each adjustment shapes your final piece. Embrace the process, knowing that even imperfections teach you more. Ultimately, your print’s quality reflects both your skill and patience, reminding you that in 3D printing, as in life, the smallest changes can create the most remarkable results.