To derive the area of a circle geometrically, you can imagine slicing the circle into many thin wedges or slices. When rearranged, these slices form a shape that closely resembles a rectangle, with one side representing the radius and the other half of the circumference. As you increase the number of slices, this shape becomes more like a perfect rectangle, revealing that the area is π times the radius squared. Keep exploring to see how this shape is proven precisely.
Key Takeaways
- Circulating the circle into thin wedge slices and rearranging them forms an approximate parallelogram or rectangle.
- As the number of slices increases, the shape approaches a perfect rectangle with height equal to the radius.
- The rectangle’s length approximates half the circle’s circumference, which is π times the radius.
- The area of the resulting shape approaches the product of radius and π times the radius, giving πr².
- The proof uses the concept of limits, showing that as slices become infinitely thin, the shape’s area converges to πr².
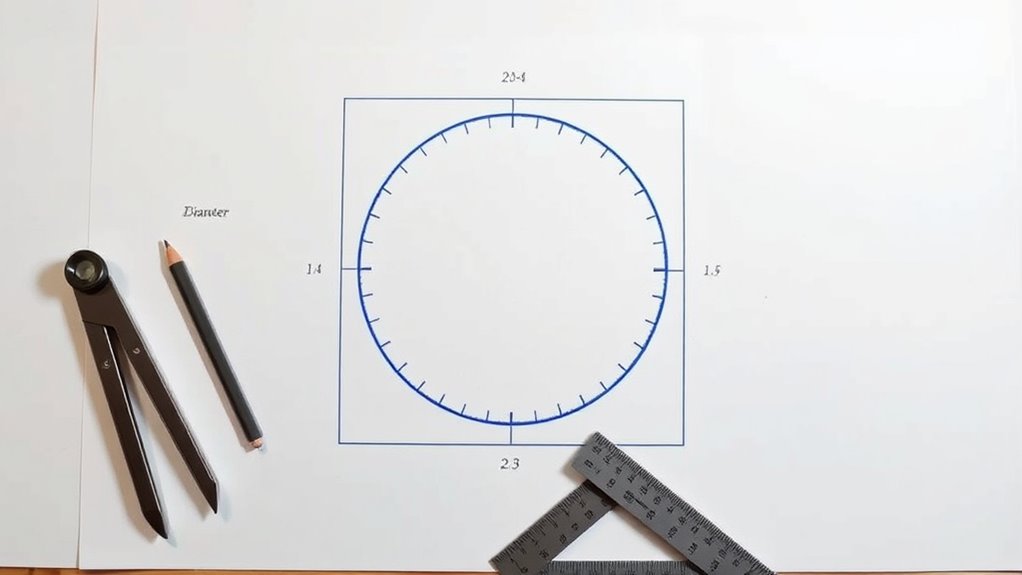
Have you ever wondered how mathematicians prove the formula for the area of a circle? It all starts with understanding some fundamental concepts, like the radius calculation. The radius is the distance from the center of the circle to any point on its edge. Knowing this measurement allows you to explore the circle’s size and shape more precisely. When working through the proof, you’ll often see the need to approximate π, the mathematical constant representing the ratio of a circle’s circumference to its diameter. Although π is irrational and has an infinite decimal expansion, for practical calculations, you might use a common approximation like 3.14 or 22/7. This helps make the math more manageable as you explore the geometric proof.
Understanding the circle’s radius and approximating π are key to grasping its area formula.
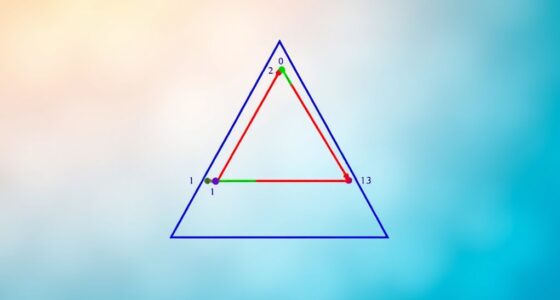
To begin, imagine slicing the circle into many thin, wedge-shaped segments, like slices of a pie. If you rearranged these slices, you could approximate shaping a parallelogram or rectangle. As you increase the number of slices, each becomes thinner, and the shape they form more closely resembles a rectangle. The height of this rectangle corresponds to the radius of the circle, while the length approximates half the circle’s circumference. Because the circumference is 2π times the radius, the length of the rectangle’s base becomes roughly π times the radius when you consider the full circle. The concept of limits is crucial in understanding how the sum of these tiny slices approaches the exact area as their width approaches zero.
Now, here’s where the radius calculation and π approximation come into play. When you substitute the approximate value of π into your calculations, you get a clearer picture of the area. The approximate rectangle formed by the slices has a height equal to the radius and a base roughly equal to the circle’s circumference divided by two, which is π times the radius. Multiplying these dimensions gives you an estimate of the total area: radius multiplied by π times the radius, simplifying to π times the radius squared.
This geometric rearrangement solidifies the classic formula: area equals π times the radius squared. While the approximation of π is necessary for practical calculations, the proof itself relies on the limiting process as the slices become infinitely thin. This method demonstrates how the area of a circle can be understood as the limit of the area of these increasingly narrow slices, ultimately showing that the area equals πr². So, by understanding the radius calculation, approximating π, and visualizing the circle as a collection of tiny wedges, you can grasp how mathematicians arrive at the elegant formula for the area of a circle.
Frequently Asked Questions
Can This Method Be Used for Non-Circular Shapes?
No, this method isn’t suitable for non-circular shapes or irregular polygons. You typically need different approaches, like decomposition into smaller, manageable shapes or using coordinate geometry for irregular forms. The geometric proof for a circle relies on its symmetry and specific properties, which don’t apply to irregular polygons. For non-circular shapes, you’ll want to explore methods tailored to their unique structures.
How Does This Proof Compare to Algebraic Methods?
You find that geometric intuition offers a visual comparison, making the proof more tangible than algebraic methods. While algebraic approaches use formulas and symbolic manipulation, geometric proofs highlight shapes and areas, creating a vivid picture. This visual comparison fosters understanding, especially for visual learners, making the geometric method more intuitive. Both approaches have merits, but geometric proofs often give you a clearer, more concrete grasp of why the area formula works.
What Are the Historical Origins of This Geometric Proof?
You discover that this geometric proof has roots in ancient geometries, dating back to Greek mathematicians like Archimedes. They contributed profoundly by exploring shapes and areas, laying groundwork for understanding circles. Their contributions, such as slicing the circle into sectors and rearranging them, helped develop methods that influenced later mathematicians. This proof reflects a long tradition of geometric reasoning, highlighting the ingenuity of early mathematicians in uncovering properties of circles.
Can This Approach Be Extended to Three-Dimensional Objects?
Did you know that spheres, a common three-dimensional shape, have a volume of about 72.5% of their circumscribed cube? You can extend this geometric approach to three-dimensional objects like spheres by dissecting them into thin layers or slices, similar to how you derive the area of a circle. This method helps you understand the sphere volume and other three-dimensional shapes through integration and layered visualization.
Are There Visual Aids or Interactive Tools to Understand This Proof?
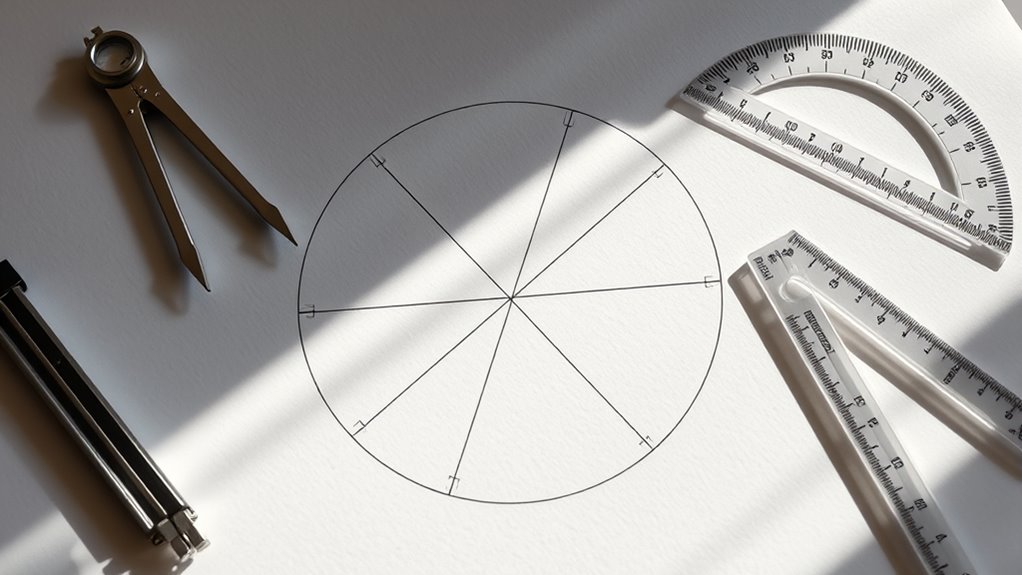
Yes, there are visual aids and interactive tools to help you understand this proof. You can explore angle visualization through dynamic diagrams that show how slices of the circle rearrange, making the concept clearer. Interactive diagrams let you manipulate angles and sections yourself, giving you a hands-on experience. These tools make it easier to grasp the geometric reasoning behind the circle’s area, enhancing your understanding and engagement with the proof.
Conclusion
Now that you’ve seen how slicing a circle into wedges and rearranging them forms a shape resembling a rectangle, you can confidently understand why the area is πr². Imagine you’re designing a circular garden and want to know its size—this proof helps you visualize it perfectly. Next time you see a pizza, think of cutting it into wedges and rearranging them to grasp its area. Isn’t it amazing how geometry reveals such simple truths?