
To build your own kaleidoscope with mirrors, start by gathering materials like a sturdy tube, glass or acrylic mirrors, clear end caps, and colorful objects such as beads. Design and cut your tube to the desired shape, then carefully install the mirrors at precise angles for reflections. Secure everything tightly, fill the interior with colorful items, and create a clear viewing window. Personalize your project with decorations to enjoy stunning, ever-changing patterns—continue exploring to perfect your design and craft a mesmerizing kaleidoscope.
Key Takeaways
- Select suitable materials like glass or acrylic mirrors, a sturdy tube, and decorative objects for interior filling.
- Measure, cut, and assemble the tube shape, ensuring snug fit and secure bonding for durability.
- Install mirrors at precise angles inside the tube using strong adhesive and double-check alignment for clear reflections.
- Attach a transparent viewing window and fill the interior with colorful beads or objects to create vibrant patterns.
- Seal all edges, reinforce the structure, and personalize the exterior for enhanced durability and aesthetic appeal.

S&S Worldwide Educraft Kaleidoscopes Craft Kit, 6-3/4" Size, Pack of 25, Silver
MAGICAL KIDS KALEIDOSCOPE EXPERIENCE: Create an amazing 25 kaleidoscopes that captivate the imagination, allowing children and adults alike…
As an affiliate, we earn on qualifying purchases.
As an affiliate, we earn on qualifying purchases.
Gathering Your Materials and Tools
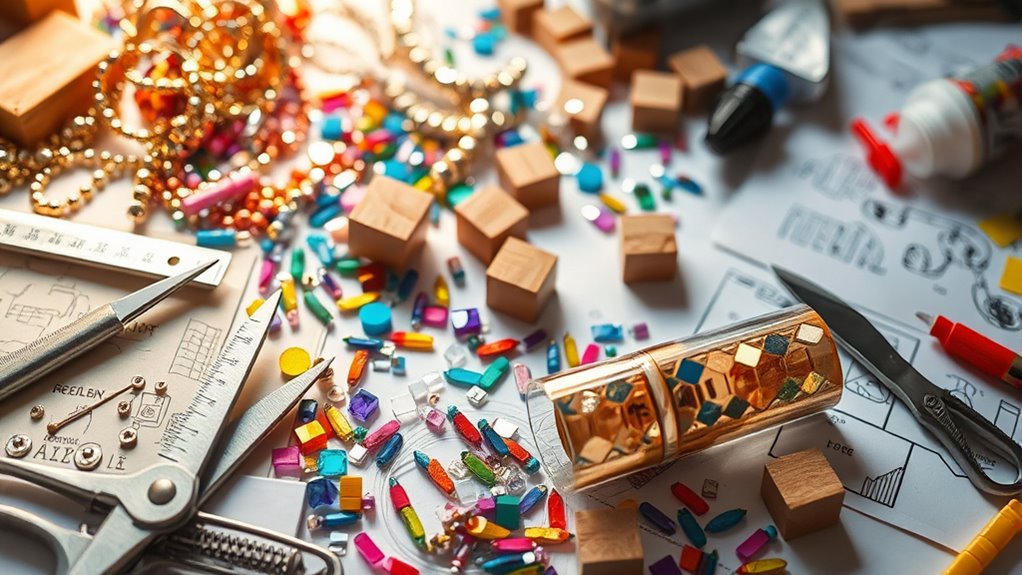
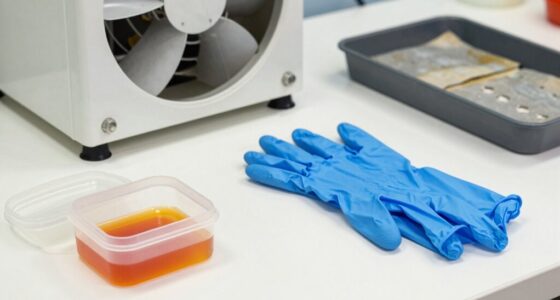
Before you begin building your kaleidoscope, it’s important to gather all the necessary materials and tools. Material options vary, including reflective mirrors, a sturdy tube, and transparent end caps. When choosing mirrors, consider glass or acrylic; glass offers better reflection but requires careful handling. Safety considerations are essential—wear gloves when handling sharp tools or glass, and work in a well-ventilated area. For the body, select a durable tube like cardboard, plastic, or metal, depending on your preference. You’ll also need decorative items like beads or colorful paper for the interior. Gather scissors, glue, a ruler, and a craft knife. Having all these materials on hand guarantees a smoother building process and helps you avoid unnecessary risks. Additionally, understanding the contrast ratio of your projectors can help optimize your viewing experience by ensuring vibrant and detailed images.

Fun Express DIY Kaleidoscope Kit for Kids – 12 Pack Cardboard Tubes Science Craft Project | Educational STEM Activity for Classroom, Party Favors & VBS Supplies | Ages 4-8 Creative Building Set
Complete kaleidoscope making kit: Transform ordinary cardboard tubes into magical prism viewers with colorful beads – includes all…
As an affiliate, we earn on qualifying purchases.
As an affiliate, we earn on qualifying purchases.
Designing the Body of Your Kaleidoscope
Designing the body of your kaleidoscope involves choosing a shape and size that suit your aesthetic and functional preferences. This decision impacts how optical illusions and symmetry patterns appear through your mirrors. A larger tube offers more space for complex designs, while a smaller one provides portability. Consider how light enters and reflects within, creating mesmerizing visuals. To help visualize, here’s a meaningful pattern:
| Shape | Size | Effect |
|---|---|---|
| Cylindrical | Compact | Easy to carry, simple illusions |
| Rectangular | Medium | Unique symmetry patterns |
| Cone | Larger | Dramatic optical illusions |
| Sphere | Variable | Seamless symmetry reflections |
| Custom | Personalized | Unique visual experiences |

rabbitgoo Window Privacy Film Rainbow Film Decorative Window Sticker, 3D Static Stained Glass Cling Tint for Home Heat Control Non-Adhesive, 11.8 x 78.7 inches
Striking Pattern, Stylish Decoration: With over 10 years of experience in window film innovation, rabbitgoo static film features…
As an affiliate, we earn on qualifying purchases.
As an affiliate, we earn on qualifying purchases.
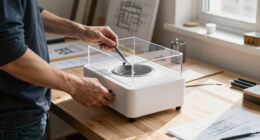
Cutting and Assembling the Tube
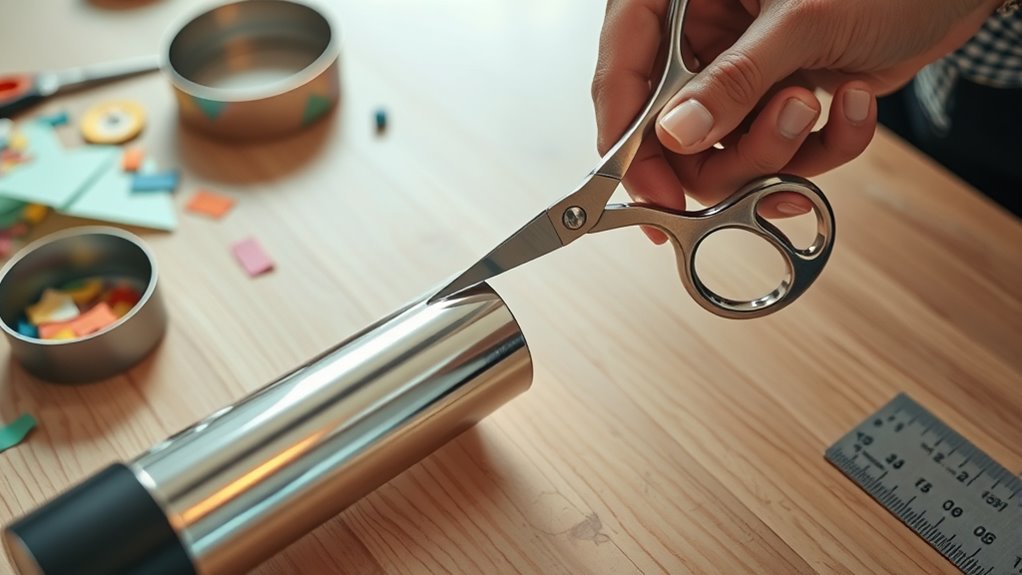
To create a sturdy and well-fitting tube for your kaleidoscope, start by measuring and marking the chosen material according to your desired dimensions. For tube cutting, use a sharp utility knife or scissors, ensuring clean, straight cuts along your marked lines. Keep the material steady and apply even pressure to avoid jagged edges. Once cut, check that the pieces fit snugly together before proceeding. When assembling, use a strong adhesive like glue or tape to join the sections securely. Align the edges carefully, pressing firmly until the adhesive sets. Proper assembly techniques guarantee your kaleidoscope’s body stays durable and seamless. Take your time during this process; precise cutting and careful assembly set the foundation for a successful, visually appealing kaleidoscope. Additionally, using quality materials such as sturdy cardboard or plastic will enhance the longevity and overall appearance of your finished project.

Anyumocz 16 Pcs Classic Kaleidoscopes,Magic Kaleidoscopes Toys,Cute Educational Kaleidoscope,Colorful and Varied Kaleidoscope for Kids,School Classroom Students Prizes,Birthday,Party Favors,Gifts
【Package Includes】You will receive 16 pieces of magic educational kaleidoscope toys,which measures 5.8 inches in length,the sight hole…
As an affiliate, we earn on qualifying purchases.
As an affiliate, we earn on qualifying purchases.
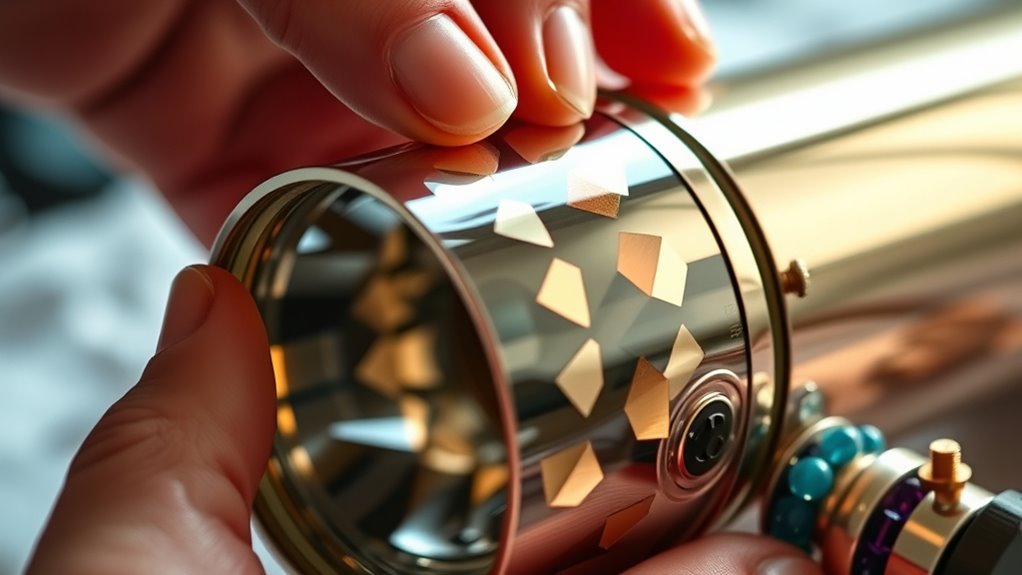
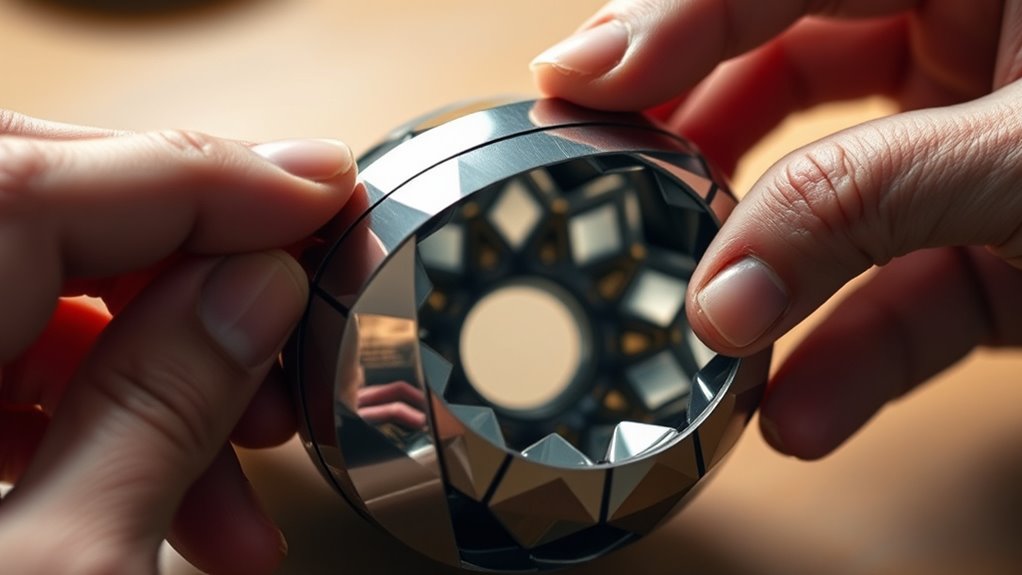
Installing the Mirrors for Reflection
Installing the mirrors securely is essential for creating the reflective surface that produces the kaleidoscope’s mesmerizing patterns. Proper mirror alignment ensures symmetrical reflections, which directly impact reflection quality. To achieve this, carefully position the mirrors at precise angles, using a level or straightedge for accuracy. Secure them with strong adhesive or mounting brackets, avoiding any wobble or gaps that could distort reflections. Check mirror alignment frequently during installation, making adjustments as needed. Remember, even slight misalignments can considerably affect the kaleidoscope’s visual appeal and clarity. Take your time to ensure everything is firmly in place. Mirror stability is crucial for optimal visual effects. Below is a helpful guide to mirror setup:
| Step | Action | Tip |
|---|---|---|
| 1 | Position mirrors | Use a level to ensure straightness |
| 2 | Adjust angles | Check for symmetry |
| 3 | Secure mirrors | Use strong adhesive or brackets |
| 4 | Test reflection | Look for clear, symmetrical images |
| 5 | Final check | Confirm mirror stability |
Creating the Viewing End With a Clear Window
After securing the mirrors, focus on creating a clear viewing end that lets you see the kaleidoscope’s colorful reflections. Start by attaching a transparent material, like clear plastic or glass, to form the viewing window. Make sure it’s positioned at the end of your tube where you want to look through. The viewing window allows light refraction to occur inside the kaleidoscope, bending and splitting light from the objects inside to create beautiful patterns. Guarantee the window is smooth and free of scratches or bubbles for a crisp, unobstructed view. Seal the edges well to prevent light leaks, which can distort the reflections. This clear window is essential for experiencing sharp, vibrant images as you turn your kaleidoscope. Additionally, ensuring the light path inside the scope is unobstructed will enhance the clarity and brightness of the reflected images.
Filling the Interior With Colorful Beads and Objects
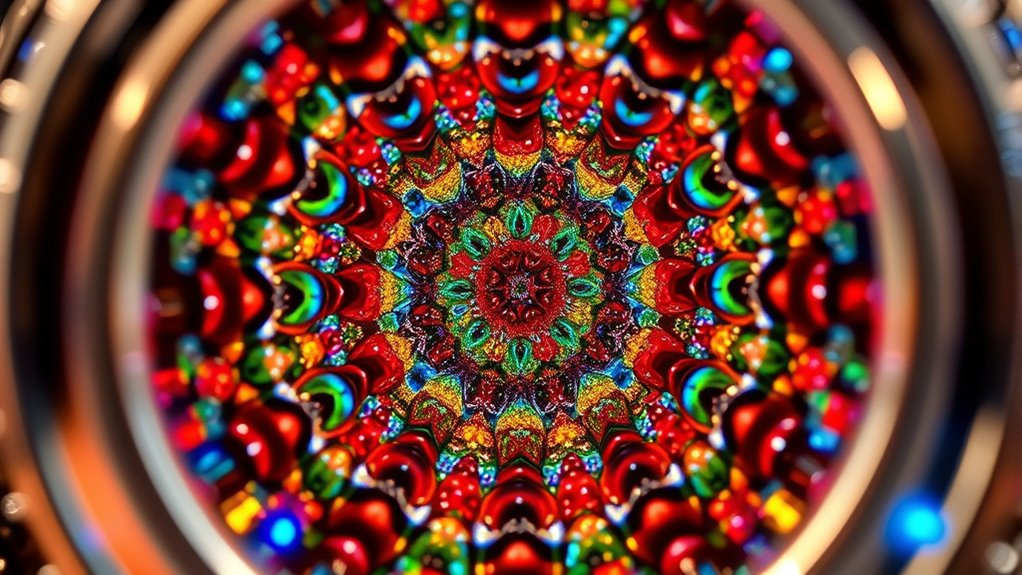
Choose a variety of colorful beads to create vibrant patterns inside your kaleidoscope. Arrange the objects in interesting ways to maximize visual effects when you look through the viewing window. Experiment with different combinations to discover the most mesmerizing displays. Incorporating diverse materials can enhance the complexity and beauty of your kaleidoscope’s interior.
Colorful Beads Selection
Filling the interior of your kaleidoscope with colorful beads and objects is a fun chance to express your creativity. When selecting beads, consider vibrant bead color combinations that enhance visual appeal and create stunning patterns. Explore a bead shape variety—round, faceted, tubular, and irregular shapes—to add texture and interest. Mixing different sizes and shapes can produce enthralling symmetry when viewed through the mirrors. Think about contrasting colors for striking effects or harmonious tones for a soothing look. Use clear or metallic beads to reflect light beautifully, heightening the kaleidoscope’s visual depth. Remember, the right combination of bead colors and shapes makes your kaleidoscope unique and mesmerizing. Understanding cookie categories can help you choose the most suitable options for your project. Experiment freely—your choices determine the mesmerizing patterns you’ll enjoy.
Arranging Objects Creatively
Have you ever wondered how to arrange your beads and objects to create mesmerizing patterns inside your kaleidoscope? To achieve stunning visual effects, focus on thoughtful object placement. Experiment with different arrangements to develop appealing color patterns; for example, group beads of similar hues or alternate contrasting colors to add vibrancy. Mix shapes and sizes to introduce variety and complexity. Consider placing larger objects near the center and smaller ones toward the edges to influence the symmetry and depth of your design. Rotate and reposition objects frequently as you build your interior, observing how the reflections change. This creative process allows you to craft unique, enthralling patterns that transform with every turn, making your kaleidoscope a personal masterpiece of colorful, intricate designs. Remember, understanding the importance of symmetry can help you create more harmonious and captivating patterns inside your kaleidoscope.
Securing All Components and Sealing the Kaleidoscope
To guarantee your kaleidoscope functions properly and stays intact, it’s essential to secure all components firmly and seal the device effectively. Proper mirror alignment ensures smooth reflections and clear images, so double-check your mirrors’ position before sealing. Use sealing techniques like waterproof glue or silicone sealant around edges to prevent dust or moisture from entering. Secure the viewing tube tightly to avoid wobbling, and reinforce the outer casing for durability. Make sure all moving parts, such as rotating discs or objects inside, are firmly attached. Check that the mirrors are aligned perfectly to avoid distorted patterns. Additionally, staying informed about advancements in automation technology can inspire innovative improvements to your kaleidoscope design. A well-sealed kaleidoscope not only lasts longer but also provides a clearer visual experience. Keep these steps in mind for a sturdy, high-quality build.
Personalizing Your Kaleidoscope With Decorations
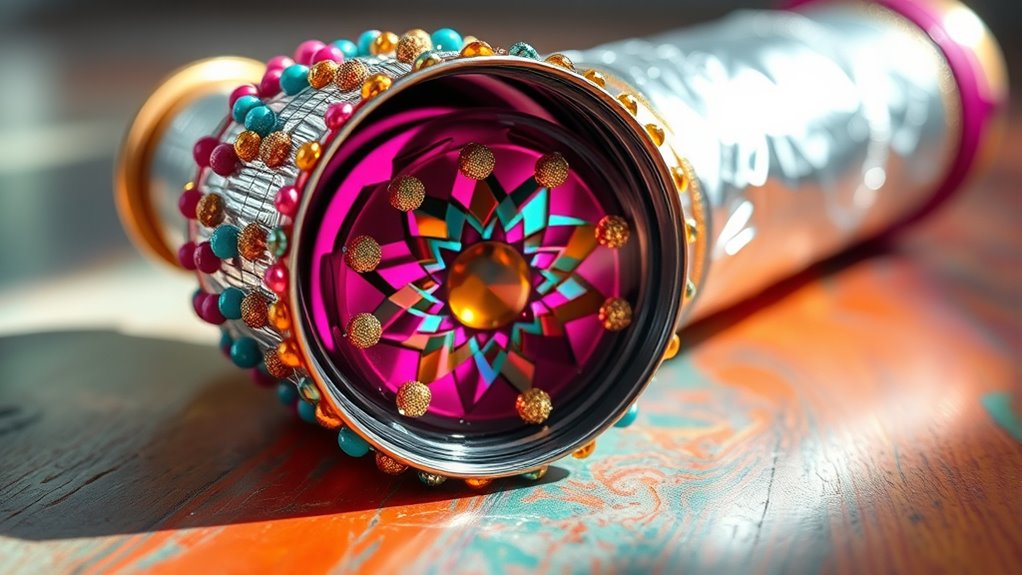
Adding decorations to your kaleidoscope is a fun way to make it uniquely yours. You can explore various decorative techniques to personalize your design, such as painting the exterior, attaching stickers, or wrapping it with colorful tapes. Consider using different textures and materials, like metallic foils or patterned paper, to add visual interest. Personalization options also include adding small charms, customizing the eyepiece, or creating a themed design that reflects your personality. These decorations not only make your kaleidoscope more attractive but also give it a personal touch that sets it apart. Take your time experimenting with different ideas to see what best expresses your style, making your finished kaleidoscope truly one of a kind.
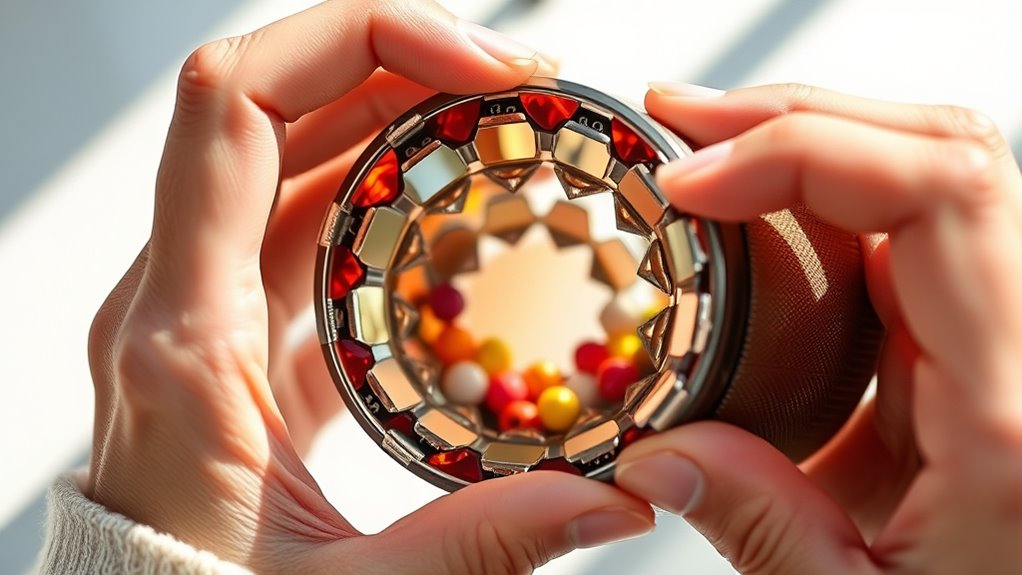
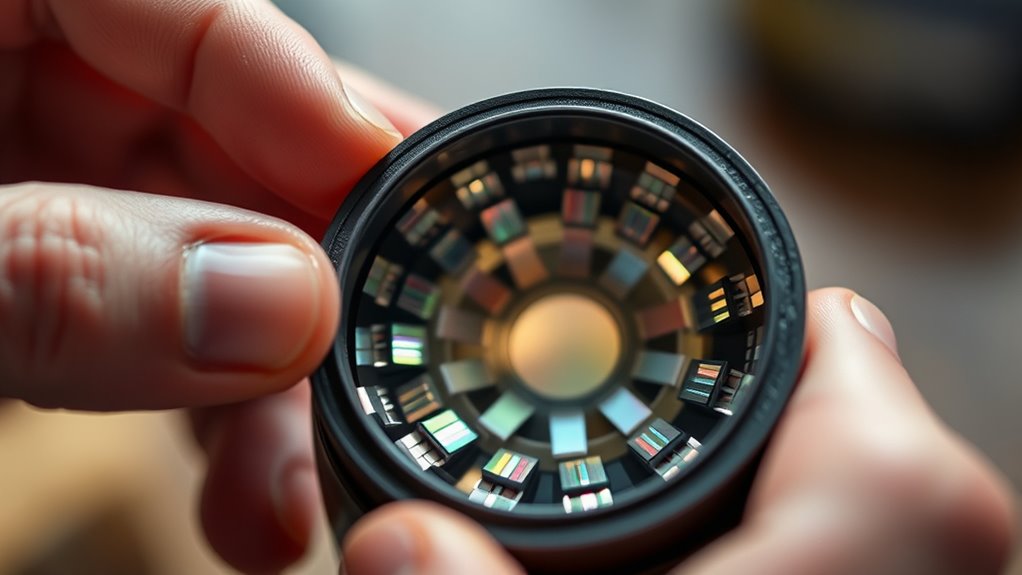
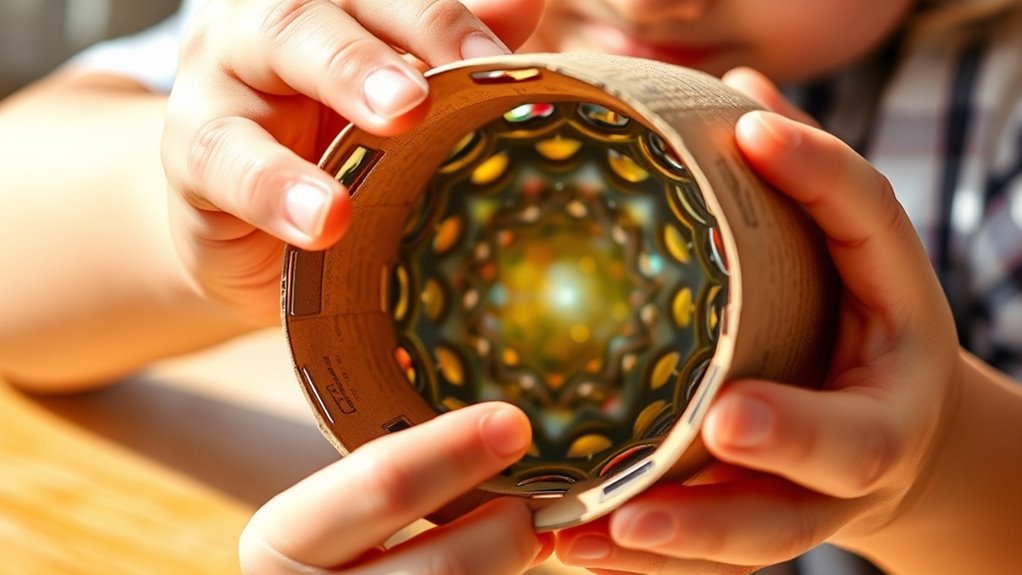
Exploring and Enjoying Your Colorful Creation

Once you’ve personalized your kaleidoscope with decorations, it’s time to start exploring the vibrant world it reveals. Look through the eyepiece and watch as light patterns shift and transform with every turn. Notice how different angles create new color combinations, making each view unique. Experiment with holding the kaleidoscope against different light sources or in varied lighting conditions to see how the patterns change. Focus on the intricate designs formed by the reflected light and colors, appreciating the endless variety of shapes. You’ll discover that even small adjustments produce stunning visual effects. Keep exploring, and you’ll become more attuned to the subtle interplay of light patterns and color combinations that make your kaleidoscope a mesmerizing toy. Using a web-based alarm clock can also help you set reminders to take breaks and enjoy your creative projects.
Frequently Asked Questions
What Are the Best Mirror Types for a Durable Kaleidoscope?
When choosing mirrors for a durable kaleidoscope, you want options that guarantee mirror durability and enhance kaleidoscope longevity. Acrylic mirrors are lightweight, shatter-resistant, and less prone to damage, making them ideal for a long-lasting device. Glass mirrors, though more fragile, provide clearer reflections but may reduce durability. For the best balance, opt for high-quality acrylic or coated glass mirrors, which combine durability with excellent reflective qualities to extend your kaleidoscope’s lifespan.
How Can I Customize the Lighting Inside My Kaleidoscope?
You can customize the lighting inside your kaleidoscope by adding LED lighting for bright, energy-efficient illumination. To create different effects, use color filters over the LEDs, which allow you to change the light’s hue and mood. Experiment with placement and filter colors to personalize your kaleidoscope’s appearance, making your viewing experience unique. This simple upgrade makes your kaleidoscope more vibrant and engaging.
Are There Safety Tips for Cutting and Handling Glass or Sharp Tools?
When handling sharp objects or cutting glass, always prioritize safety. Wear safety equipment like gloves and safety goggles to protect your hands and eyes. Handle sharp tools carefully, cutting away from your body and keeping your fingers clear of blades. Work on a stable, clean surface, and take your time to avoid accidents. Being cautious and using proper safety equipment guarantees you stay safe while creating your kaleidoscope.
What Alternative Materials Can I Use if I Don’t Have Beads?
If you don’t have beads for your kaleidoscope, consider DIY alternatives using common craft supplies. You can use small, colorful paper cutouts, tiny pieces of colored plastic, or sequins. These options are easy to find and safe to handle. Just make sure to secure them well inside your tube to create vibrant, shifting patterns. Experimenting with different materials can add a unique touch to your DIY project and make it more fun.
How Do I Troubleshoot if the Images Inside Are Blurry or Distorted?
If your kaleidoscope images are blurry or distorted, start by checking the mirror alignment; misaligned mirrors cause poor image clarity. Make sure the mirrors are straight and properly positioned, with no gaps or bends. Also, inspect the reflective surfaces for smudges or dirt, as they can distort images. Adjust the mirrors carefully until the images become sharp and clear, ensuring ideal mirror alignment for the best visual effect.
Conclusion
Now that you’ve crafted your colorful, mesmerizing kaleidoscope, you can confidently create countless captivating images. With a little creativity and careful construction, your personal masterpiece becomes a mesmerizing mirror of your imagination. Keep exploring, experimenting, and enhancing your enchanting creation. Remember, your DIY design delivers delightful, dazzling displays that bring joy and wonder. So, seize your supplies, set your sights, and start spinning spectacular, shimmering scenes with your very own kaleidoscope!