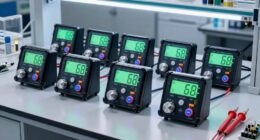

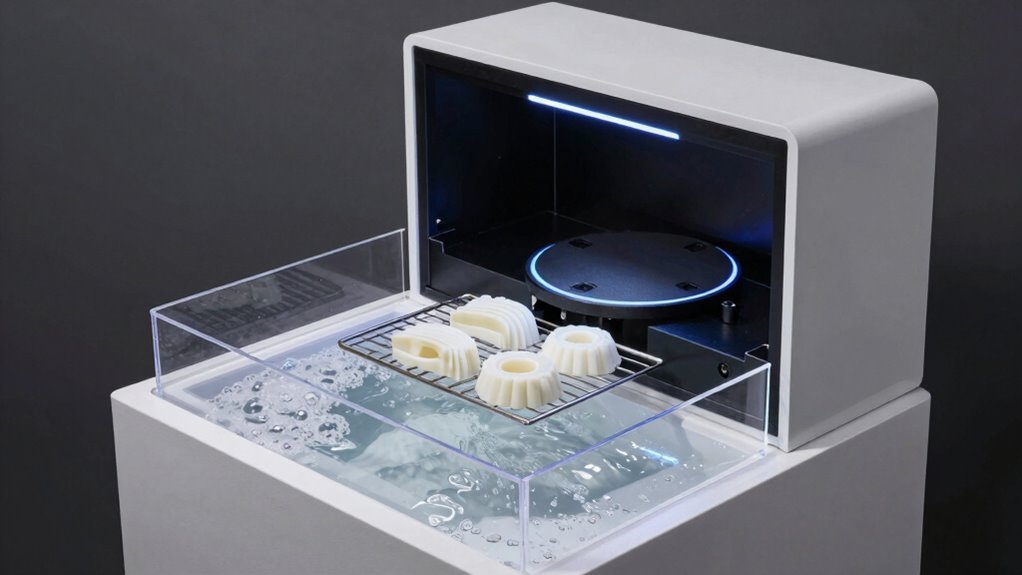
Wash & cure stations are key for finishing resin prints. Sticky surfaces happen when residual uncured resin isn’t completely removed during washing or when curing isn’t done properly. Insufficient washing leaves uncured resin on the surface, and partial or uneven post-curing can cause tackiness. Overexposure or rushed steps worsen the issue. Proper setup and process control are essential. Keep going, and you’ll discover how to keep your prints smooth and fully hardened.
Key Takeaways
- Residual uncured resin on prints after washing causes stickiness if not thoroughly removed.
- Insufficient or improper UV curing leaves surfaces tacky due to incomplete polymerization.
- Poorly maintained wash stations or inadequate cleaning techniques can leave uncured resin on prints.
- Overexposure or inconsistent curing parameters can result in uneven, sticky surfaces.
- Environmental factors like humidity and temperature during curing affect resin hardening and can cause tackiness.
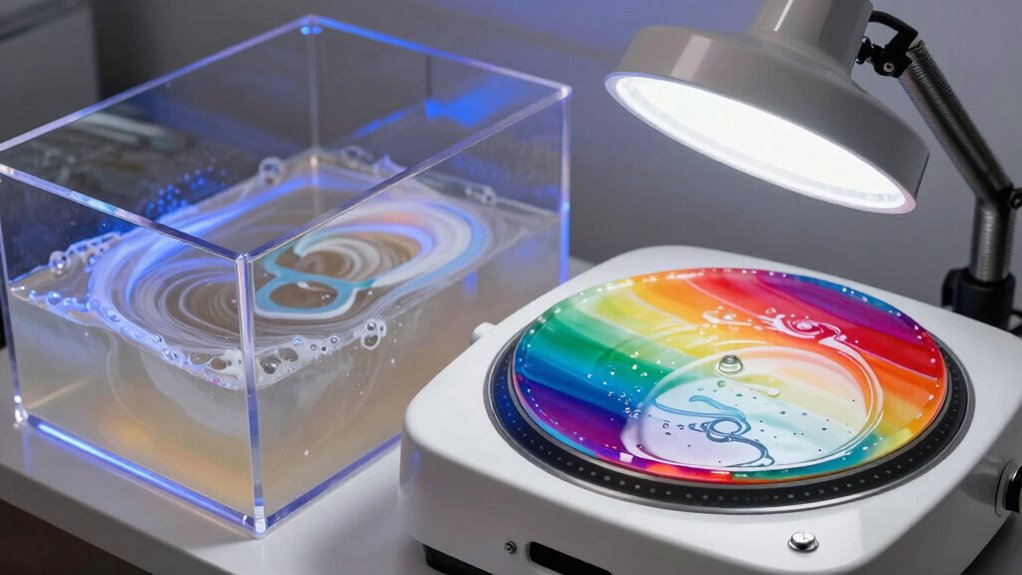
What Are Wash & Cure Stations and Why Are They Important?
Have you ever wondered how 3D printed objects become ready for use? It all starts with understanding resin chemistry and how it interacts with the print surface. Wash & cure stations are essential because they guarantee your prints are properly cleaned and hardened. The wash station removes excess resin from the surface, which is critical because leftover resin can cause sticky or tacky surfaces, affecting quality. Proper cleaning also helps prevent contamination, which can compromise the integrity of your final product. Additionally, using color accuracy techniques during curing can improve the visual fidelity of your prints. The curing process then solidifies the resin, enhancing strength and detail. Without these stations, prints may remain imperfect, with troublesome surfaces or incomplete curing. They’re an indispensable part of the process, helping you achieve smooth, durable, and professional-looking results. Properly using wash and cure stations guarantees your 3D models are ready for use, with ideal finish and durability. Moreover, integrating energy-efficient and sustainable European cloud solutions can optimize the overall production process, ensuring environmentally conscious manufacturing. Incorporating efficient electric power generation methods can also reduce operational costs and improve sustainability.
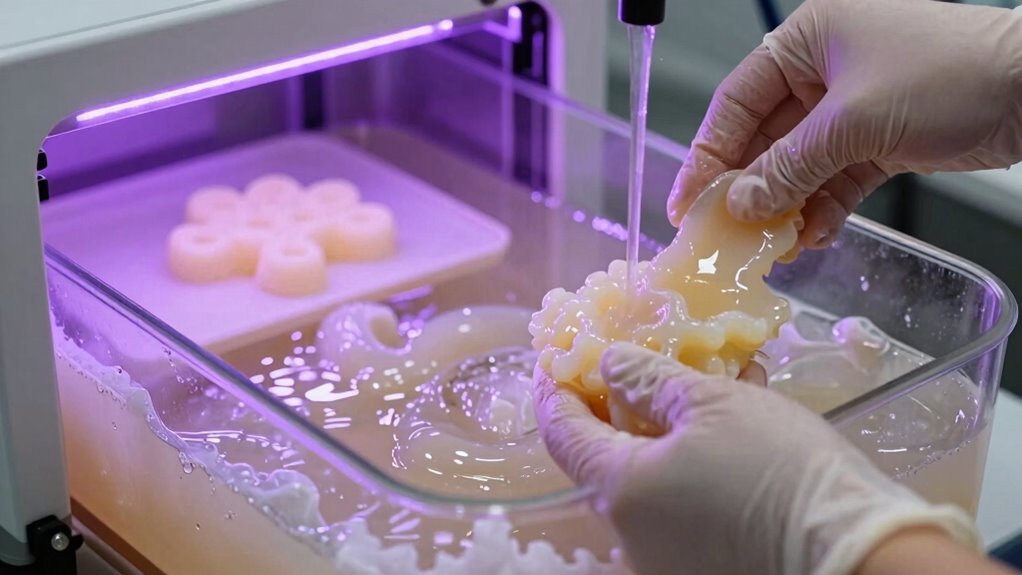
How Do Wash Stations Clean Resin Prints Effectively?
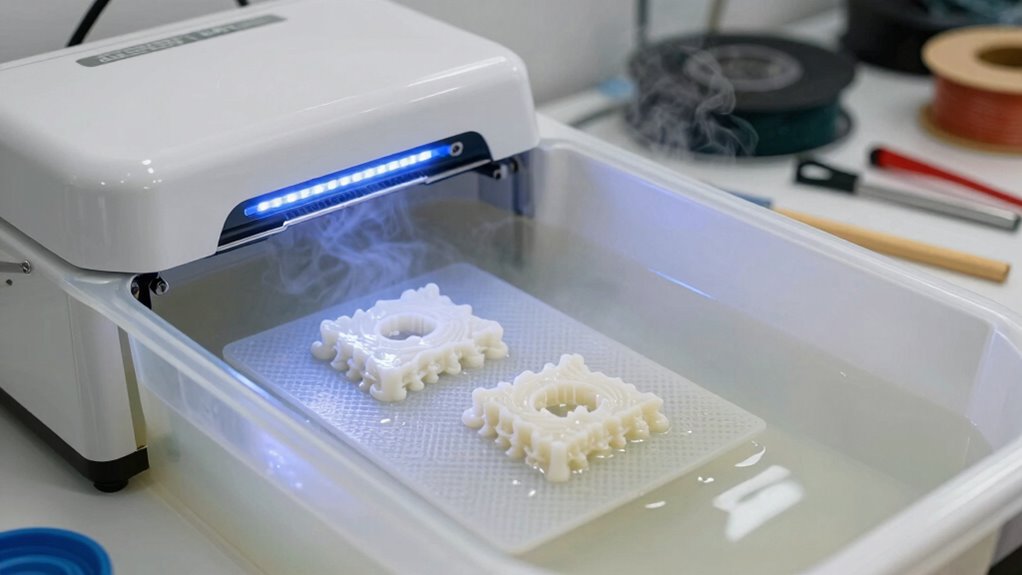
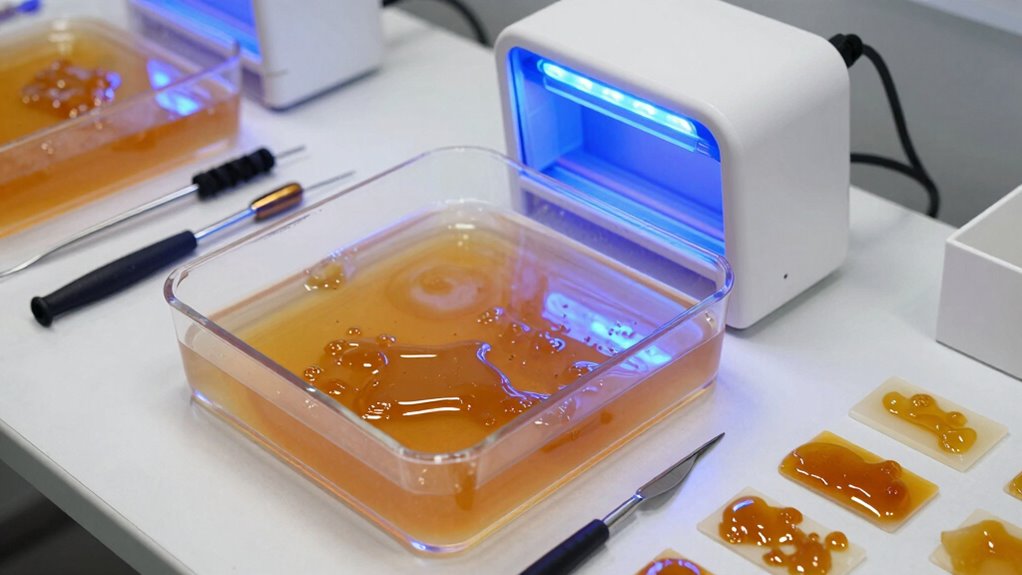
Once your resin print is cured, cleaning it thoroughly is the next vital step. Wash stations effectively remove residual uncured resin by using a suitable solvent, usually isopropyl alcohol, that dissolves leftover resin formulation. Proper agitation or gentle swirling ensures all surfaces, including intricate details, are cleaned. Your print’s orientation during washing matters—positioning it to maximize solvent contact reduces missed spots and guarantees thorough cleaning. Some wash stations feature rotating or ultrasonic mechanisms that enhance resin removal without manual scrubbing. Consistent, careful cleaning prevents sticky surfaces caused by residual resin or improper print orientation. Additionally, understanding the importance of Free Floating in ensuring even coating and resin removal can improve cleaning outcomes. This step is essential to prepare your print for the next phase, making sure it’s free of uncured resin and ready for curing, which will solidify and harden the resin for a smooth, sticky-free finish. Proper print orientation during washing can significantly impact cleaning effectiveness and reduce the likelihood of residual resin remaining on difficult-to-reach areas. Using automated washing systems can further optimize cleaning efficiency and consistency. Paying attention to filtration systems within wash stations can also help in capturing residual resin particles, keeping the cleaning process cleaner and more efficient. Additionally, selecting a wash station with efficient solvent circulation can improve resin removal and reduce cleaning time.
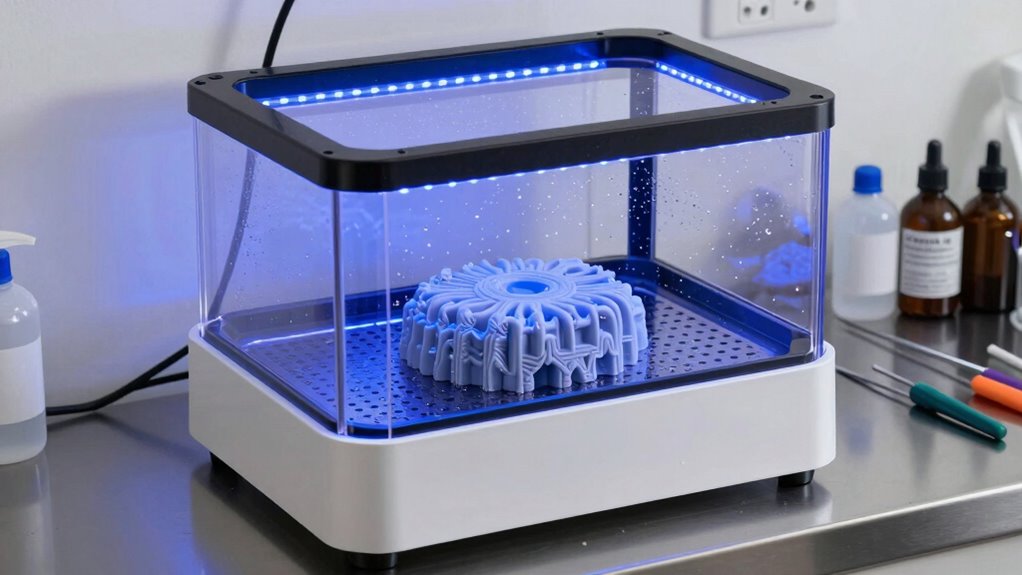
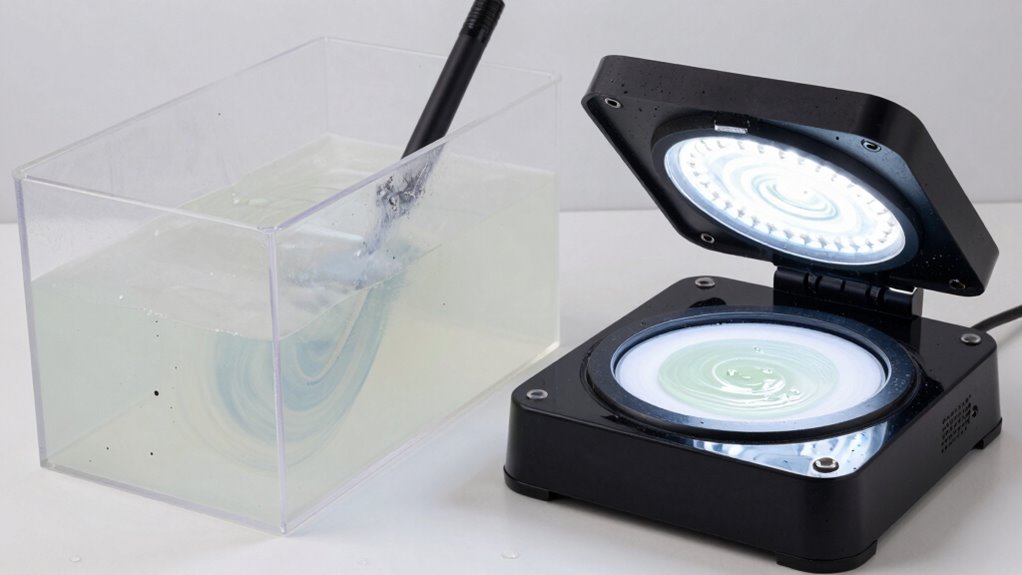
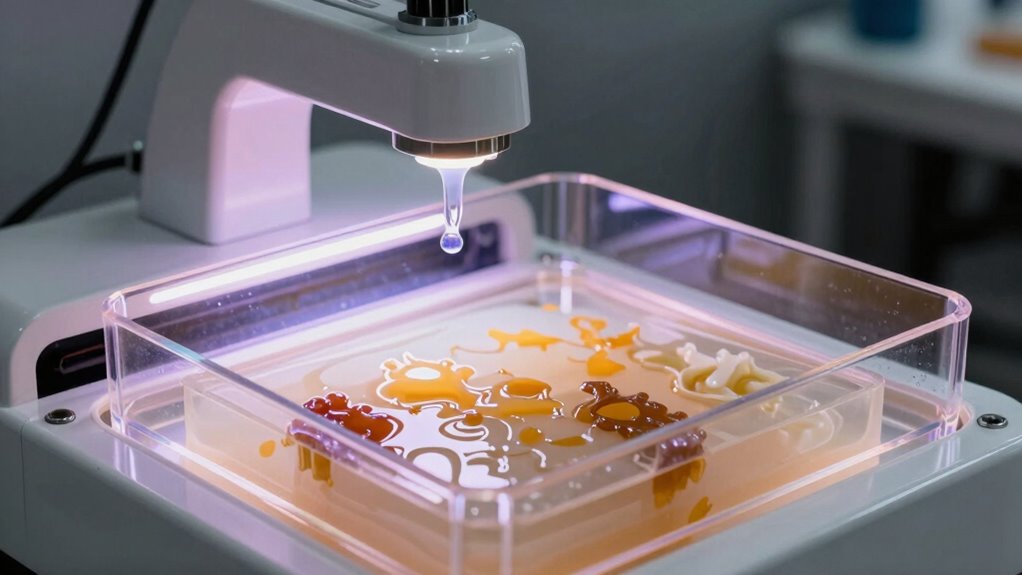
How Proper Curing Hardens Prints and Prevents Stickiness
Proper curing transforms your resin print from a soft, tacky object into a durable, solid finish. This process relies on resin chemistry, where UV light initiates polymerization, linking resin molecules into a hardened structure. Achieving curing consistency is key; uneven exposure can leave parts sticky or undercured. When you cure your print properly, you ensure all resin layers fully polymerize, increasing strength and reducing stickiness. Using a dedicated curing station helps control variables like UV intensity and exposure time, promoting uniform curing. Proper curing not only improves the appearance but also enhances the print’s durability. Remember, under-curing leaves residual tackiness, while over-curing can cause brittleness. Consistent, thorough curing is essential for high-quality, sticky-free resin prints. Additionally, understanding the types of curing stations can help optimize your process for better results and improve print quality. For best results, monitor the exposure time closely to prevent under- or over-curing and achieve a reliable finish. To further enhance your curing process, consider proper handling techniques to avoid disturbing the print during the process. Recognizing the importance of curing consistency can ensure your prints are both durable and aesthetically pleasing.
Why Do Resin Prints Sometimes Stay Sticky After Washing and Curing?
If your resin prints stay sticky after washing and curing, it’s usually due to incomplete resin removal, insufficient post-curing, or a poorly set-up wash station. These issues can prevent your print from fully hardening and achieving a smooth finish. Ensuring proper essential oil application during the cleaning process can help break down residual resin and improve curing outcomes. Additionally, understanding the glycolic acid benefits for skin and folklore surrounding monsters can give you insight into the unknown aspects of your prints, especially if you encounter unexpected issues. Proper cleaning techniques and equipment setup are crucial for avoiding sticky residues and ensuring a durable, high-quality finish. Identifying and fixing these problems ensures better results and a cleaner, more durable print.
Incomplete Resin Removal
Resin prints sometimes remain sticky after washing and curing because residual uncured resin clings to the surface, preventing it from fully hardening. If you miss spots during cleaning, resin residue stays on the print, causing stickiness. Using ineffective cleaning techniques, such as insufficient agitation or inadequate rinsing, leaves behind leftover resin. To avoid this, verify you thoroughly scrub the print with soft brushes or ultrasonic cleaners, especially in crevices. Proper rinsing with isopropyl alcohol or other recommended solvents helps dissolve and remove stubborn resin residue. Taking your time during cleaning maximizes resin removal, which results in a cleaner, less sticky surface. Remember, incomplete resin removal is often the culprit behind sticky prints, so precise and thorough cleaning is essential for perfect results. Additionally, understanding the importance of cleaning techniques can greatly improve the effectiveness of your resin removal process. Employing proper curing methods after cleaning can also help ensure the resin fully hardens and reduces stickiness. Ensuring that you follow recommended drying procedures can further enhance the curing process and prevent residual tackiness. Incorporating advanced cleaning methods, such as ultrasonic cleaning, can further optimize resin removal and improve print quality. Utilizing adequate agitation during rinsing can help dislodge resin particles from difficult-to-reach areas, leading to a smoother print finish.
Insufficient Post-Curing
Even after washing your print thoroughly, it can stay sticky if you haven’t given it enough post-curing time or used insufficient curing intensity. Proper post-curing with UV light is essential to fully solidify the resin, especially considering its unique composition. If you don’t expose the print long enough or use a weak UV source, the resin’s chemical reaction remains incomplete, leaving a tacky surface. Different resin types require varying curing durations and intensities; some might need stronger UV light or longer exposure. Ensuring your curing process is thorough helps the resin reach its final hardness, eliminating stickiness. Rushing this step or using inadequate UV light can result in residual uncured resin, which feels sticky and compromises print quality. Additionally, understanding the resin’s composition can help determine the appropriate curing settings for optimal results, ensuring a fully cured, non-sticky finish. To achieve consistent outcomes, it’s also helpful to consider curing protocols and adhere to manufacturer recommendations for each resin type.
Poor Wash Station Setup
A poorly set-up wash station can leave your resin prints sticky even after washing and curing. If the wash station design isn’t ideal, resin contamination can occur, causing residual stickiness. Improper placement of parts, insufficient agitation, or dirty containers hinder effective cleaning. Here’s a picture of a typical setup:
| Good Wash Station Design | Poor Wash Station Design |
|---|---|
| Clean, dedicated basin | Dirty, reused containers |
| Adequate agitation | No agitation or manual stirring |
| Proper resin flow | Stagnant liquid |
| Clear separation of parts | Cross-contamination of resin |
Ensuring proper wash station setup minimizes resin contamination, leading to cleaner, less sticky prints.
Common Mistakes That Cause Sticky Resin Prints
One common mistake is not rinsing prints thoroughly, leaving residual resin that causes stickiness. Overexposing your print during curing can also harden the surface unevenly, resulting in a tacky finish. Additionally, rushing post-processing steps or skipping proper cleaning can leave unwanted residue, making prints sticky even after curing.
Inadequate Rinsing Techniques
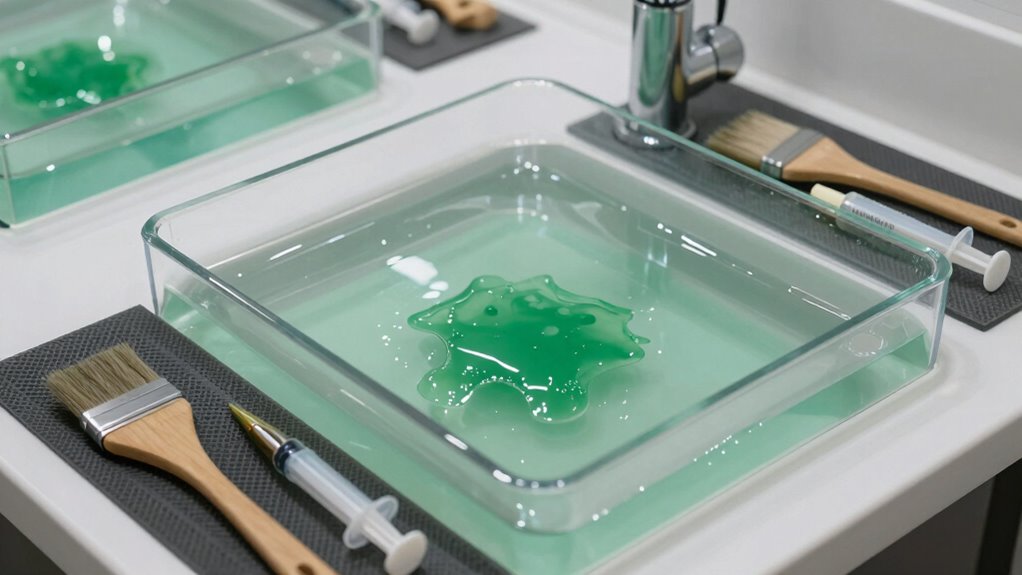
Inadequate rinsing after the curing process is a common mistake that can leave resin residues on your print’s surface, making it sticky and tacky. If you don’t thoroughly rinse your print with proper cleaning solutions, leftover resin remains trapped in crevices and on the surface. This residual resin attracts dust and dirt, worsening stickiness over time. Using insufficient or improper cleaning solutions can also fail to break down resin residues effectively. To prevent this, verify you rinse your print thoroughly in a gentle, alcohol-based solution or a manufacturer-recommended cleaner. Agitate and scrub lightly if needed, paying close attention to hard-to-reach areas. Proper rinsing removes excess resin and prepares your print for a clean, smooth finish, reducing the chances of sticky surfaces.
Overexposure During Curing
Overexposing your resin print during the curing process can easily lead to sticky surfaces and unwanted resin residues. UV overexposure causes excess resin to polymerize beyond the intended area, resulting in a tacky finish. To prevent this, consider these tips:
- Use a timer and don’t exceed recommended curing durations.
- Adjust curing intensity to avoid overexposing the resin surface.
- Ensure even UV light distribution to prevent uneven curing.
- Remove excess resin before curing to minimize resin residue buildup.
Poor Post-Processing Practices
Poor post-processing techniques are a common cause of sticky resin prints, often resulting from insufficient cleaning or improper curing. Resin contamination can occur if you don’t thoroughly wash your print, leaving uncured resin on the surface. This residual resin attracts dust and moisture, causing stickiness. Additionally, improper drying techniques can leave surface moisture or solvent residues that hinder proper curing. Skipping a proper rinse or rushing the drying process increases the risk of sticky surfaces. To avoid these issues, ensure you clean your print thoroughly with isopropyl alcohol and dry it completely using gentle, even drying methods. Proper post-processing not only improves print quality but also minimizes the chance of sticky, damaged prints caused by poor resin management and inadequate drying techniques.
How to Optimize Your Wash & Cure Process to Avoid Stickiness
To prevent stickiness after curing, it’s essential to carefully optimize each step of your wash and cure process. First, understand your resin chemistry, as different resins require specific handling. Second, control the curing temperature precisely; too high or too low can cause incomplete curing or sticky surfaces. Third, ensure thorough washing to remove uncured resin residues, which can lead to stickiness. Fourth, use a calibrated curing station to maintain consistent curing temperature and time. Properly managing these factors ensures complete polymerization, reducing surface tackiness. By paying attention to resin chemistry and curing temperature, you’ll improve print quality and avoid post-curing stickiness, making your prints smoother and more durable.
Choosing the Right Wash and Cure Stations for Your Workflow
Choosing the right wash and cure stations is vital for achieving high-quality 3D prints, as the equipment you select directly impacts your workflow efficiency and final results. Different resin formulas respond uniquely to washing and curing processes, so selecting stations compatible with your specific resin types guarantees ideal results. For example, some resins require gentle cleaning, while others need more vigorous agitation. Additionally, proper print orientation during curing plays a key role in minimizing issues like sticky surfaces or incomplete curing. A station with adjustable UV light angles and rotation options can help guarantee even exposure. By carefully matching your wash and cure stations to your resin formulas and print orientation needs, you’ll streamline your process and improve the overall quality of your prints.
Troubleshooting Sticky Prints: What to Do When Things Go Wrong?
Sticky prints are a common issue that can stem from multiple factors during the curing process, but quick identification and targeted adjustments can often resolve the problem. To troubleshoot, start by reviewing your resin chemistry; some formulations cure more tacky than others. Next, check your post processing methods—ensure you’re using the correct curing time and light intensity. Consider these steps:
- Adjust curing duration or light exposure to prevent over-curing.
- Verify your resin’s compatibility with your curing station.
- Clean your prints thoroughly before final curing to remove residual uncured resin.
- Optimize post curing conditions, such as temperature and agitation, to promote even curing without stickiness.
Implementing these adjustments can considerably reduce tackiness and improve your print quality.
Final Tips for Achieving Smooth, Fully Cured Resin Prints
Achieving smooth, fully cured resin prints requires attention to detail during the final curing process. Proper resin handling guarantees you don’t introduce contaminants or uneven curing, which can cause surface imperfections. Make sure your print is clean and free of residual resin before curing. Use a dedicated cure station or a well-calibrated UV light to ensure consistent exposure. Rotate or gently agitate the print during curing to promote even light distribution. Good print finishing also involves controlling curing time—too long can cause brittleness, while too short leaves the print sticky. Pay attention to temperature and humidity, as these factors influence curing quality. By managing resin handling and focusing on precise print finishing, you’ll achieve smoother, fully cured results that look professional and last longer.
Frequently Asked Questions
Can Different Resin Types Affect Wash and Cure Results?
Yes, different resin types can affect wash and cure results. You need to take into account resin compatibility because some resins require specific cleaning methods and curing settings. For maximum curing efficiency, follow the manufacturer’s instructions closely, as improper curing can lead to sticky or weak prints. Using incompatible resins or ignoring recommended procedures may cause poor adhesion, sticky surfaces, or incomplete curing, ultimately affecting the quality of your finished model.
How Long Should I Leave Prints in the Wash Station?
Oh, sure, leave your prints in the wash station forever—because who doesn’t love a nice, soggy masterpiece? Honestly, you should rinse for about 5-10 minutes, depending on resin consistency and wash station capacity. Too short, and you leave residue; too long, and who knows what will happen? Aim for a quick, thorough rinse, then dry properly for best results. It’s all about balance, not a soap opera.
Are There Environmental Factors Influencing Print Stickiness?
Yes, environmental factors like humidity impact stickiness, making prints more prone to tackiness if the air is too moist. Temperature influence also plays a role, as higher temperatures can prevent proper curing and cause prints to remain sticky. To avoid this, make certain your workspace has consistent humidity and temperature levels, and consider using a dehumidifier or air conditioner if needed. Proper environment control helps achieve cleaner, less sticky prints.
Is It Necessary to Use Alcohol or Solvents During Washing?
Did you know that improper cleaning leaves up to 15% resin residue on prints? You should use alcohol or solvents during washing to effectively remove resin residue, preventing stickiness. Just guarantee solvent safety by working in well-ventilated areas and wearing protective gear. This step helps achieve smooth, high-quality prints and prolongs your resin’s usability. Proper washing with the right solvents makes all the difference in avoiding sticky prints.
How Often Should I Maintain or Replace My Wash and Cure Stations?
You should perform regular maintenance on your wash and cure stations every 1-3 months, depending on usage. Keep an eye on the station’s overall condition and follow the manufacturer’s recommendations. Replace components or the entire station when you notice signs of wear or reduced performance. Proper maintenance helps extend the station’s lifespan and ensures consistent, high-quality prints. Regular upkeep prevents sticky prints caused by equipment issues.
Conclusion
Mastering your wash and cure routine transforms sticky struggles into smooth, stunning success. By balancing proper procedures with patience and precision, you’ll prevent persistent stickiness and perfect your prints’ polish. Remember, meticulous methods make masterful models, ensuring every resin print is pristine and polished. So, stay vigilant, verify your processes, and value the essential steps — your flawless finishes will follow, forging a future of flawless, friction-free figures.