
To predict your laser’s cutting depth based on material thickness, consider the material type, its properties, and your laser’s power and speed settings. Thicker materials require higher power and slower speeds but also risk deformation and safety issues. Adjusting focus and conducting test cuts help refine these estimates. If you want to maximize efficiency and avoid waste, understanding these factors is key—and there’s more to discover that can improve your process further.
Key Takeaways
- Understand material properties like thermal conductivity and reflectivity to estimate achievable laser cut depth.
- Use predictive tools and simulation software to model laser-material interactions based on thickness and type.
- Conduct test cuts on scrap material to empirically determine maximum safe cutting depth for specific setups.
- Adjust laser power, focus, and speed according to material thickness and surface finish for optimal cuts.
- Regular calibration and real-time monitoring help prevent overcutting and material waste during the process.

DGHUNST 130W CO2 Laser Power Supply for Voltage 110V and 220V 130W 150W Laser Tube Laser Cutting Machine Power Supply (MYJG 150W (95-250V))
【Specificity and Good compatibility】 It is designed exclusively for Engraving Machine and can be applicable to 130W-150W laser…
As an affiliate, we earn on qualifying purchases.
As an affiliate, we earn on qualifying purchases.
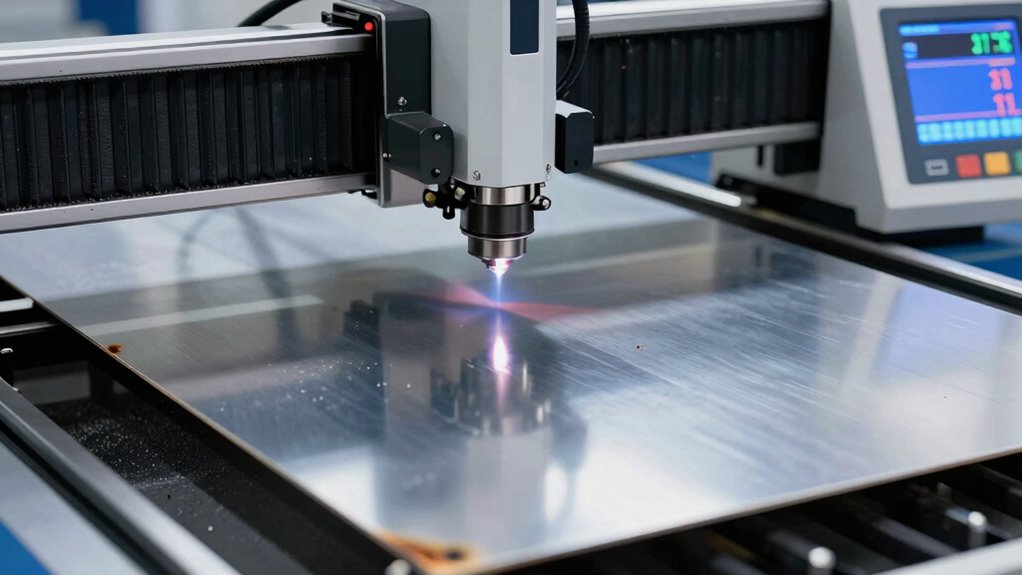
What Is Laser Cutting Depth and Why It Matters
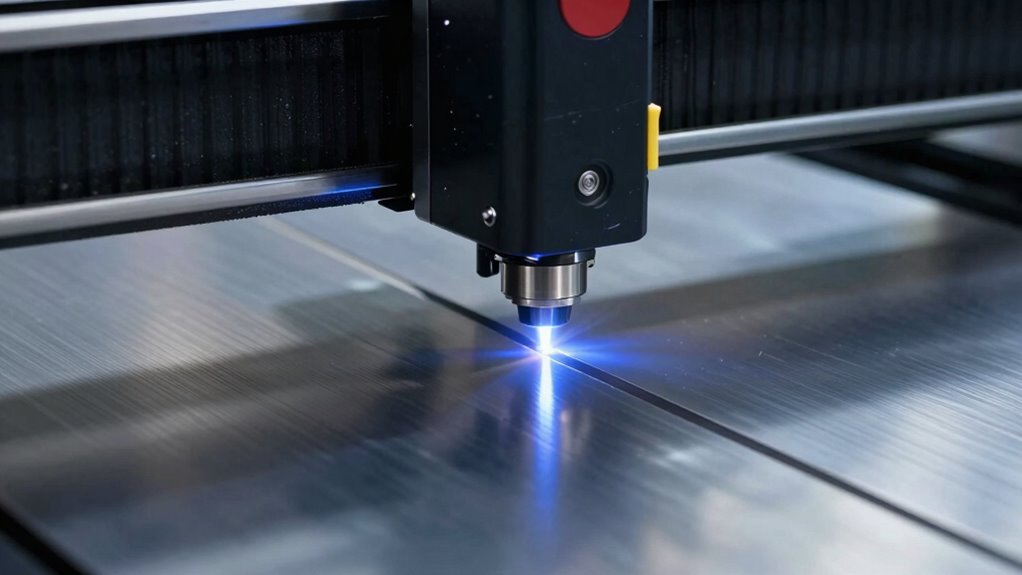
Understanding laser cutting depth is vital because it determines how much material your laser can effectively cut through in a single pass. The laser beam focus plays an essential role in this process, as it concentrates energy onto the material surface. When the focus is sharp and precise, the laser penetrates deeper without spreading energy too broadly, guaranteeing efficient cutting. If the focus is off, the laser may only partially cut or produce a rough edge. The material surface’s condition also impacts depth; a clean, smooth surface allows the laser to cut deeper and more accurately. Properly adjusting the laser beam focus guarantees you maximize cutting depth while minimizing material waste, making your process more efficient and precise. Additionally, understanding the material properties can help optimize settings for improved cutting performance. Being aware of factors like material thickness limits is crucial to prevent overexposure or undercutting during operation, and considering the laser wavelength can further influence how effectively the material is cut. Recognizing the role of ear wax odor can also serve as an analogy for understanding how precise tuning can prevent undesirable outcomes in laser cutting.

HUAHENGCHI Z Axis Height Adjuster for Laser Engraver & Laser Module – Z Axis Lift Focus Control Set for Laser Engraving Cutting Machine, Precise Focus Lifting Bracket, Manual Slide Linear Stage
【Strong Compatibility】: This lifting bracket is compatible with most modules on market. And it's also a Z Axis…
As an affiliate, we earn on qualifying purchases.
As an affiliate, we earn on qualifying purchases.
What Factors Affect How Deep Your Laser Can Cut
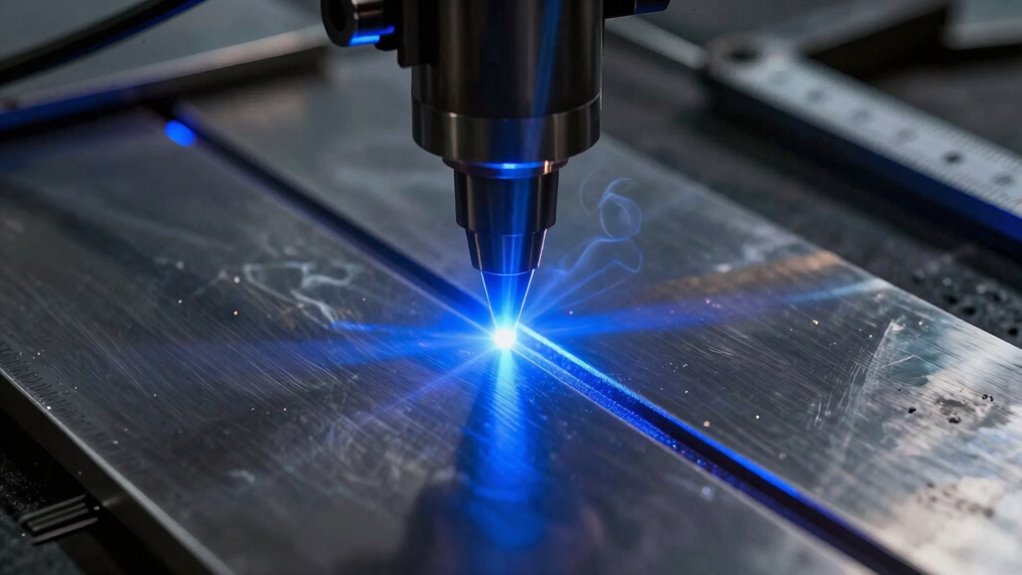
Several factors directly influence how deep your laser can cut into a material. Key elements include the laser’s power, material properties, and environmental conditions. For instance, fiber optics deliver focused energy efficiently, affecting penetration depth. Thermal expansion of materials can also impact cutting precision; excessive heat causes material distortion, reducing cut depth. Additionally, the type of material’s thermal conductivity determines how heat spreads, influencing how deep the laser can go before the cut weakens.
| Factor | Effect on Cutting Depth | Additional Insight |
|---|---|---|
| Laser Power | Higher power = deeper cut | Fiber optics enhance power delivery |
| Material Type | Affects heat absorption | Thermal expansion impacts accuracy |
| Thermal Conductivity | Faster heat dissipation limits depth | Controls heat buildup |
| Focus Precision | Better focus = cleaner cut | Critical for precise depth control |
| Environmental Conditions | Temperature fluctuations affect thermal expansion | Can cause inconsistent cuts |

EDTM MG1500 "MIG" Laser Glass Thickness Gauge for IG Glass, Made in USA
MG1500 “MIG” Laser Glass Thickness Gauge Fast, Accurate Laser Measurement for IG Units, Laminated Glass & More. The…
As an affiliate, we earn on qualifying purchases.
As an affiliate, we earn on qualifying purchases.
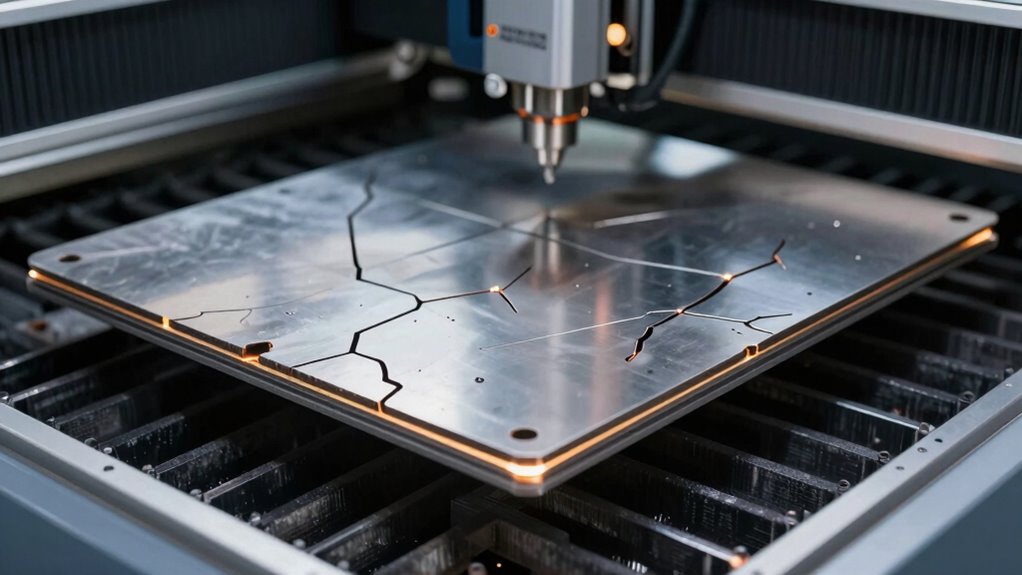
How Material Thickness Limits Your Laser Cutting Capabilities
Material thickness plays a crucial role in determining how effectively your laser can cut through a surface. Thicker materials increase the risk of material deformation, which can cause uneven cuts or even damage your equipment. As the thickness grows, your laser’s ability to penetrate fully diminishes, limiting cutting depth. You must also consider safety precautions, as thicker materials may heat unevenly, creating potential hazards like sparks or fumes. Proper settings and equipment calibration are essential to prevent material deformation that could compromise both cut quality and safety. Recognizing these limits helps you avoid wasted material and reduces the risk of accidents. Additionally, understanding how connected equipment and technology can monitor and adjust laser parameters enhances process safety and precision. Incorporating ventilation and safety measures is vital to manage fumes and heat generated during cutting. Using advanced laser control systems can further improve accuracy and extend your laser’s effective cutting capabilities. By understanding how thickness affects your laser’s capabilities, you can optimize your process while maintaining safety and achieving precise results. Moreover, staying informed about advances in laser technology can expand your cutting possibilities within safe operational limits. For example, modern laser systems often feature automated calibration, which can help extend the effective cutting depth for various materials.

10 Pieces Black Laser Testing Paper Double-Sided Laser Dimming Engraving Test Focus Paper for Laser Cutting and Marking Machine
What you get: this package includes 10 pieces double sided black laser testing paper; The size is 210…
As an affiliate, we earn on qualifying purchases.
As an affiliate, we earn on qualifying purchases.
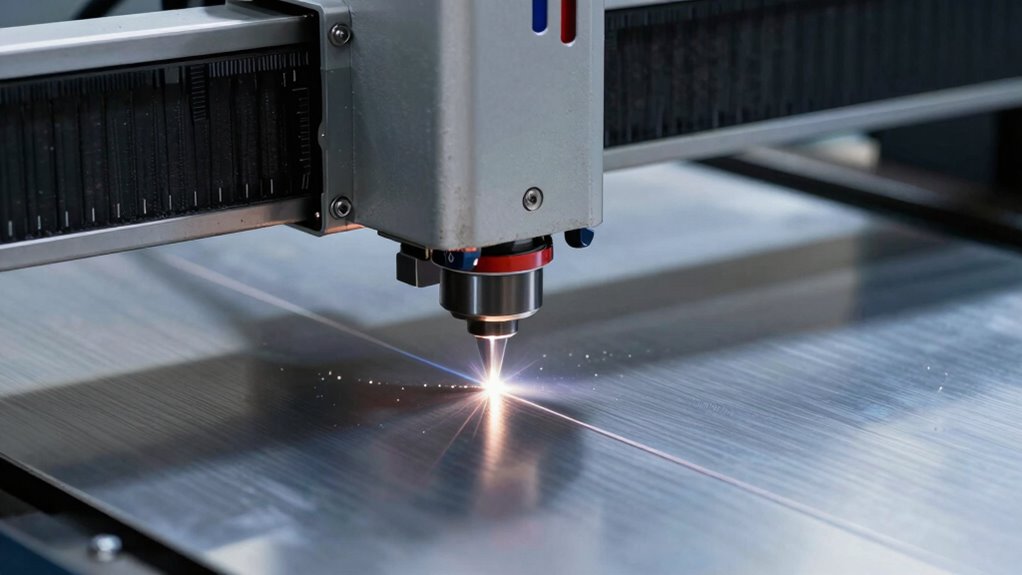
How to Estimate Laser Cutting Depth Based on Power and Speed

To accurately estimate how deep your laser will cut based on power and speed, you need to contemplate how these variables interact during the process. Higher power generally increases cutting depth, while faster speeds reduce it. Your choice of fiber optics laser influences efficiency, enabling precise adjustments for desired depths. Keep in mind that excessive power can compromise laser safety, so always operate within recommended limits. Use this simple table to guide your estimates:
| Power Level | Speed Setting | Expected Cutting Depth |
|---|---|---|
| Low | Fast | Shallow |
| Medium | Moderate | Moderate |
| High | Slow | Deep |
Adjusting these factors helps you predict cutting depth without wasting material, ensuring safe and effective laser operation. Additionally, understanding the interaction between laser parameters and material properties can further refine your estimates for optimal results.
How Material Type and Composition Influence Cutting Depth
Have you ever wondered why some materials cut deeply with the same laser settings while others only surface? It all comes down to material composition. Different materials absorb laser energy differently; metals like steel and aluminum respond uniquely based on their properties. Alloy effects are significant—adding elements like chromium or nickel can alter how easily a material is cut. For example, stainless steel’s alloy content makes it more resistant to laser penetration, reducing cutting depth. Conversely, pure metals like aluminum tend to cut more quickly and deeply. Non-metal materials, such as plastics or wood, behave entirely differently due to their composition, often requiring adjustments in laser power. Understanding how material type and alloy effects influence cutting depth helps you optimize your settings and avoid wasting material. Additionally, the thermal conductivity of a material influences how the heat from the laser disperses, further affecting the cutting depth and quality.
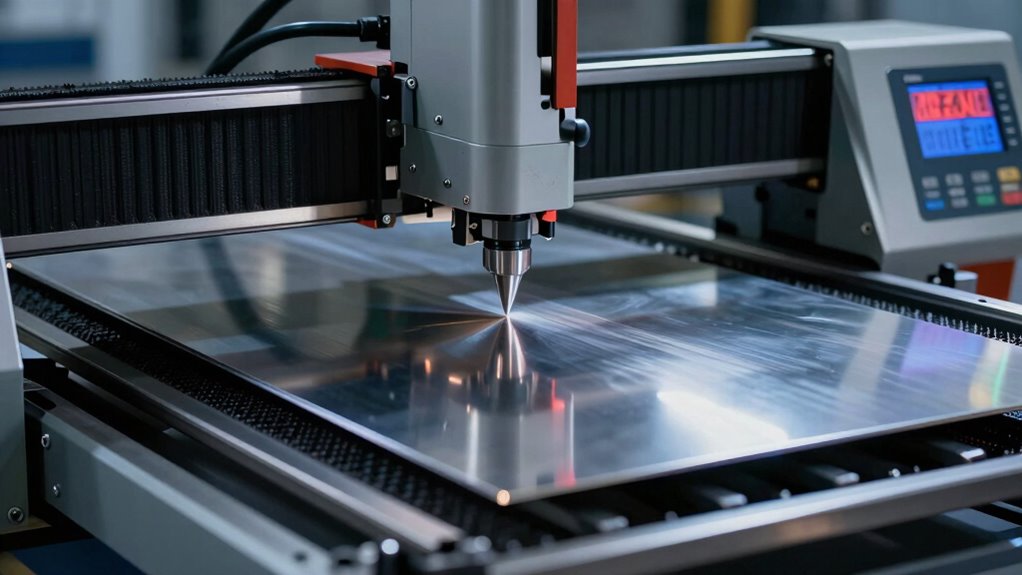
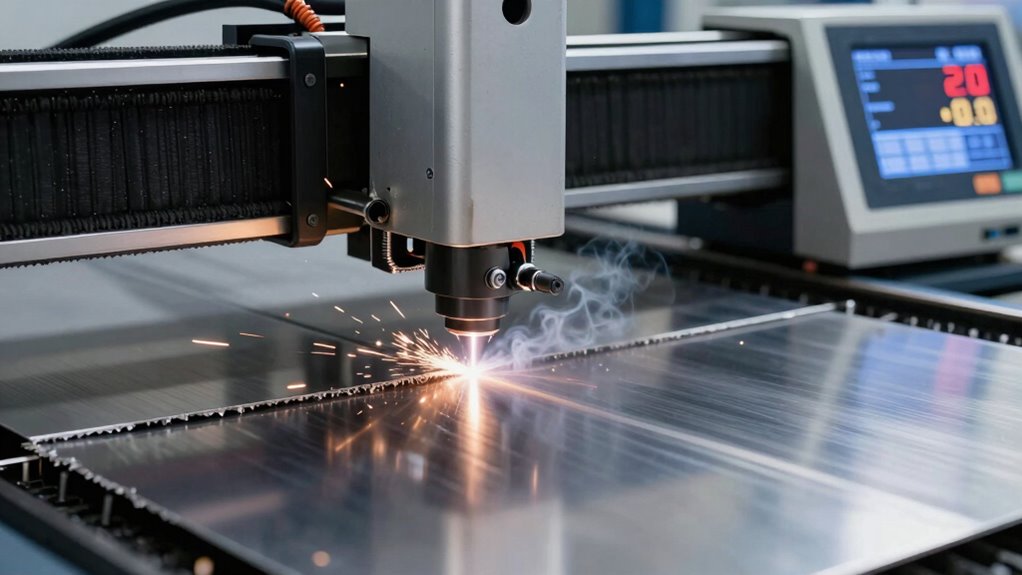
How Manufacturer Specs and Test Cuts Help You Find Your Limits
Manufacturers often provide specifications that outline the recommended laser settings for different materials, serving as a valuable starting point. These specs typically include details on ideal fiber strength and beam focus, which are essential for achieving clean cuts without wasting material. By following these guidelines, you can test cuts on scrap pieces to gauge how your laser interacts with specific thicknesses. Adjusting the beam focus helps optimize energy delivery, while understanding fiber strength ensures you’re applying the right power levels. Test cuts reveal how deep your laser can cut before the material starts to burn or warp. This process helps you refine your settings, find your material’s limits, and avoid unnecessary waste, giving you confidence in your laser’s capabilities before starting your project. Additionally, material properties such as density and thermal conductivity play a crucial role in determining cutting depth and quality. Knowing the material’s behavior under laser heat can further improve your ability to predict the best settings for each job. Incorporating test cut procedures into your workflow allows for more precise adjustments and reduces the risk of material wastage. Moreover, understanding the laser’s power output and how it interacts with specific materials can help you fine-tune your process for optimal results. A thorough understanding of laser-tissue interactions can also help prevent damage to surrounding areas and improve overall precision.
Simple Tips to Predict Your Laser’s Cutting Depth Before You Start
Understanding how material type affects cutting depth is key to making accurate predictions. Adjusting your laser power settings based on test cuts helps you gauge the potential results. Remember, performing test cuts is essential for reliable estimates before starting your project. Incorporating knowledge of material properties can further refine your predictions and improve cutting efficiency. Additionally, considering laser beam focus can significantly impact cutting depth and quality. Being aware of material thickness limits allows you to optimize your settings and avoid unnecessary waste. Recognizing the importance of cutting speed can help you balance precision and efficiency, leading to better overall results. A clear understanding of laser safety guidelines also ensures safe operation and better results.
Material Type Effects
Different materials respond uniquely to laser cutting, making it essential to contemplate their specific properties when predicting your laser’s cutting depth. Material composition influences how much energy is absorbed and how quickly it heats, which affects the cut’s clarity and depth. For example, metals with high reflectivity may require more power, while plastics with smooth surface finishes tend to cut more cleanly and predictably. The surface finish also impacts laser efficiency; a rougher surface can scatter laser energy, reducing cutting depth, whereas a smooth finish allows for more precise energy absorption. Understanding these factors helps you estimate how deep your laser can cut without wasting material, ensuring you select the right settings and material type for your project.
Laser Power Settings
Determining the right laser power setting is essential for achieving your desired cut depth without wasting time or material. Higher laser power increases the cut depth but can cause excessive heat and material burn-through if overused. To find the *best* setting, consider your material’s thickness and adjust the laser power accordingly. Faster cutting speeds require more laser power to maintain a clean cut, while slower speeds allow for lower power settings. You should start with a moderate power level and tweak based on test cuts. Monitoring the quality of your cuts helps you refine the laser power to avoid undercutting or overcutting. Properly balancing laser power and cutting speed ensures efficient use of material and precise results.
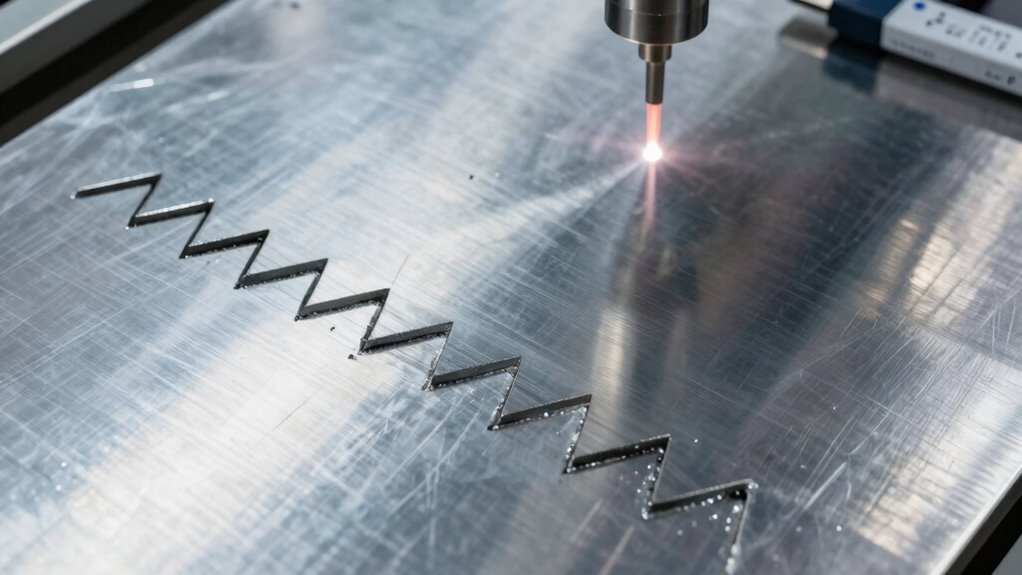
Test Cuts Importance
Before starting your main cut, performing test cuts is a crucial step to predict your laser’s actual cutting depth. Material testing allows you to evaluate how different materials respond to your laser settings, helping you fine-tune for ideal cut quality. By making small, controlled test cuts, you can assess the depth and clean edges, ensuring your settings are accurate before wasting material on a full cut. Test cuts also reveal how material thickness affects cut quality and prevent over or under-cutting. This process saves time, reduces material waste, and improves overall precision. Remember, each material behaves differently, so consistent testing is key to achieving predictable, high-quality results every time. Incorporating Free Floating techniques can further optimize your setup by allowing flexibility in handling various material types. Additionally, understanding laser power and its impact on cut depth is essential for setting appropriate parameters and avoiding damage to your materials.
Common Mistakes That Waste Material or Overcut
One common mistake that leads to wasted material or overcutting is setting the cutting parameters too conservatively, which causes the machine to remove more material than necessary. Poor material selection can also contribute, as incompatible or overly thick materials require excessive cuts and increase waste. Additionally, neglecting equipment maintenance can result in inconsistent cuts, leading to overcutting or material damage. Sharp lenses, clean mirrors, and properly calibrated lasers ensure precise cuts without excess removal. Rushing the process or using outdated software settings may cause you to overshoot the ideal depth, wasting valuable material. To avoid these pitfalls, always choose the right material for your project and keep your equipment well-maintained. Proper laser calibration and setup are essential for achieving accurate, efficient cuts without unnecessary waste. Regularly checking and monitoring laser performance can help maintain optimal cutting accuracy over time. Incorporating consistent calibration procedures helps prevent deviations that cause overcutting or material wastage.
Tools and Software to Help You Predict Laser Cutting Depth
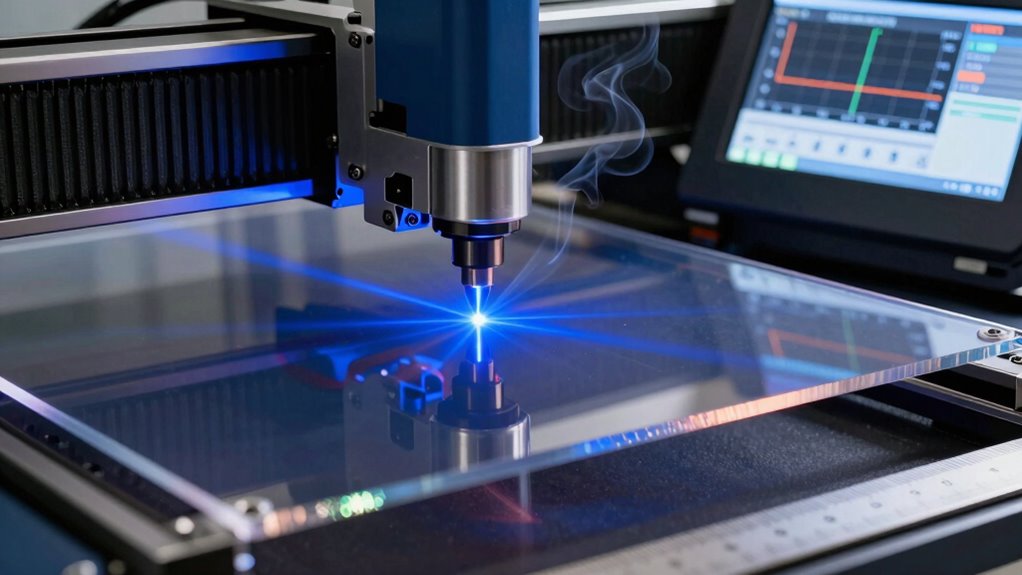
Using specialized tools and software can considerably improve your ability to predict laser cutting depth, helping you achieve precise results while minimizing waste. These tools analyze the laser beam’s interaction with your material, considering cutting parameters like power, speed, and focus. By inputting specific material types and thicknesses, you can generate accurate predictions of how deep the laser will cut. Software solutions often include simulation features that visualize the expected cut, allowing you to optimize settings before actual operation. This proactive approach helps you avoid overcutting or undercutting, saving time and material. With the right tools, you gain better control over your process, ensuring consistent quality and reducing trial-and-error adjustments. Ultimately, these tools streamline your workflow and enhance your ability to plan for most favorable material use.
How to Adjust Settings to Maximize Material Use and Minimize Waste
Adjusting your laser settings carefully can considerably increase material efficiency and reduce waste. Start by selecting the right power and speed for your material’s thickness, ensuring clean cuts without excess material removal. Monitor laser safety protocols to prevent accidents, especially when fine-tuning settings. Proper material storage also plays a role; store materials flat and in a controlled environment to prevent warping or damage, which can lead to waste. Use test cuts on scrap pieces to refine your settings before working on the main material. Consistent adjustments help maximize use and avoid over-cutting. By optimizing laser parameters and maintaining good storage practices, you minimize waste and improve overall productivity, making your process more cost-effective and environmentally friendly.
Frequently Asked Questions
How Does Ambient Temperature Affect Laser Cutting Depth?
Ambient temperature directly impacts laser efficiency and cutting depth. When the temperature is too high, the laser may lose focus and efficiency, resulting in shallower cuts. Conversely, cooler ambient temperatures help maintain ideal laser performance, allowing for deeper, cleaner cuts. You should monitor the environment and control ambient temperature to guarantee maximum laser efficiency, minimizing material waste and achieving precise cutting depths every time.
Can Humidity Influence Laser Cutting Performance and Depth?
Humidity effects are like a hidden current affecting your laser’s performance. Higher moisture impact can cause inconsistent cuts, reducing depth and precision. When humidity rises, moisture may condense on the material surface, disrupting the laser beam and causing irregularities. To guarantee ideal cutting, monitor humidity levels and keep materials dry. This proactive approach helps maintain consistent depth and quality, avoiding surprises that waste time and resources.
What Safety Precautions Are Necessary When Testing Cutting Depths?
When testing cutting depths, you need to prioritize material safety by wearing protective gear like goggles and gloves. Make certain your equipment is calibrated properly to prevent accidents and achieve accurate results. Keep a fire extinguisher nearby in case of sparks or fires. Always work in a well-ventilated area, and follow manufacturer guidelines. These precautions help protect you and ensure precise testing without damaging equipment or wasting materials.
How Does Repeated Cutting Impact Material Properties and Depth?
Repeated cutting can cause material deformation and alter its properties, reducing cutting quality over time. Thermal effects from continuous laser exposure induce stress and weaken the material’s structure, leading to shallower or inconsistent cuts. You should monitor the material closely, adjust laser parameters as needed, and allow cooling periods to minimize thermal effects. This proactive approach helps maintain desired cutting depths and prevents damage caused by repeated laser processing.
Are There Industry Standards for Maximum Laser Cutting Depths?
You’ll find industry standards for maximum laser cutting depths are quite strict, often based on material composition and laser calibration. These standards aim to prevent overcutting that can weaken your material or cause defects. While guidelines vary, most industries recommend not exceeding specific thicknesses to ensure quality and safety. Always consult manufacturer specs and industry codes to optimize your process and avoid wasting valuable material or compromising your project’s integrity.
Conclusion
By understanding your laser’s limits and the factors that influence cutting depth, you can avoid surprises and save material. With a little planning, testing, and the right tools, you’ll predict your cuts accurately every time—making your projects smoother and more efficient. It’s almost like your laser has a mind of its own, guiding you toward perfect results without wasting a single inch. So, trust your instincts, and watch your craftsmanship shine.