
To graph inequalities and shade the regions on the plane, start by converting the inequality to slope-intercept form to easily draw the boundary line. Use a ruler to carefully sketch a solid line for ≤ or ≥ inequalities, or a dashed line for < or > inequalities. Next, pick a test point, often (0,0), and substitute it into the original inequality. Shade the side where the inequality holds true. If you continue, you’ll discover how these steps help clearly define solution areas.
Key Takeaways
- Convert inequalities to slope-intercept form (y=mx+b) for easy graphing.
- Draw the boundary line using a ruler, choosing solid for ≤/≥ and dashed for .
- Select a test point (commonly (0,0)), substitute into the inequality, and determine which side to shade.
- Shade the region where the test point satisfies the inequality, indicating the solution set.
- Ensure boundary points are included or excluded based on the line style to accurately represent the inequality.
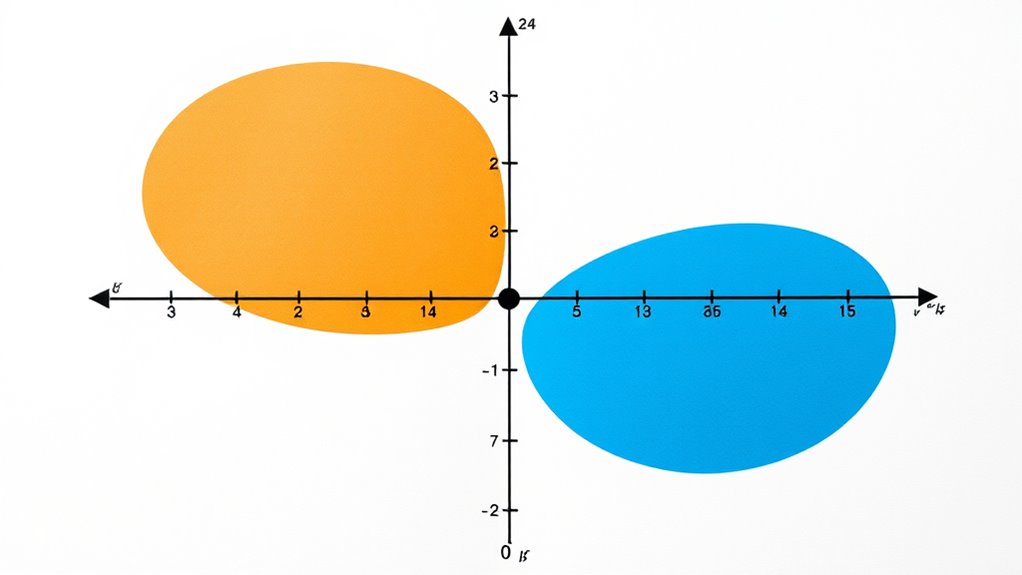
Graphing inequalities is an essential skill that helps you visualize solutions to algebraic expressions involving inequalities. When you graph an inequality, you first need to understand the role of boundary lines, which are critical in dividing the coordinate plane into different regions. These lines can be either solid or dashed, depending on the type of inequality. For example, if the inequality includes “≤” or “≥,” the boundary line is solid, indicating that points on the line are part of the solution set. Conversely, if the inequality is “<" or ">“, the boundary line is dashed, meaning points on the line are not included in the solution. Recognizing these differences allows you to accurately represent the inequality on the graph.
To start, you rewrite the inequality in slope-intercept form, y = mx + b, if necessary. This makes it easier to plot the boundary line. Once you’ve identified the boundary line, you draw it on the coordinate plane, using a ruler for straight, precise lines. Remember, the line itself acts as the boundary between the solutions that satisfy the inequality and those that don’t. If the inequality is strict (less than or greater than), you draw a dashed line to show that the boundary points are not part of the solution set. If it’s non-strict (less than or equal to, or greater than or equal to), you draw a solid line, indicating these boundary points satisfy the inequality.
Next, you apply shading techniques to identify the solution region. To determine which side of the boundary line to shade, pick a test point that isn’t on the line—often, the origin (0,0) works unless it lies on the boundary. Substitute this point into the original inequality. If the inequality holds true, shade the entire region on that side of the boundary line. If it doesn’t, shade the opposite side. This visual approach helps you see exactly which points satisfy the inequality, making the solution set clear.
Shading techniques are essential because they provide a visual distinction between solutions and non-solutions, allowing you to interpret inequalities more intuitively. The shaded region represents all points that satisfy the inequality, and the boundary line shows the boundary where the inequality switches from true to false or vice versa. As you become more comfortable with graphing inequalities, you’ll find that shading regions accurately and understanding boundary lines become second nature, turning a complex algebraic concept into a straightforward visual task. Additionally, understanding how to recognize the role of boundary lines and their different styles is fundamental in mastering graphing inequalities effectively.
Frequently Asked Questions
How Do I Determine Which Side to Shade?
You determine which side to shade by first drawing the boundary line, then choosing a test point not on the line. Plug this point into the inequality; if the statement is true, shade the side containing the test point. If false, shade the opposite side. This method helps you clearly identify the correct region to represent the solutions, ensuring your graph accurately depicts the inequality.
Can Inequalities Be Graphed in Three Dimensions?
Think of inequality boundaries as the skeleton of a three-dimensional sculpture; yes, they can be graphed in three dimensions. You use three-dimensional visualization to plot the inequalities, which form surfaces or planes in space. These boundaries define the regions that satisfy the inequalities. By shading the space on one side of these surfaces, you create a vivid picture of solutions, making the abstract more tangible in a three-dimensional world.
What Symbols Indicate Strict Versus Inclusive Inequalities?
You’ll see that strict inequalities use symbols like “<" or ">“, which mean you do not include the boundary line in the solution. Inclusive inequalities use symbols like “≤” or “≥”, indicating the boundary line is part of the solution. The boundary lines are drawn differently: dotted for strict inequalities and solid for inclusive ones, helping you visually identify the type of inequality on the graph.
How Do I Graph Compound Inequalities?
To graph compound inequalities, start by drawing boundary lines for each inequality, using solid lines for inclusive (≤, ≥) and dashed lines for strict (<, >). Then, apply shading techniques to show the region satisfying both inequalities, usually by shading where the regions overlap. Make sure to test a point in the overlapping area to confirm it’s the correct solution region, ensuring your graph clearly displays the solution.
Are There Tools to Automate Inequality Graphing?
Imagine having a magic wand for inequality transformations — that’s what graphing software offers. Yes, there are tools that automate inequality graphing, making your job easier. These programs handle complex transformations and quickly display shaded regions, saving you time and effort. With graphing software, you transform tedious manual work into a swift, visual adventure, allowing you to focus on understanding the inequalities rather than drawing them by hand.
Conclusion
Just like Da Vinci brought masterpieces to life with careful shading, you’ll now master graphing inequalities by shading regions with confidence. Remember, each shaded area reveals a story—your story—of solutions on the coordinate plane. With practice, you’ll open the secrets behind these lines and regions, transforming abstract math into a vivid picture. So, take your brush, and paint your understanding—because every great artist, like every mathematician, starts with a single stroke.