
Your laser cuts burn because you’re using settings that cause too much heat to build up or your focus isn’t right. When the laser is too powerful or slow, it scorches the material edges. Improper focus makes the beam less precise, leading to uneven cuts and excess heat. Adjusting speed, power, and focus properly can prevent burning and improve your results. Keep exploring, and you’ll discover how to master these adjustments for cleaner cuts.
Key Takeaways
- Burning occurs when laser settings are too high, causing excessive heat that chars or damages the material.
- Proper focus concentrates the laser beam, reducing heat spread and preventing burns.
- Slower cutting speeds increase heat buildup, leading to burning edges; faster speeds help minimize this.
- Thicker materials need more power and slower speeds, while thinner ones require higher speeds to avoid charring.
- Regular testing and adjusting settings based on material properties ensure clean cuts without burning.
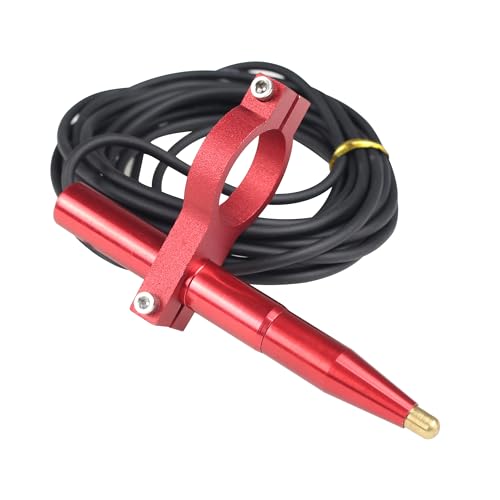
XUNKUANER Z-Axis Laser Auto Focus Sensor Focusing Device Automatic Lifting Table Focusing Sensor for CO2 Laser Cutting Engraving Machine (Diameter:25mm)
【Working principle】: The Laser Auto focus sensor adjusts the focal length based on the automatic rise and fall…
As an affiliate, we earn on qualifying purchases.
As an affiliate, we earn on qualifying purchases.
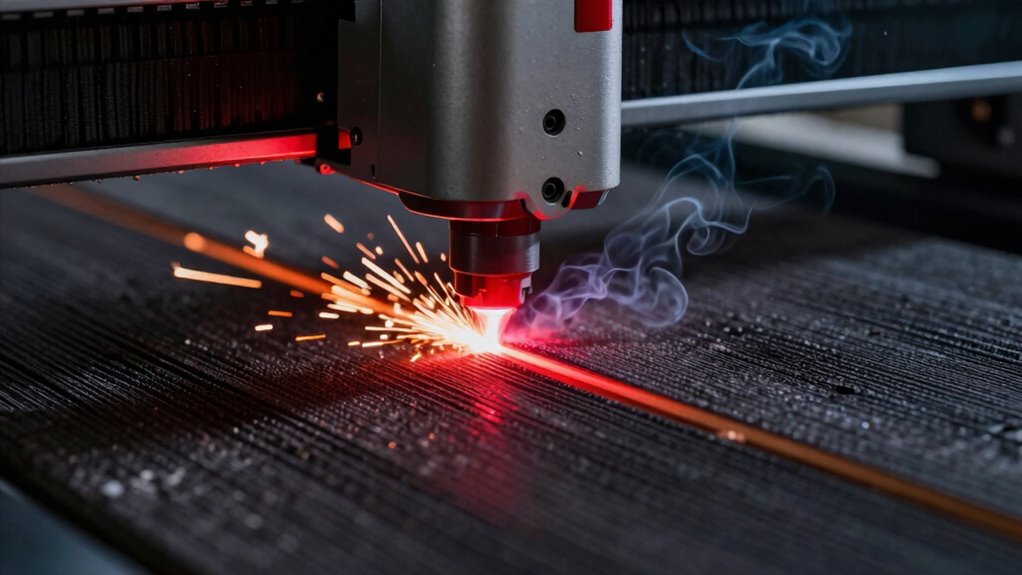
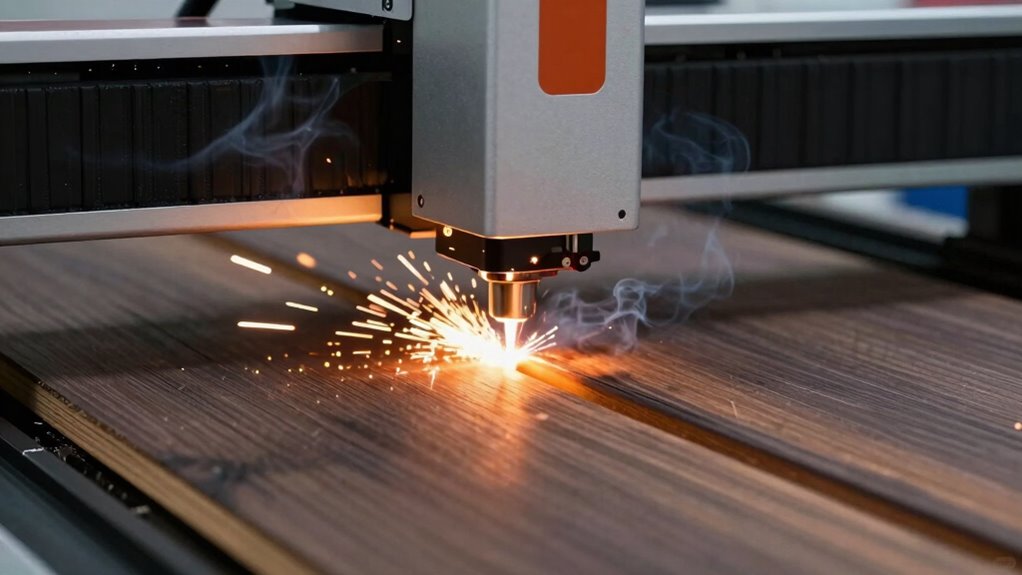
Why Does My Laser Cutter Burn Instead of Cutting Cleanly?
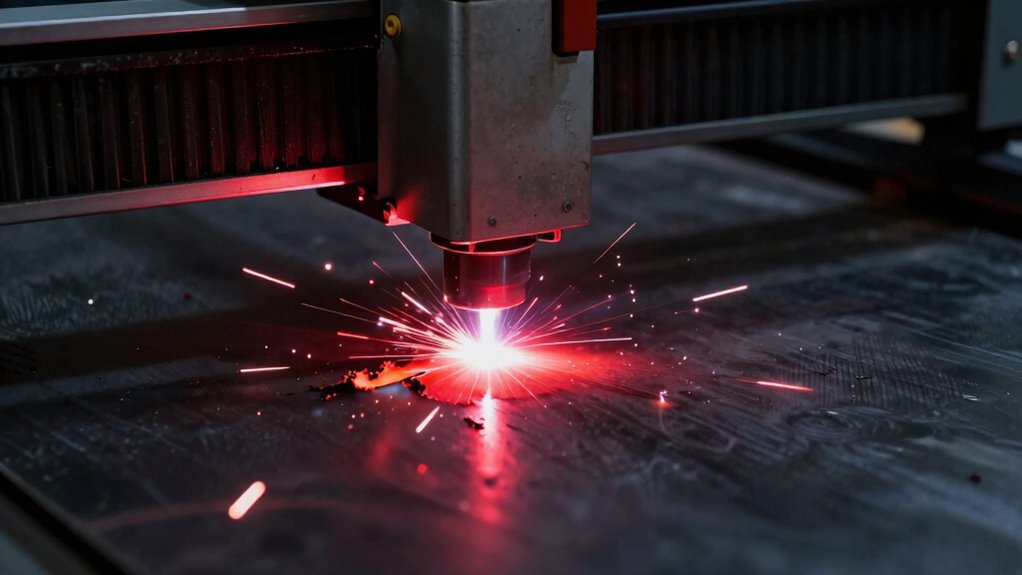
When your laser cutter burns instead of cutting cleanly, it usually means the focus or settings are off. Material properties play a big role here; different materials absorb laser energy differently, affecting how they cut. Some materials are more prone to burning if the laser intensity is too high or if the focus isn’t precise. Proper laser safety is also critical—incorrect settings can cause excessive heat, producing smoke and dangerous fumes. Always verify your laser is correctly focused and adjusted for the specific material you’re working with. If the laser isn’t well-calibrated, you risk burning the material instead of cleanly cutting through it. Understanding the energy absorption properties of different materials can help optimize your laser settings for cleaner cuts. Properly managing laser power and speed ensures a more controlled cut and reduces the risk of burning. Additionally, using the right focus and power ensures a more controlled cut and reduces the risk of burning. Adjusting the cutting speed can also help prevent overheating and burning of the material.

Twotrees TTS-55 Pro Laser Engraver 5500mW Laser Engraving Machine,Laser Cutter,30000mm/min Speed,0.08mm Laser Spot Engraver Machine for DIY,Wood,Metal,Acrylic,Glass,Stainless Steel
【Upgraded Laser Power with Air Assist Support】The TTS-55 PRO features a powerful 5500 mW (5.5W) laser (Class II)…
As an affiliate, we earn on qualifying purchases.
As an affiliate, we earn on qualifying purchases.
How Do Speed and Power Settings Impact Burning and Cut Quality?
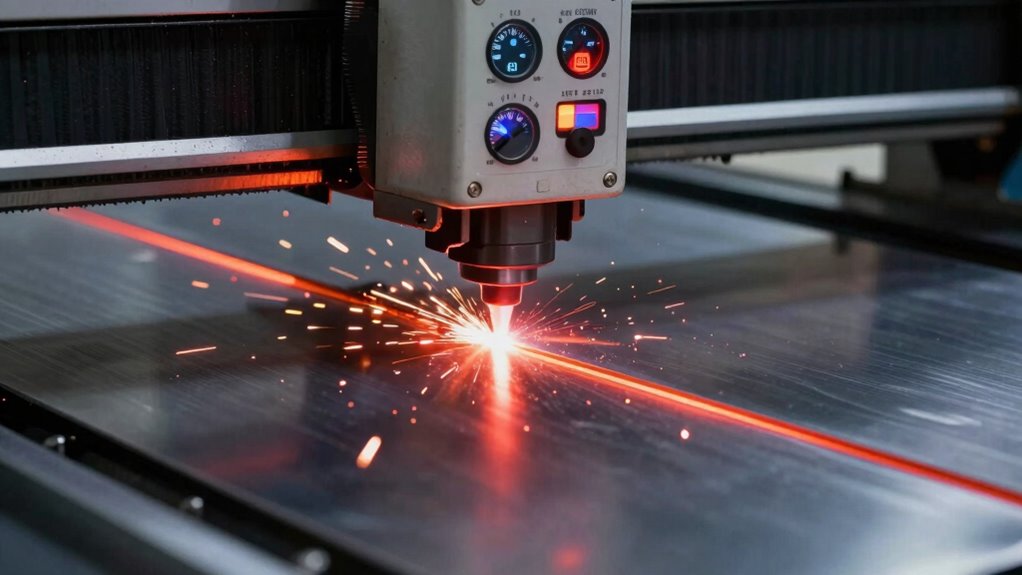
Adjusting your laser cutter’s speed and power settings directly influences how cleanly it cuts and whether it burns the material. If you set the power too high or the speed too low, you risk burning edges, especially with delicate materials. Conversely, too low power or too high speed might result in incomplete cuts or rough edges. Material compatibility plays a key role—certain materials need specific settings to avoid scorching or melting. Always follow safety precautions when adjusting settings, as improper configurations can cause harmful fumes or fires. Testing on scrap pieces helps determine ideal settings. Fine-tuning speed and power ensures your cuts are precise, clean, and safe, reducing waste and improving overall quality. Properly calibrated settings are essential for achieving professional results every time. Additionally, understanding the importance of proper calibration can help maintain consistent cutting quality over time. Regularly checking your equipment’s settings and calibration can prevent issues like inconsistent cuts and extend the lifespan of your laser cutter. Maintaining proper calibration also helps avoid material damage, ensuring your projects stay safe and effective.

Visiofire Tool-Free Laser Bore Sight Kit, Green Laser Bore Sighter with 64 Upgraded Adapters fit 0.17 to 12 GA Calibers, Multi-Caliber Sighting Tool for All Gun, Powerful Boresighter
[New Upgraded 64 Adapters] Visiofire Laser bore sighter kit with 64 innovative manual knob adapters, suitable for any…
As an affiliate, we earn on qualifying purchases.
As an affiliate, we earn on qualifying purchases.
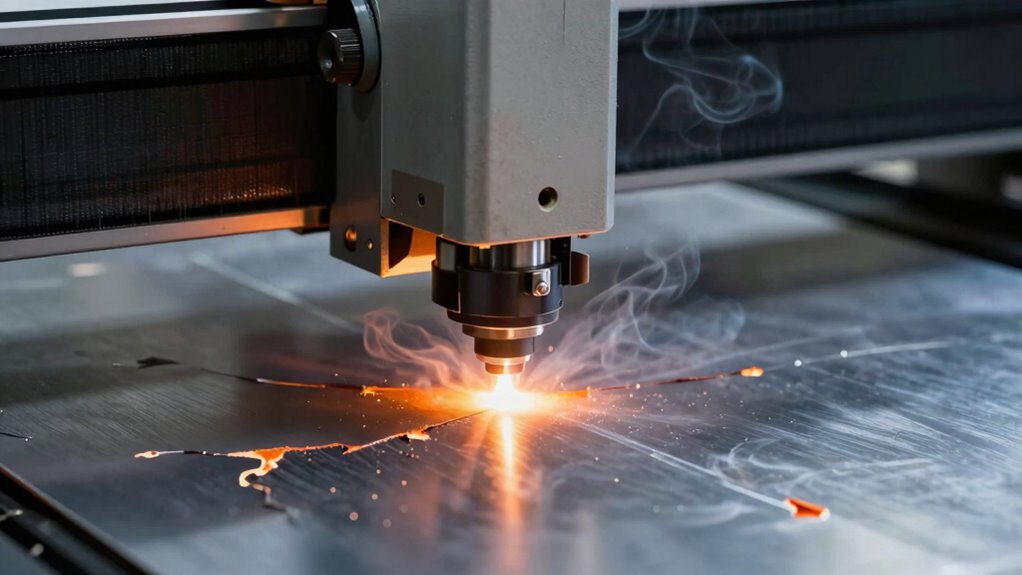
Why Is Focus Position Critical for Achieving Clean Cuts?

The focus position of your laser is essential because it determines the sharpness and intensity of the beam on the material. Proper focus alignment ensures that the focal distance is correct, which directly impacts cut quality. If the focus is too high or too low, your cuts can become rough, uneven, or smoky. To achieve clean cuts, you should:
- Verify the focus alignment regularly to match the material thickness.
- Adjust the focal distance precisely for different materials and thicknesses.
- Use your laser’s focus guide or calibration tools to maintain consistent positioning.
- Remember that proper focus is vital for ensuring the laser beam concentrates energy where it’s needed most, resulting in cleaner, more precise cuts and minimizing burn marks. Additionally, maintaining the correct laser settings can prevent unnecessary burn and improve overall efficiency. Proper focus also helps in reducing unwanted smoke and debris, which can affect the quality of your cut and the longevity of your equipment. Regular calibration helps maintain optimal cut quality over time, especially when working with varied materials.

FreeMascot IPL 200nm-2000nm Laser Safety Glasses for Laser Hair Removal Treatment and Laser Cosmetology Operator Eye Protection with Case (Green)
Wavelength: 200nm-2000nm, broad spectrum protection, block UV, Blue, Red and Infrared Laser Light
As an affiliate, we earn on qualifying purchases.
As an affiliate, we earn on qualifying purchases.
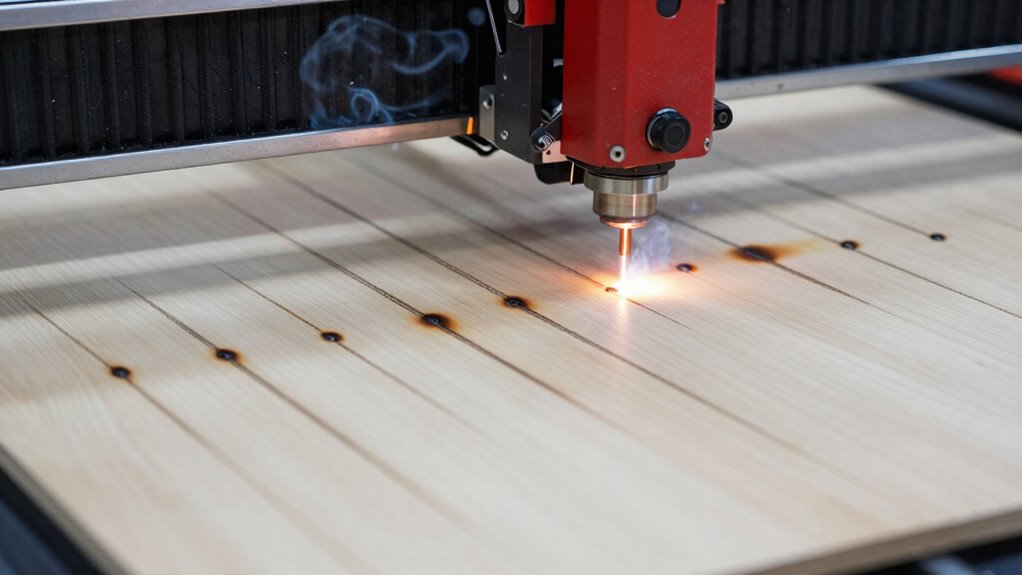
What Are the Most Common Burning Problems in Laser Cutting and How Can You Fix Them?
Burning marks and excess smoke are common issues that can compromise the quality of your laser cuts. These problems often stem from improper material compatibility or incorrect settings. To fix them, verify you’re using materials suitable for laser cutting and adjust your speed and power accordingly. Overly high power or slow speeds can cause excessive burning, while too fast or low power might not cut cleanly. Always follow safety precautions, including proper ventilation and protective gear, to avoid hazards from smoke and fumes. Here’s a quick overview:
| Issue | Cause | Fix |
|---|---|---|
| Excessive burning | High power, slow speed | Increase speed, reduce power |
| Smoke buildup | Material not compatible, settings off | Use appropriate materials, check settings |
| Inconsistent cuts | Focus or alignment issues | Re-align focus, verify material placement |
| Discoloration | Overexposure to laser | Lower power, increase cut speed |
Additionally, understanding the material properties and how they interact with laser settings can help prevent many of these issues. Proper material selection and understanding their characteristics are essential for achieving clean cuts and avoiding damage. Being aware of the laser parameters such as wavelength and beam quality can further improve cut consistency and quality. Moreover, maintaining consistent focusing techniques ensures that the laser beam remains precise throughout the cutting process.
How Can You Adjust Settings for Different Materials to Minimize Burning?
To minimize burning on different materials, you should start by adjusting your laser power settings to match each material’s thickness and composition. Next, change your cutting speed to ensure a clean cut without overheating the surface, and select a suitable focusing lens for precise energy delivery. These adjustments help you attain cleaner results and reduce the risk of burn marks. Additionally, understanding material properties can inform better setting choices to prevent damage. Recognizing the material’s ethnicity or specific characteristics can also influence your laser settings to optimize results and prevent burning. Being aware of thermal conductivity is crucial because materials with lower thermal conductivity tend to retain heat longer, increasing the risk of burns if not properly managed. Incorporating knowledge of energy absorption rates can further refine your laser adjustments for different materials.
Adjust Laser Power Settings
Adjusting laser power settings is essential for preventing burns on different materials because each one reacts uniquely to the laser beam. To optimize your results, focus on matching laser power to material compatibility. Here are steps to help:
- Start with a low laser power and gradually increase until the desired cut or etch is achieved without excessive burning.
- Consult manufacturer guidelines for recommended laser power ranges for specific materials.
- Test on scrap pieces first, adjusting power as needed to prevent burning or scorching. Proper calibration ensures consistent and safe laser operation across various materials.
- Incorporating material testing into your setup process can also help identify the optimal settings for each new material you work with. Additionally, understanding how astrological signs may influence individual responses can aid in customizing your approach for different projects.
- Being aware of material composition helps in selecting the correct laser settings and avoiding damage or unintended effects.
Change Cutting Speed Accordingly
Since different materials respond uniquely to laser cutting, changing your cutting speed is essential for minimizing burning. Thicker materials generally require slower cutting speeds to ensure clean cuts without excessive heat buildup. Conversely, thinner materials need faster speeds to prevent burning and charring. Adjust your cutting speed based on the material thickness—slower for dense, thick materials, and faster for delicate, thin ones. Monitoring how the material reacts after each cut helps you fine-tune your settings. If you notice excessive burn marks or melting, increase the speed. If the cut isn’t clean or the edges are scorched, slow down. Finding the right balance in cutting speed reduces burning and improves overall cut quality across different materials. Material response plays a crucial role in achieving optimal results by understanding how heat affects each type of material.
Select Suitable Focusing Lens
Choosing the right focusing lens is crucial for minimizing burning when laser cutting different materials. The focusing lens determines how sharply the laser beam is concentrated, affecting cut quality and burn risk. To optimize your settings:
- Select a focusing lens with the correct focal length for your material’s thickness and density.
- Adjust the distance between the lens and the material to ensure the laser beam is focused precisely at the surface.
- Use a lens designed for specific materials—some lenses reduce heat buildup, preventing burns.
- Consider the craftsmanship and design of your laser equipment to ensure precision and consistent results.
How Do You Test and Find the Right Laser Settings for Your Projects?
Finding the right laser settings for your project starts with systematic testing. Start with small samples of your material to determine compatibility and avoid waste. Adjust power, speed, and focus incrementally, noting how each change impacts the cut or engraving. Always follow safety precautions, such as wearing protective gear and working in a well-ventilated area. Use the table below as a guide to record your tests:
| Material | Power (W) | Speed (mm/sec) | Result |
|---|---|---|---|
| Acrylic | 40 | 10 | Clean cut |
| Wood | 60 | 5 | Deep engraving |
| Leather | 20 | 15 | Light burn |
This process helps you find suitable settings without risking damage or safety hazards.
What Simple Tips Help Minimize Burning During Laser Cutting?

Are you struggling to prevent burns and scorch marks during laser cutting? One simple way to reduce burning is by paying close attention to material selection. Choose materials compatible with your laser’s settings and avoid anything prone to excessive melting or charring. Next, follow proper safety precautions, such as wearing protective gear and ensuring good ventilation, to maintain control over the process and avoid mishaps. Finally, adjust your laser settings carefully: start with lower power, increase gradually, and test on scrap pieces before cutting the final material. These steps help prevent overheating and burning. Remember, selecting the right material, practicing safety, and fine-tuning your settings are key to achieving clean cuts with minimal burns.
How Can You Troubleshoot and Fix Burning Issues Quickly?

When burning or scorching occurs during laser cutting, quick troubleshooting is essential to prevent further damage and achieve clean results. First, stop the laser and check for proper laser safety procedures to avoid injury. Inspect your machine’s focus, as a slightly out-of-focus beam can cause burns. Adjust the focus and verify the laser settings match your material’s specifications. Regular maintenance routines, like cleaning lenses and mirrors, help guarantee peak performance and prevent issues that lead to burning. Also, review your speed and power settings to see if they need fine-tuning. Keep an eye on airflow and assist gases to prevent heat buildup. Addressing these factors swiftly minimizes damage, improves cut quality, and keeps your equipment running safely and efficiently.
Frequently Asked Questions
How Does Ambient Temperature Affect Laser Burning and Cutting Quality?
Ambient temperature effects your laser’s burning and cutting quality by influencing how the laser interacts with materials. If the temperature is too high or too low, it can cause inconsistent cuts or burns. That’s why proper temperature control is essential. Keeping the workspace at a stable, ideal temperature helps your laser perform reliably, ensuring cleaner cuts and reducing burn marks. Always monitor ambient effects to achieve the best results.
Can Lens Cleanliness Influence the Occurrence of Burns During Cutting?
Yes, lens cleanliness directly influences burns during cutting. When you maintain your lens properly, you preserve beam clarity, ensuring the laser focuses precisely. Dirty lenses scatter the beam, causing uneven cuts and potential burns on the material. Regular lens maintenance keeps the beam sharp, preventing heat buildup and burns. Always clean your lens carefully and check for smudges or debris to maintain ideal cutting quality and avoid unwanted burns.
What Role Does Material Composition Play in Burning Tendencies?
When it comes to burning, material composition is the name of the game. You need to understand how material properties influence heat absorption and melting points. Composition effects vary; some materials, like acrylic, cut cleanly, while others, like certain metals, are more prone to burning. If you don’t consider these factors, you’re fighting an uphill battle. Knowing your material helps you adjust your laser settings to prevent burns and get perfect cuts.
How Does the Type of Laser (Co2 vs. Fiber) Impact Burning Issues?
You’ll notice that CO2 and fiber lasers impact burning differently because of their laser wavelength and beam coherence. CO2 lasers emit a longer wavelength, which absorbs less efficiently in some materials, increasing chances of burning if not properly focused. Fiber lasers have a shorter wavelength and more coherent beams, delivering concentrated energy precisely. This results in cleaner cuts with less risk of burning, especially on delicate or reflective materials.
Are There Specific Safety Precautions to Prevent Laser Burns to Users?
Think of laser safety as your shield in battle. You should wear protective gear like goggles and gloves to guard against burns. Follow strict safety protocols—never bypass safety switches or rush operations. Keep the workspace clear, and make certain proper ventilation. These precautions act as your armor, preventing accidental burns and injuries. Staying vigilant and prepared keeps you safe while you harness the power of the laser effectively.
Conclusion
Think of laser cutting like cooking—too much heat and your dish burns, too little and it’s underdone. I once set my laser too fast, and my project turned into a smoky mess. By adjusting speed, power, and focus, you can prevent burns and achieve perfect cuts. Remember, small tweaks make a big difference. With patience and practice, you’ll master your laser’s heat, turning fiery frustration into crisp, clean results every time.