Using compass and straightedge, you can create precise geometric figures and solve classic problems like constructing equilateral triangles, bisecting angles, copying segments, or drawing perpendicular lines. These tools help you guarantee accuracy and symmetry in your constructions, building complex shapes from simple steps. Mastering these techniques allows you to replicate shapes and angles reliably. Keep exploring, and you’ll discover how these fundamental methods open many geometric possibilities.
Key Takeaways
- Use compass to transfer lengths and create equal segments or arcs, ensuring accuracy in constructions.
- Employ straightedge to draw precise lines, angles, and connect points without measurement.
- Construct basic figures like triangles, quadrilaterals, and bisectors using fundamental methods.
- Bisect angles and line segments by intersecting arcs, ensuring equal division with compass arcs.
- Replicate shapes and segments accurately by transferring measurements with compass for complex constructions.
Basic Principles of Compass and Straightedge Constructions
Compass and straightedge constructions are fundamental tools in classical geometry, allowing you to create precise figures using only these two instruments. With these tools, you can perform tasks like circle design, which involves drawing circles with specific radii and centers to form intricate patterns or solve problems. Understanding the basic principles helps you to translate geometric ideas into accurate diagrams, often connecting to coordinate geometry. For example, by using the compass to mark equal distances and straightedge to draw straight lines, you can construct geometric figures that reflect algebraic relationships. These principles also enable you to replicate complex shapes and analyze their properties, all while working within the constraints of classical tools. Mastery of these fundamentals builds a solid foundation for more advanced geometric constructions, especially when considering properties like conic sections and their applications.
Constructing an Equilateral Triangle
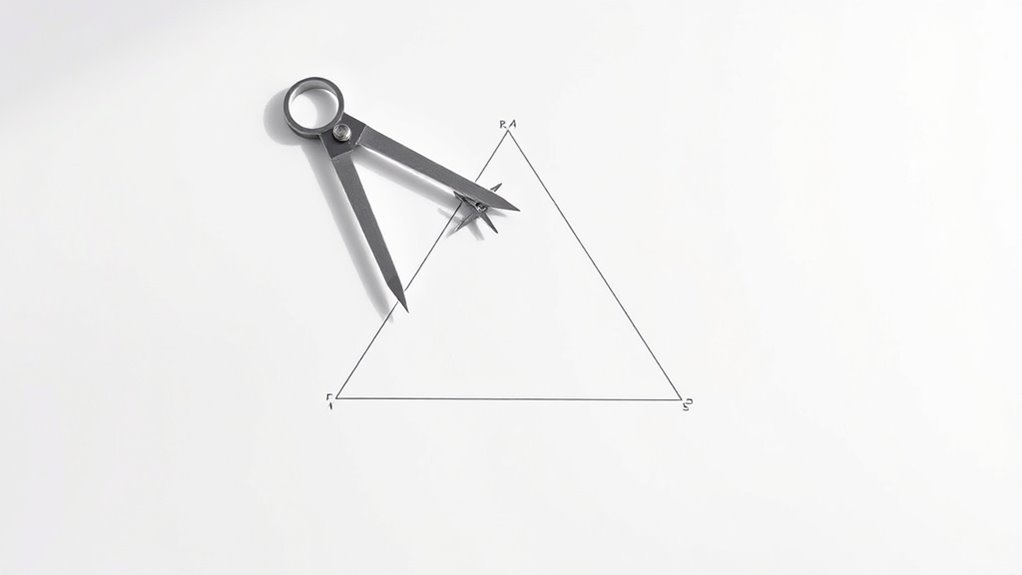
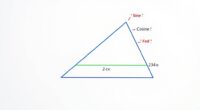
To construct an equilateral triangle, start by drawing a straight baseline. Then, create circle arcs from each endpoint with a radius equal to the length of the baseline. Finally, connect the intersection points of the arcs to complete the triangle. To enhance the aesthetic appeal, consider choosing a color palette and decor style that complements the natural materials used in the construction.
Drawing a Base Line
Have you ever wondered how to start constructing an equilateral triangle? It begins with drawing a precise base line. Use your straightedge to draw a straight segment. To guarantee accuracy, you might consider marking equal segments using compass settings. When working with angle bisectors or circle tangents, start by establishing key points, then extend lines carefully. Here’s a quick guide:
| Step | Action | Tip |
|---|---|---|
| 1 | Draw a straight line | Use straightedge for accuracy |
| 2 | Mark endpoints | These define your base |
| 3 | Connect points | Form the base of your triangle |
This foundation helps in constructing the equilateral triangle with precise compass arcs, ensuring all sides are equal.
Creating Circle Arcs
Ever wondered how to create perfect circle arcs for an equilateral triangle? Start by drawing your base line. With your compass, place the point at one end of the line and swing an arc to form a circle sector that intersects the line at a chosen radius. Repeat from the other end, creating a second circle sector with the same radius. The intersection of these arcs, called the arc intersection, marks the third vertex of your equilateral triangle. Carefully draw the arcs so they intersect clearly, ensuring symmetry. These circle sectors and their intersection define the precise location for the triangle’s top point, and the arcs guarantee all sides are equal. This method guarantees accuracy without measuring angles, relying solely on circle arcs and intersections. Additionally, understanding the importance of appliance safety and proper testing can help ensure your tools and equipment function correctly during construction projects.
Connecting Triangle Vertices
Once you’ve identified the third vertex of your equilateral triangle using circle arcs, the next step is to connect the vertices to complete the triangle. Use your straightedge to draw straight lines between each pair of points, ensuring perfect vertex alignment. This connection creates lines that exhibit triangular symmetry, emphasizing the equal sides and angles of the figure. By carefully drawing these sides, you preserve the precise vertex positions established during construction. The resulting triangle is not only equilateral but also demonstrates the fundamental geometric principle of vertex alignment, where all vertices are symmetrically positioned. Connecting the vertices solidifies your construction, showcasing the elegance and accuracy achievable with compass and straightedge.
Bisecting a Given Angle

To bisect an angle, you start by drawing the angle carefully. Then, you construct the bisector using a compass and straightedge to guarantee accuracy. Finally, you verify the division to confirm that the angle is split into two equal parts.
Drawing the Angle
When you need to bisect a given angle, the goal is to divide it into two equal parts accurately. To start, draw the angle with precise lines, ensuring clear angle notation. Use a compass to measure the angle or simply draw it carefully, noting its size with a protractor if necessary. Proper angle measurement helps guarantee accuracy in your construction. Mark the vertex point clearly, as it’s vital for consistent results. When drawing the angle, focus on maintaining sharp, clean lines to avoid confusion. Remember, the key is to keep the angle’s measure consistent throughout the process, which makes bisecting easier and more precise. This careful approach lays the foundation for effectively constructing the bisector in the next steps. Additionally, understanding the role of automation in education can provide insights into how technology might assist in teaching geometric concepts effectively.
Constructing the Bisector
Constructing the bisector of a given angle involves carefully dividing the angle into two equal parts. To do this, you’ll use the properties of angle bisectors and segment division. First, draw the angle and mark a point on its vertex. Then, set your compass width wider than the angle’s arms and draw arcs from the vertex, creating intersection points on both sides. Next, without changing the compass width, draw arcs from these points to intersect inside the angle. Using a straightedge, connect the vertex to this intersection point. This line is the angle bisector, dividing the original angle into two equal parts. To deepen your understanding, consider these key points:
- Properties of angle bisectors
- Segment division techniques
- Construction accuracy
- Geometric symmetry
Additionally, understanding the fundamental principles behind these constructions can enhance your precision and confidence in geometric drawing.
Verifying the Division
How can you be sure that your angle bisector truly divides the angle into two equal parts? The key is angle verification. After constructing the bisector, measure the two resulting angles with a compass and straightedge to confirm they are equal. Alternatively, use segment partitioning: compare the lengths of the segments created on the sides of the angle. If the segments are equal, the angles are bisected correctly. This process guarantees accuracy without relying solely on visual judgment. Verifying the division is essential to confirm your construction‘s correctness before proceeding with further steps. By testing both the angles and the segment partitioning, you guarantee that your angle is divided precisely, maintaining the integrity of your geometric construction. Incorporating mindfulness techniques during verification can help maintain focus and precision throughout the process.
Copying a Segment to a New Location
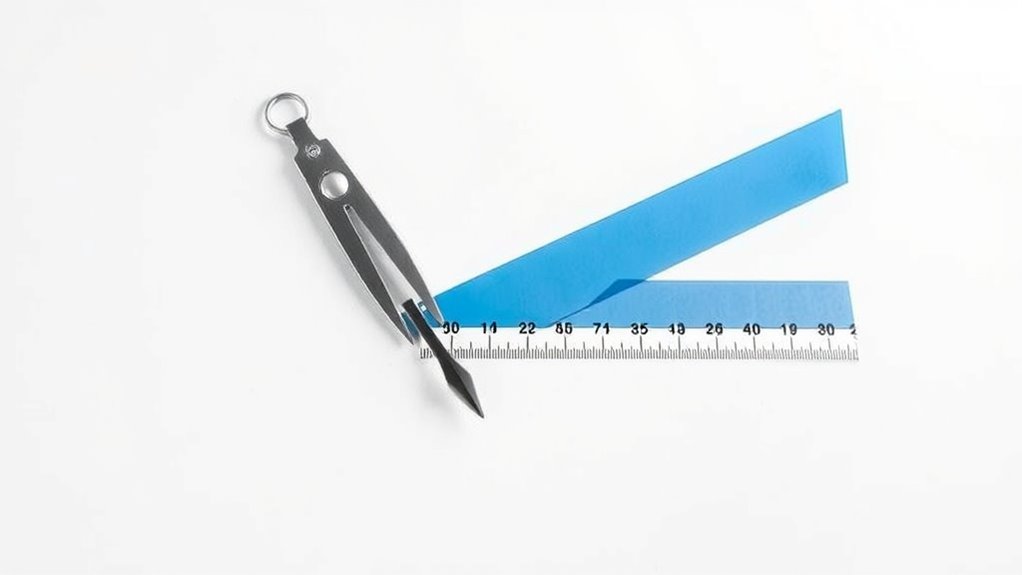
Copying a segment to a new location is a fundamental skill in geometric constructions that allows you to replicate a given segment precisely elsewhere. This process is essential for creating accurate figures, especially when performing scale transformations or segment reflections. To do this, you use your compass to transfer the length of the original segment without changing its size. By carefully marking the endpoints at the new position, you ensure the segment is identical. Understanding how to copy segments helps build more complex constructions involving similarity and symmetry. Accurate segment copying is also important in ensuring precision in geometric constructions, which can be crucial for more advanced figure manipulations.
Constructing a Perpendicular Line to a Given Line
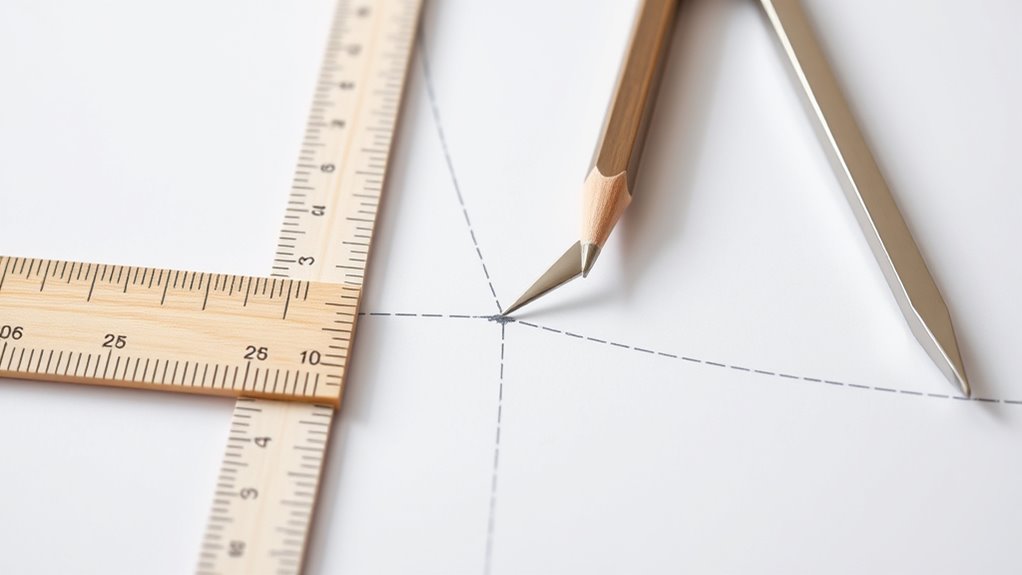
To draw a perpendicular line to a given line, start by identifying the point where you want the perpendicular to intersect. Place your compass at this point and draw an arc that intersects the line at two points. Without changing the compass width, repeat this on the other side of the point, creating two equal arcs. Connect these intersections with a straightedge to form an angle bisector of the original arc. Extend this bisector to intersect the line at a right angle. Remember, constructing perpendicular lines often involves understanding properties of parallel lines and angles. When you draw perpendiculars, you’re effectively creating right angles, which relate closely to angle bisectors. This method ensures accurate, precise constructions using only compass and straightedge.
Bisecting a Line Segment

Have you ever needed to find the exact midpoint of a line segment? To do this, you’ll use a compass and straightedge to create a precise segment division. First, draw the line segment you want to bisect. Then, set your compass to a radius greater than half the segment’s length and draw arcs from each endpoint. These arcs intersect above and below the segment. Connect these intersections with a straight line, which will pass through the midpoint. This method is similar to constructing angle bisectors, but here, you’re dividing a segment into two equal parts. Understanding the geometric comparative advantage of this technique can enhance your comprehension of classical construction methods and their applications.
Duplicating a Given Circle
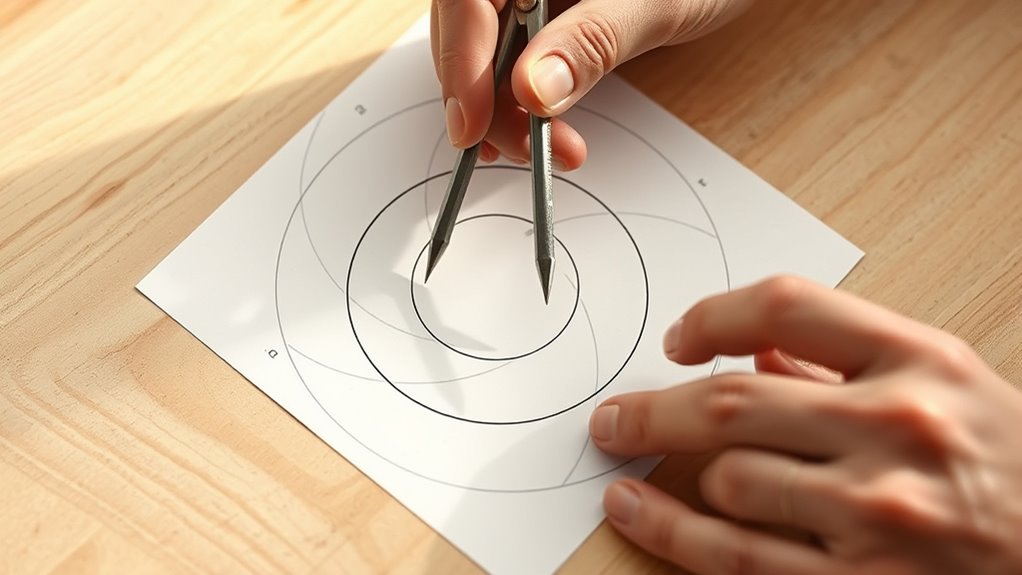
Duplicating a given circle involves creating an exact copy of its size and position using only a compass and straightedge. This process is called circle duplication, and it relies on radius scaling. First, draw the original circle and mark a point outside it. With your compass, measure the radius of the original circle, then draw a new circle centered at the chosen point, using that same radius. To guarantee accurate duplication, use the compass to transfer the radius from the original to the new circle, maintaining the same measurement throughout. This method guarantees that both circles are identical in size, fulfilling the goal of circle duplication. By applying radius scaling precisely, you create a perfect copy without measuring or marking directly on the circles. Understanding the significance of precise construction ensures the duplication is accurate and adheres to geometric principles.
Constructing a Quadrilateral With Specific Properties

Constructing a quadrilateral with specific properties requires careful planning and precise drawing techniques. To guarantee the quadrilateral has the desired characteristics, focus on understanding the relevant quadrilateral properties, such as side lengths, angles, and diagonals. Accurate measurement and construction accuracy are essential for reliable results.
- Use compass and straightedge to set exact lengths and angles.
- Mark key points carefully to maintain side and angle relationships.
- Verify properties like parallel sides or equal angles during construction.
- Adjust as needed to ensure the quadrilateral conforms to the given specifications.
Solving Classic Geometric Problems Using Compass and Straightedge
Solving classic geometric problems using compass and straightedge involves applying fundamental construction techniques to uncover relationships and properties within figures. Historically, mathematicians like Euclid used these tools to prove theorems and solve problems such as squaring the circle and doubling the cube. Understanding this context helps you appreciate the methods’ elegance and limitations. Today, these constructions influence modern applications in fields like engineering, architecture, and computer graphics. By mastering these classical techniques, you can approach complex problems systematically, discovering solutions through precise steps. Whether recreating historical proofs or designing innovative structures, using compass and straightedge remains a powerful way to explore geometry’s fundamental concepts and their ongoing relevance in contemporary science and technology. Additionally, sound vibrations are believed to enhance cellular regeneration and overall health, illustrating how the principles of wave phenomena continue to inspire scientific and practical advancements.
Frequently Asked Questions
Can All Geometric Problems Be Solved Using Only Compass and Straightedge?
You wonder if all geometric problems can be solved with just a compass and straightedge. While these tools enable elegant constructions, practical limitations and the need for abstract reasoning sometimes prevent solutions. Some problems, like trisecting an angle or doubling the cube, are proven impossible with only these tools. So, despite their power, certain challenges require more advanced methods or tools beyond simple compass and straightedge constructions.
How Can I Construct a Regular Pentagon With a Compass and Straightedge?
To construct a regular pentagon, you start by drawing a circle with your compass. Use the angle bisectors to divide the circle into five equal parts, marking each division. Connect these points to form the pentagon. By carefully bisecting angles and marking equal arcs, you guarantee each side and angle is correct, resulting in a precise pentagon. This method combines basic constructions for an accurate, elegant result.
Are There Geometric Constructions Impossible With Classical Tools?
You might wonder if impossible constructions exist with classical tools. While many geometric problems are solvable, some are impossible due to inherent mathematical limitations, like constructing certain angles or lengths. Modern tools, such as algebraic methods or computers, can sometimes solve these challenges, but with classical tools like compass and straightedge, you’re bound by these impossibilities. So, yes, some constructions remain impossible using only traditional geometric methods.
How Do I Construct a Line Parallel to a Given Line Without Measuring Angles?
Perfectly pinpoint a parallel line by practicing precise point placement. First, pick a point on the given line and use your compass to replicate the angle of the original line’s slope. Without measuring angles, replicate the angle at a different point, then draw a line through that point. This method, angle replication, guarantees you create a parallel line that perfectly parallels the original, all without measuring angles.
What Are the Historical Origins of Compass and Straightedge Constructions?
You might wonder about the origins of compass and straightedge constructions. Historically, they stem from Ancient Greek geometry, where mathematicians like Euclid developed elegant methods using only these tools. Euclidean methods emphasized logical steps and principles, allowing precise constructions without measurements. This tradition influenced mathematical thinking for centuries, establishing foundational techniques that still underpin geometric constructions today.
Conclusion
Mastering compass and straightedge constructions open up countless geometric possibilities. Did you know that ancient mathematicians proved the impossibility of squaring the circle with just these tools? With practice, you’ll find yourself recreating complex figures and solving classic problems. These timeless skills sharpen your logical thinking and creativity. So, keep practicing—each new construction brings you closer to understanding the elegant beauty of geometry’s fundamentals. Enjoy the journey of discovery and precision!