
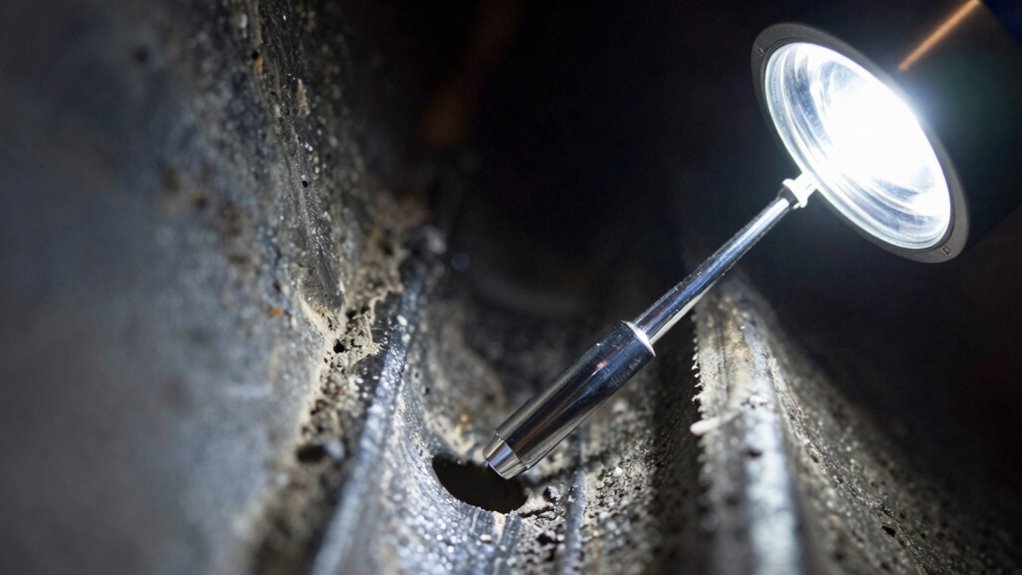
To improve borescope images in tight spaces, focus on proper lighting and lens choices. Use diffuse or adjustable lighting to reduce shadows and glare, positioning lights at angles that highlight details. Select lenses suited for small passages, like wide-angle or macro options, to get clearer views. Keep your hand steady and use manual focus settings for sharper images. For more tips on refining your inspection setup, continue exploring how to optimize your borescope performance.
Key Takeaways
- Use diffuse or indirect lighting angles to evenly illuminate tight spaces and reduce glare.
- Clean the lens thoroughly before inspection to prevent dirt and smudges from causing image distortion.
- Select a lens with appropriate size and curvature for narrow passages to improve visibility and detail.
- Adjust lighting position close to the area without causing reflections, ensuring better image clarity.
- Employ manual focus and increase the depth of field with higher f-stop settings for sharper images in confined areas.
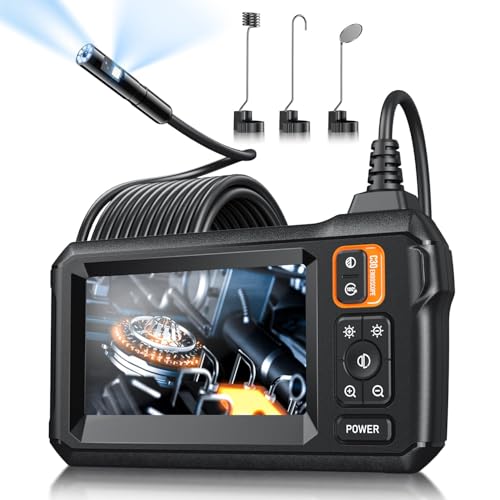
Endoscope Camera with Light, Inspection Borescope Camera with 4.3" IPS Screen, 1920P HD with 8 LED Lights, 16.5FT Semi-Rigid Cord Bore Scope, IP67 Waterproof Endoscope for Sewer, Dual Lens(Orange)
Dual-Lens Split Screen: The endoscope camera with light adopts a 4.3-inch IPS screen, offering a horizontal viewing Angle…
As an affiliate, we earn on qualifying purchases.
As an affiliate, we earn on qualifying purchases.
Why Poor Borescope Images Happen and How to Fix Them
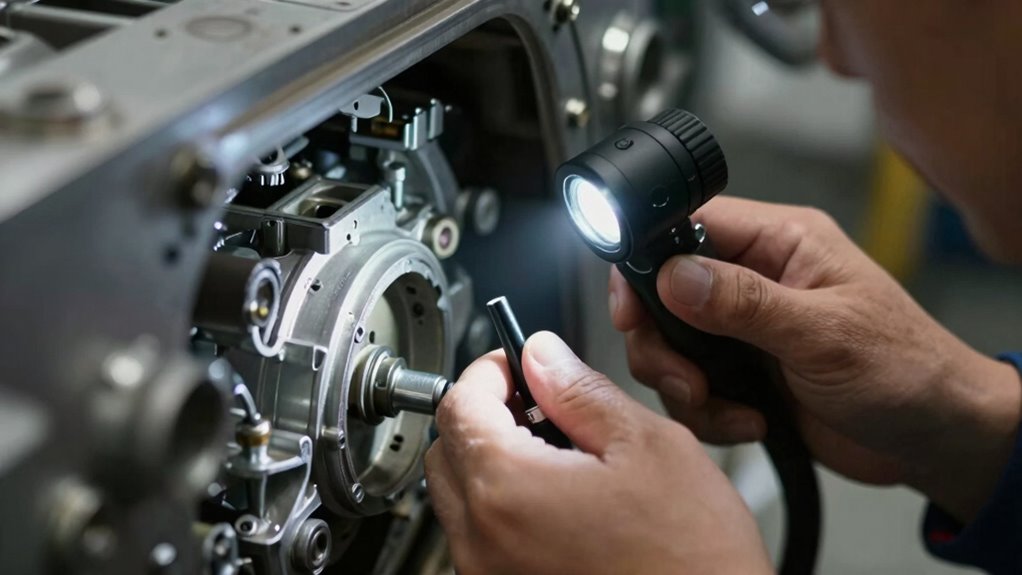
Poor borescope images often result from issues like insufficient lighting, dirty lenses, or improper camera positioning. Camera shake can cause blurry images, making details hard to see, while image distortion warps the view, leading to misinterpretation. If your camera isn’t steady, even slight movements will result in shaky footage, so stabilize the device before capturing. Dirty lenses scatter light and reduce image clarity, so always clean the lens thoroughly. Improper positioning can also cause perspective issues, making it difficult to analyze the inspected area accurately. Ensuring proper lighting, keeping the lens clean, and maintaining a steady hand or using stabilization tools help prevent these common problems. Addressing these factors improves image quality and makes your inspections more accurate and efficient. Additionally, understanding the importance of lens quality can significantly impact the clarity and detail of your borescope images. Using natural lighting whenever possible can also greatly enhance visibility and reduce shadows or glare that hinder image quality. Maintaining proper technique during inspection can further help in obtaining clearer images and more reliable results. Incorporating appropriate accessories, such as mounts or tripods, can also assist in maintaining steadiness during critical inspections. Employing advanced imaging features like focus adjustment and exposure control can further optimize image clarity in challenging conditions.
![[Dual-Lens] Endoscope Camera with Light, 1920P HD Borescope with 8+1 Adjustable LED Lights, IP67 Waterproof 16.5FT Semi-Rigid Snake Cord Inspection Camera for iPhone, iPad and Android Phone (Type C)](https://m.media-amazon.com/images/I/41avH-scJML._SL500_.jpg)
[Dual-Lens] Endoscope Camera with Light, 1920P HD Borescope with 8+1 Adjustable LED Lights, IP67 Waterproof 16.5FT Semi-Rigid Snake Cord Inspection Camera for iPhone, iPad and Android Phone (Type C)
Dual Lens for Enhanced Visibility: Our borescope camera features dual-lens technology with 2 Million Pixels inspection cameras. This…
As an affiliate, we earn on qualifying purchases.
As an affiliate, we earn on qualifying purchases.
Picking the Best Lens for Clearer Inspections in Tight Spaces
Choosing the right lens is essential for achieving clear inspections in tight spaces, where visibility is often limited. Your lens selection directly impacts optical clarity, helping you see small details and avoid misinterpretations. Wide-angle lenses are useful for broad views, but for pinpoint accuracy, a macro or zoom lens offers better detail. Consider the diameter and curvature of the lens to navigate narrow passages without distortion. A high-quality lens minimizes glare and aberrations, ensuring sharp images even in challenging conditions. When selecting a lens, think about your specific inspection needs—whether it’s detailed close-ups or wider views. Proper lens choice enhances your ability to identify issues quickly and accurately, saving you time and reducing errors during inspections.

Magnetic Work Light, 5200mAh Rechargeable LED Work Light Bar, 3000 Lumens Bright Under-Hood Mechanic Light for Car Repairing/Inspection/Garage/Workshop/Emergency (1 Pack, Black-Yellow)
High-Quality Materials and IP65 Water Resistance: Hipplan underhood work light is constructed from durable aluminum alloy and a…
As an affiliate, we earn on qualifying purchases.
As an affiliate, we earn on qualifying purchases.
How to Adjust Lighting Angles for Better Detail and Less Shadow
Adjusting your lighting angles is essential for capturing detailed images and minimizing shadows that can obscure important features. To achieve this, experiment with different angles to find the ideal position. Using diffuse lighting helps spread light evenly, reducing harsh shadows and glare. When making angle adjustments, keep the light source close but not directly pointing at the object to avoid reflection issues. Here’s a quick guide:
| Light Position | Effect on Image | Best Use Case |
|---|---|---|
| Directly ahead | Sharp shadows | Highlight specific details |
| Slightly angled | Softer shadows | Balanced illumination |
| Behind object | Backlighting | Emphasize contours |
| Low angle | Underlighting | Reveal surface textures |
| Diffuse setup | Even lighting | Reduces harsh shadows |
Additionally, understanding light reflection principles can help you optimize your setup for clearer, more detailed images. Properly managing light angles can significantly improve image clarity and detail, especially in tight or complex spaces. It’s also beneficial to consider lens quality and how it interacts with your lighting setup to enhance overall image sharpness. Furthermore, experimenting with different diffuser types can lead to even more evenly distributed light, improving your borescope imaging outcomes.
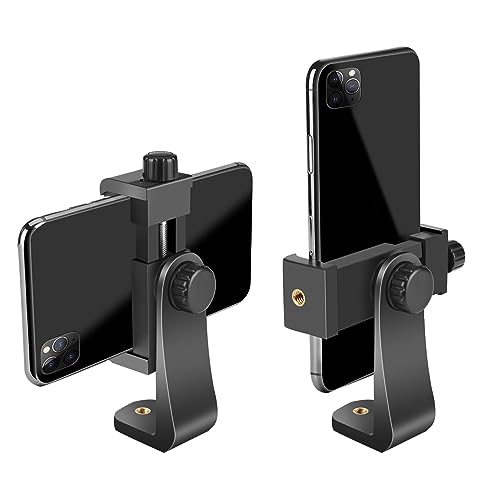
SharingMoment Premium Smartphone Holder/Vertical and Horizontal Tripod Mount Adapter Rotatable Bracket with 1/4 inch Screw/Adjustable Clip for iPhone, Android Cell Phone, Selfie Stick, Camera Stand
FEATURE: the tripod phone mount is adjustable by screw mechanism, 360 degree rotating, vertical(portrait mode) and horizontal(landscape mode)…
As an affiliate, we earn on qualifying purchases.
As an affiliate, we earn on qualifying purchases.
Tips to Keep Your Focus Sharp and Depth of Field Clear
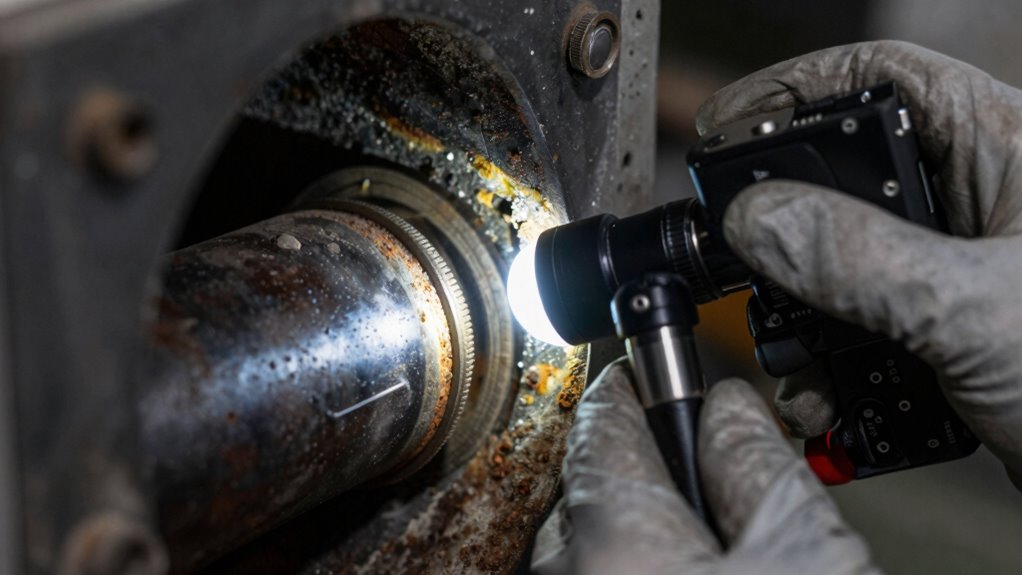
To keep your focus sharp and your depth of field clear, start by ensuring your camera settings are optimized for the shot. Use focus techniques such as manual focus to precisely control the lens point, especially in tight spaces. Adjust your aperture control to increase depth of field; a smaller aperture (higher f-stop) helps keep more of the scene in focus. Be mindful of your distance from the subject—staying steady and consistent helps maintain sharpness. If your camera has focus peaking, activate it to verify where the focus lies. Remember, experimenting with different aperture settings allows you to find the balance between sharp focus and adequate brightness, ensuring your borescope images are clear and detailed.
Troubleshooting Common Lighting and Lens Issues

Lighting and lens issues are common obstacles that can compromise the quality of your inspection images. To troubleshoot, start with proper lens maintenance—regularly clean the lens with a soft cloth to remove debris or smudges that distort images. Next, adjust your lighting techniques by controlling intensity and angle to avoid glare or shadows that obscure details. If images appear dim or uneven, check for faulty or dimming light sources and replace or reposition them. Additionally, confirm your borescope’s lens is properly calibrated and free from scratches.
- Use diffusers or reflectors to soften harsh light
- Clean the lens regularly to prevent buildup
- Test different lighting angles for ideal illumination
Frequently Asked Questions
What Are the Best Practices for Maintaining Borescope Cleanliness?
To keep your borescope clean, regularly perform calibration checks to guarantee accurate imaging. After each use, clean the lens with a soft, lint-free cloth and appropriate cleaning solutions, avoiding scratches. Lubrication maintenance is essential; apply a suitable lubricant to moving parts to prevent wear. Store your borescope in a clean, dry place, and inspect it routinely for dirt or damage to maintain ideal performance and prolong its lifespan.
How Do Environmental Factors Affect Image Quality During Inspections?
Think of your inspection environment as a delicate ecosystem. High humidity effects can cause fogging on your lens, blurring your view. Ambient lighting influences image clarity—poor lighting creates shadows and reduces detail, while harsh lights may cause glare. You must adapt by controlling humidity and optimizing lighting conditions. Keep the environment stable to guarantee your borescope captures sharp, accurate images, much like maintaining a pristine, balanced habitat.
Can Specific Lens Coatings Improve Image Clarity in Dusty or Greasy Conditions?
Yes, specific lens coatings can markedly improve image clarity in dusty or greasy conditions. Anti-fog and hydrophobic coatings repel dirt, grease, and moisture, reducing smudges and reflections. By applying these coatings, you guarantee clearer, sharper images even in challenging environments. This enhancement helps you get detailed, accurate inspections, saving time and minimizing the need for frequent lens cleaning, ultimately making your inspections more efficient and reliable.
What Safety Precautions Should Be Taken When Inspecting Hazardous Tight Spaces?
When inspecting hazardous tight spaces, you should always conduct a hazard assessment first to identify risks. Wear appropriate personal protective equipment like gloves, goggles, and respirators to guard against dust, fumes, or sharp objects. Guarantee proper ventilation, use insulated tools if needed, and have an emergency plan in place. Stay aware of your surroundings, communicate with your team, and follow all safety protocols to minimize risks during the inspection.
How Does Temperature Variation Impact Borescope Electronics and Image Performance?
Temperature variations can secretly disrupt your borescope’s performance. As temperatures fluctuate, thermal expansion occurs, risking delicate electronic components and decreasing electronic reliability. This can lead to blurred images or even device failure at critical moments. Pay close attention to temperature changes during inspections, and make certain your equipment is rated for the environment. By doing so, you maintain image clarity and protect your borescope from damage caused by unpredictable thermal shifts.
Conclusion
Think of your borescope like a flashlight in a dark tunnel—you need the right tools and angles to find your way clearly. When I first started inspecting tight spaces, I struggled with blurry images until I adjusted my lighting and lens. Now, with a few simple tweaks, my images are sharper, revealing details I’d miss otherwise. Remember, a well-lit, focused borescope is your best guide through the shadows—brighten your path for cleaner, clearer inspections.